
Snowball Quilt Block Tutorial
The snowball shape is a common foundational piece found within many traditional quilts. It can be used as a standalone block or incorporated within a quilt design. I often use it as a spacer block or within quilt sashing but I’ve had it on my mind to make a quilt entirely from snowballs so I should get around to it already. It’s a wonderful and versatile block to have in your tool belt and it’s one of the easiest blocks to make. This tutorial will explain how to make a snowball block in any size you desire.

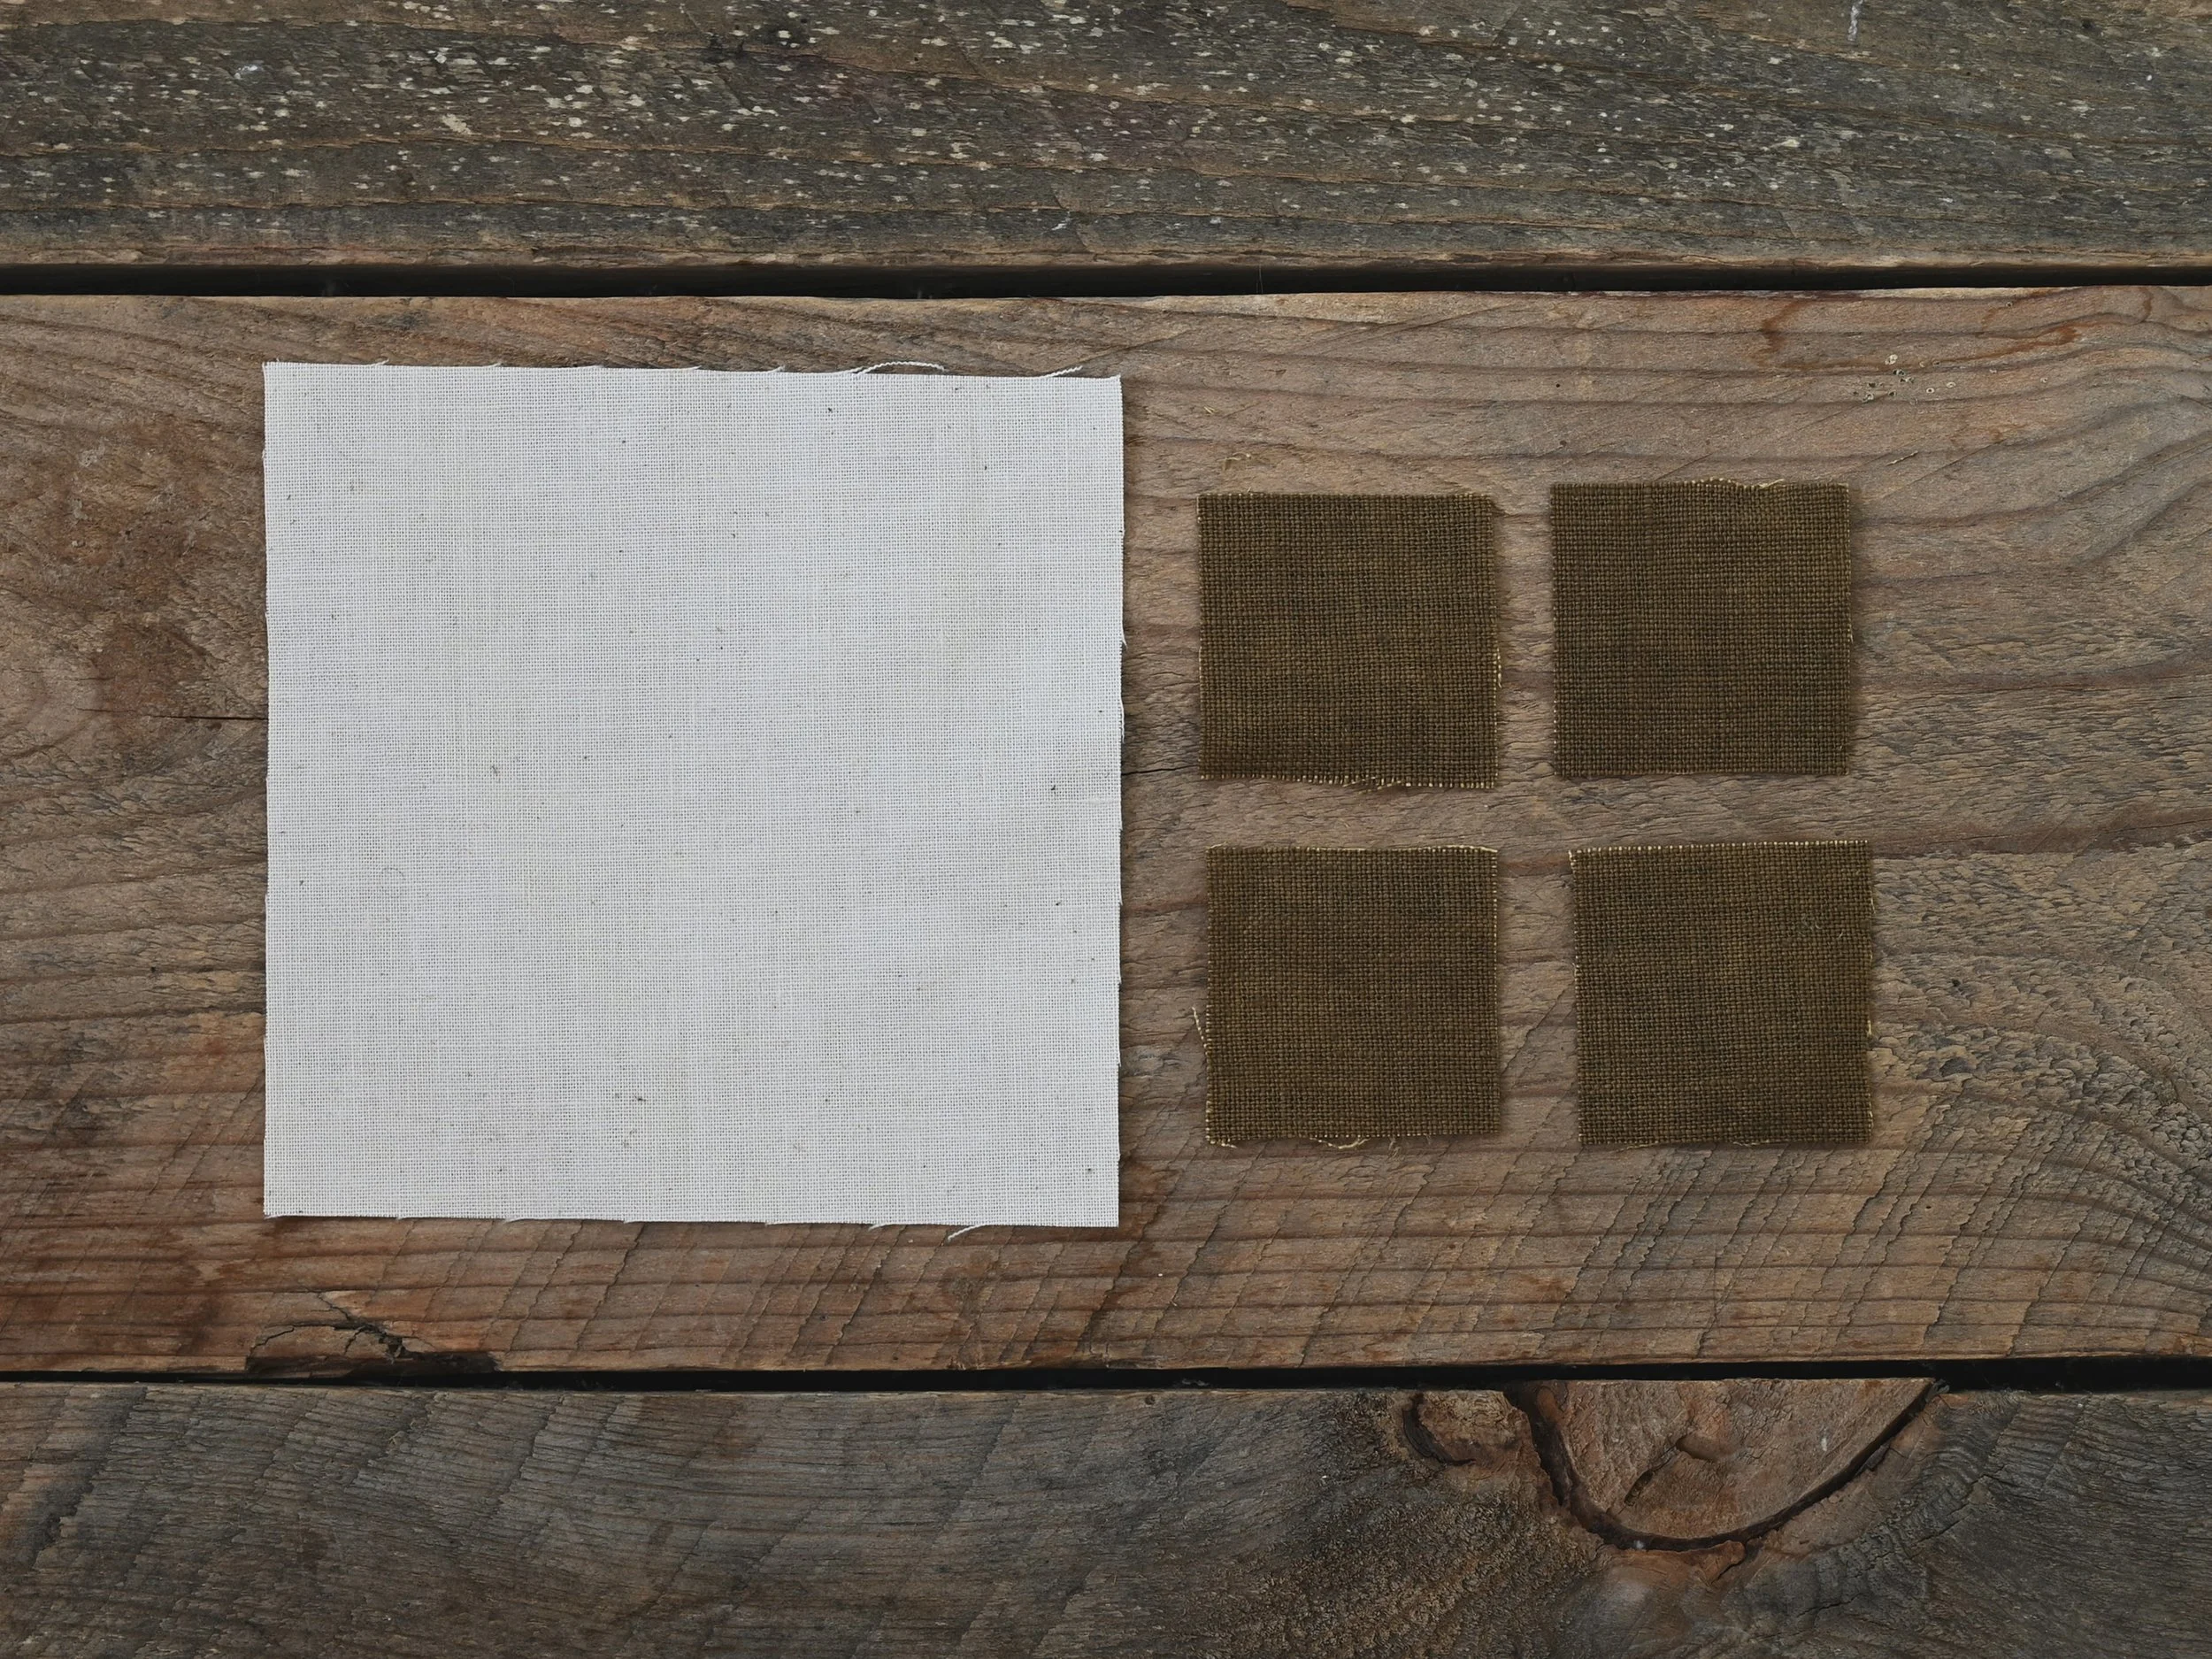
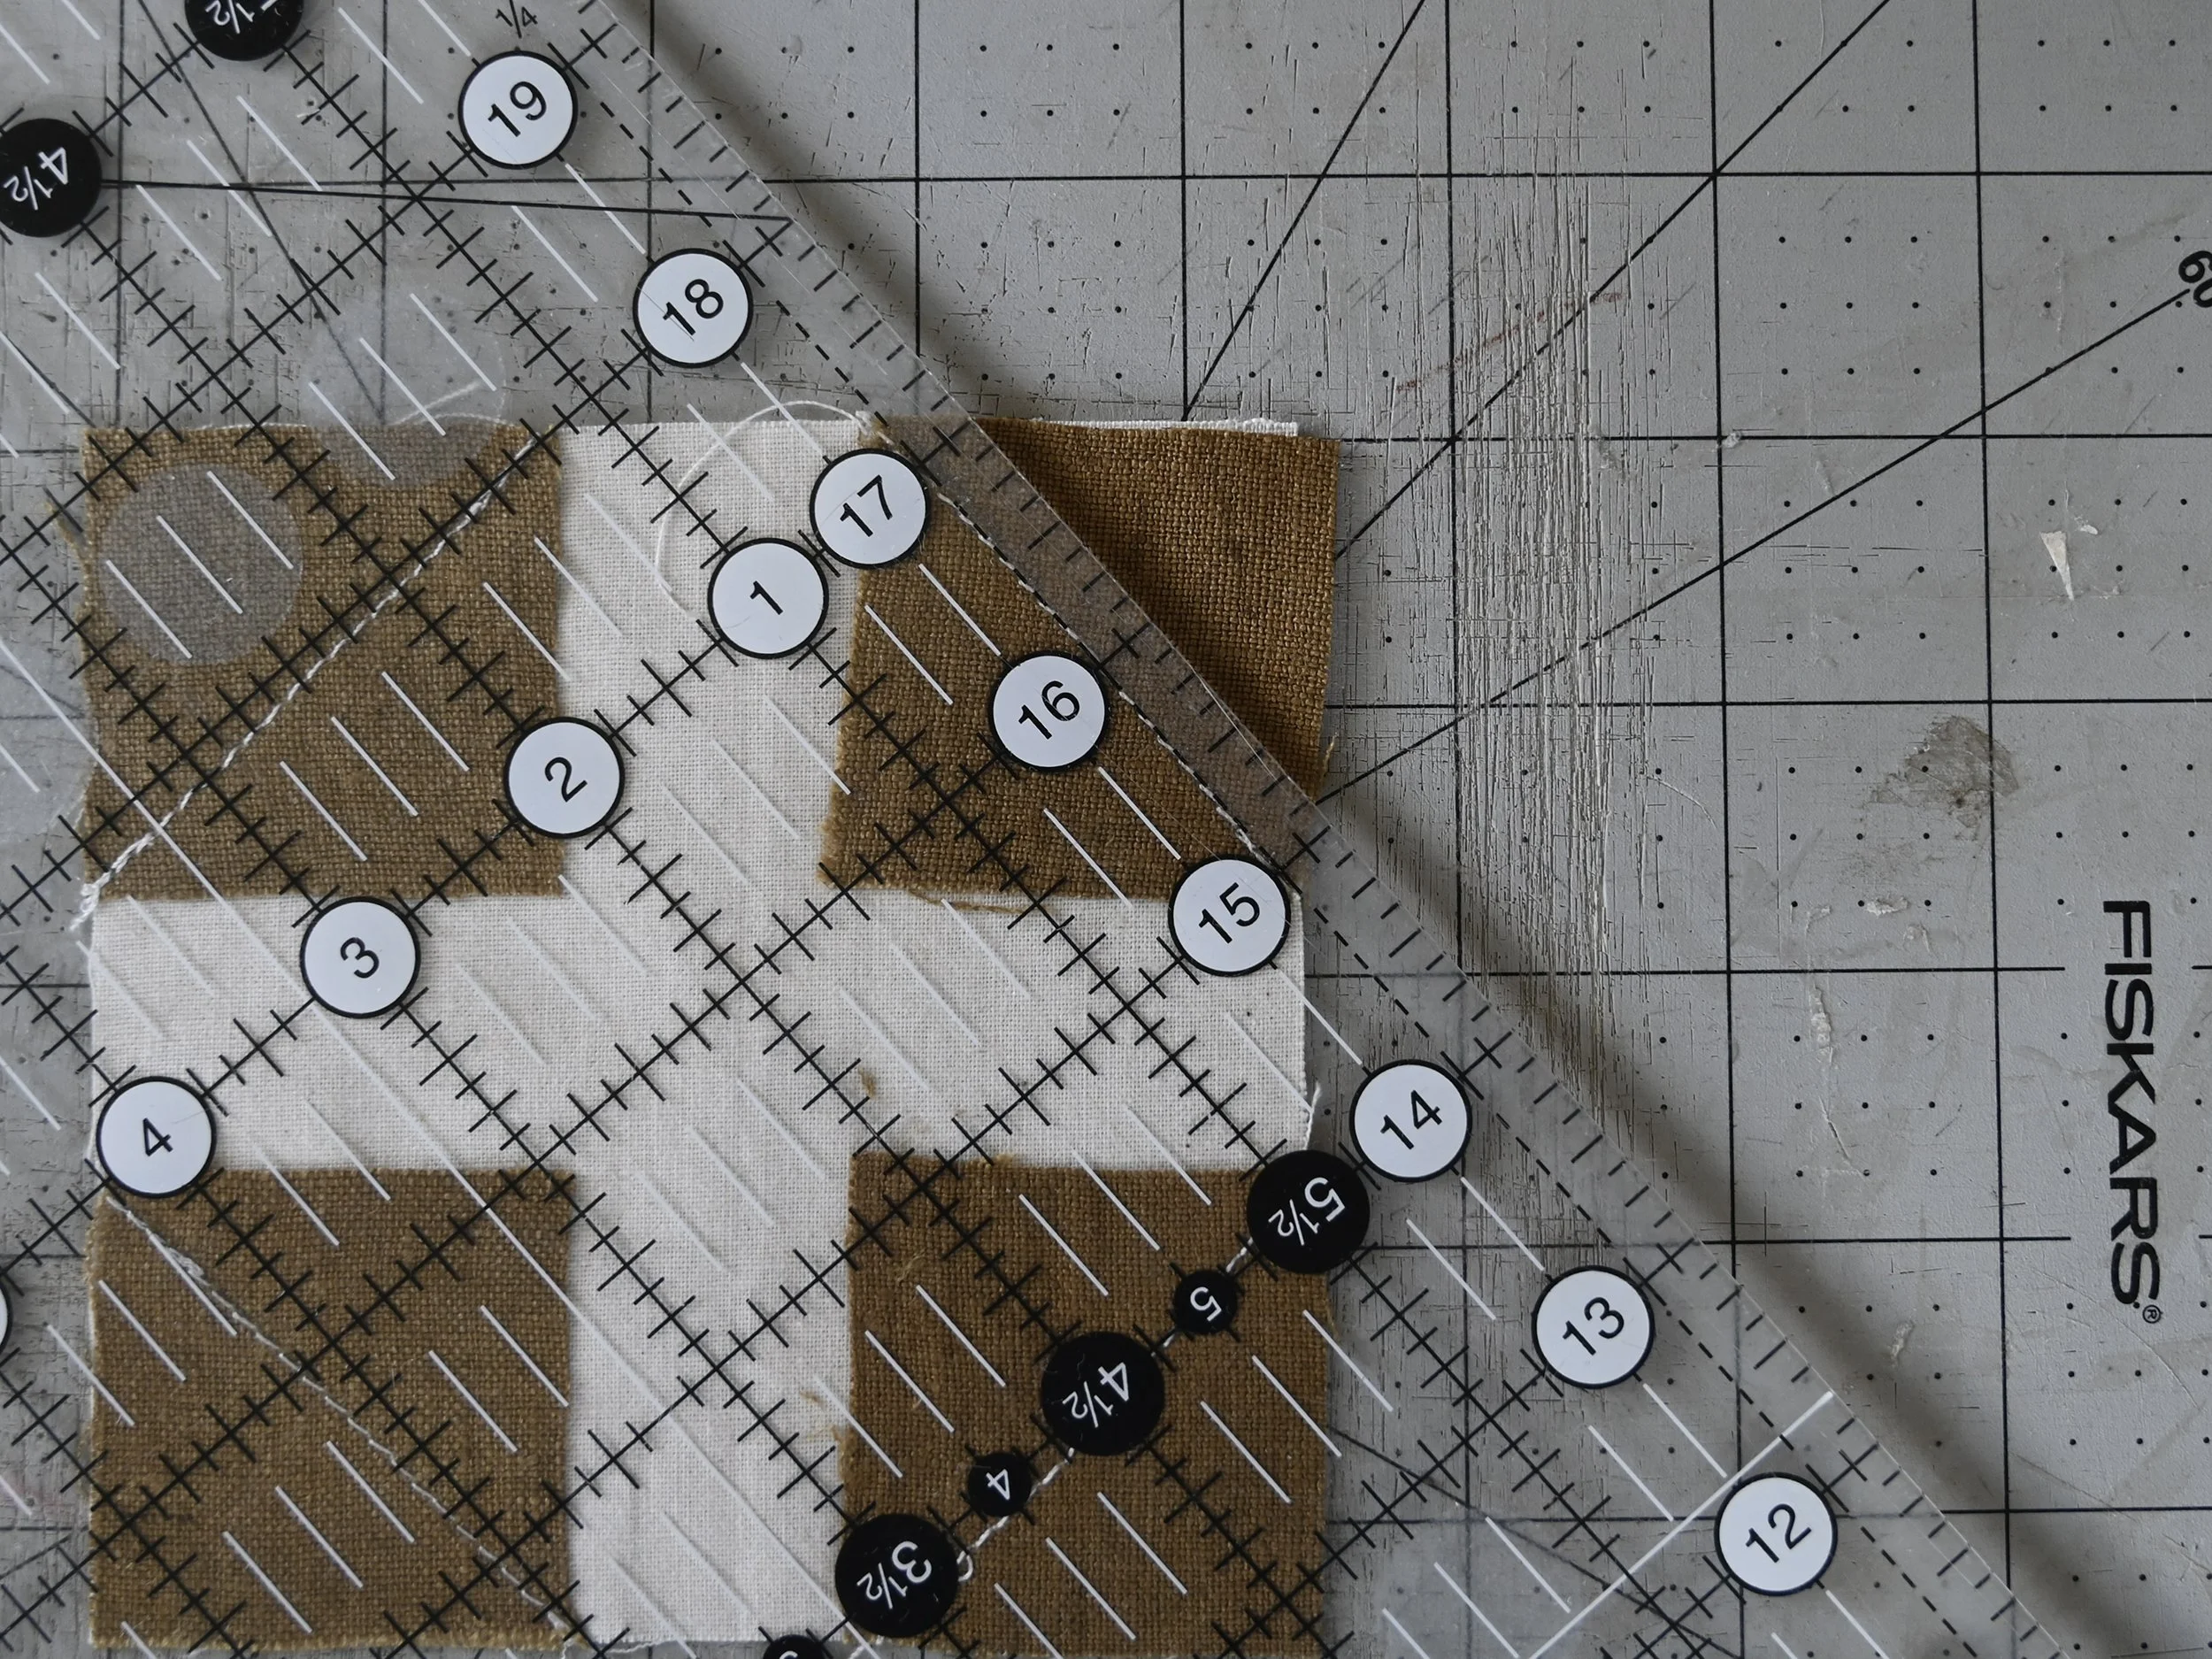
The snowball block begins with one large square and four smaller squares. The large square is cut to your desired unfinished block size. In this example my desired finished block size is 4” so I cut my large square to 4 1/2”. The size of the smaller squares will depend on how deep you want the corners to be. In this example I cut my four corner squares to 1 1/2”. If I were to cut these smaller squares larger, the corners would be deeper. This is a fun thing to play around with so I recommend making some sample blocks with different corner square sizes to discover your preferred look.
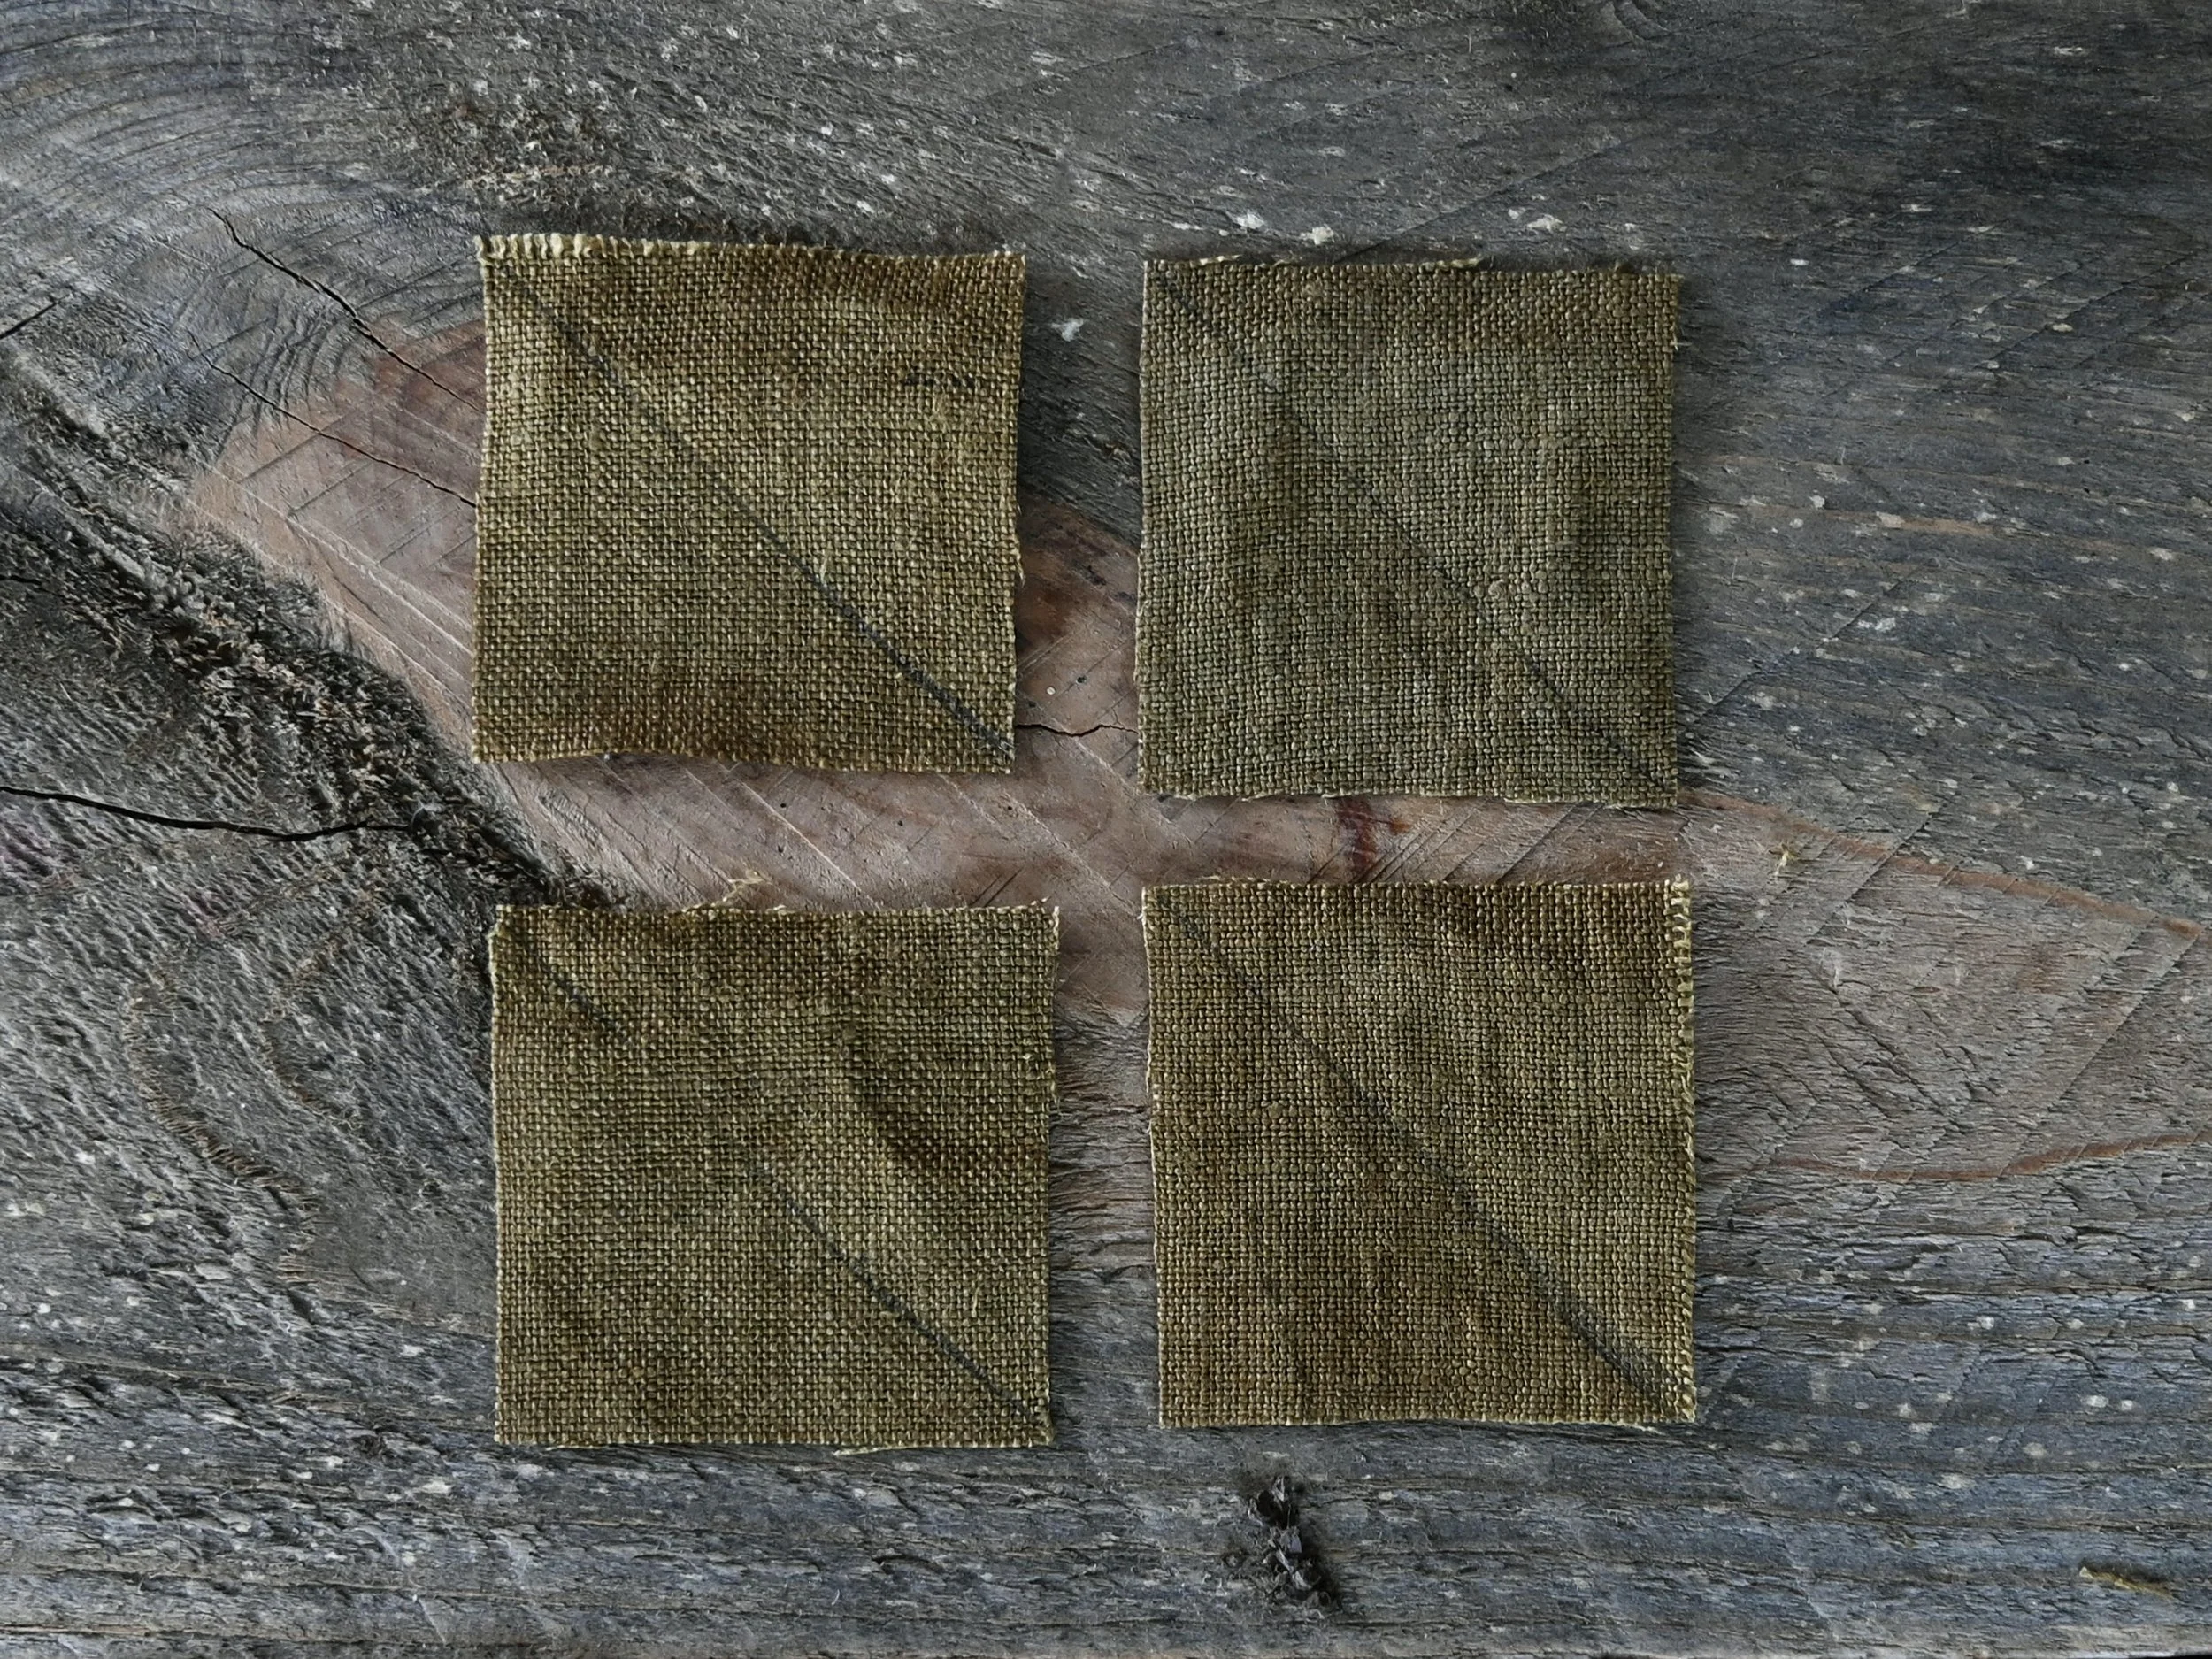
Begin by drawing a diagonal line from corner to corner of each small square.
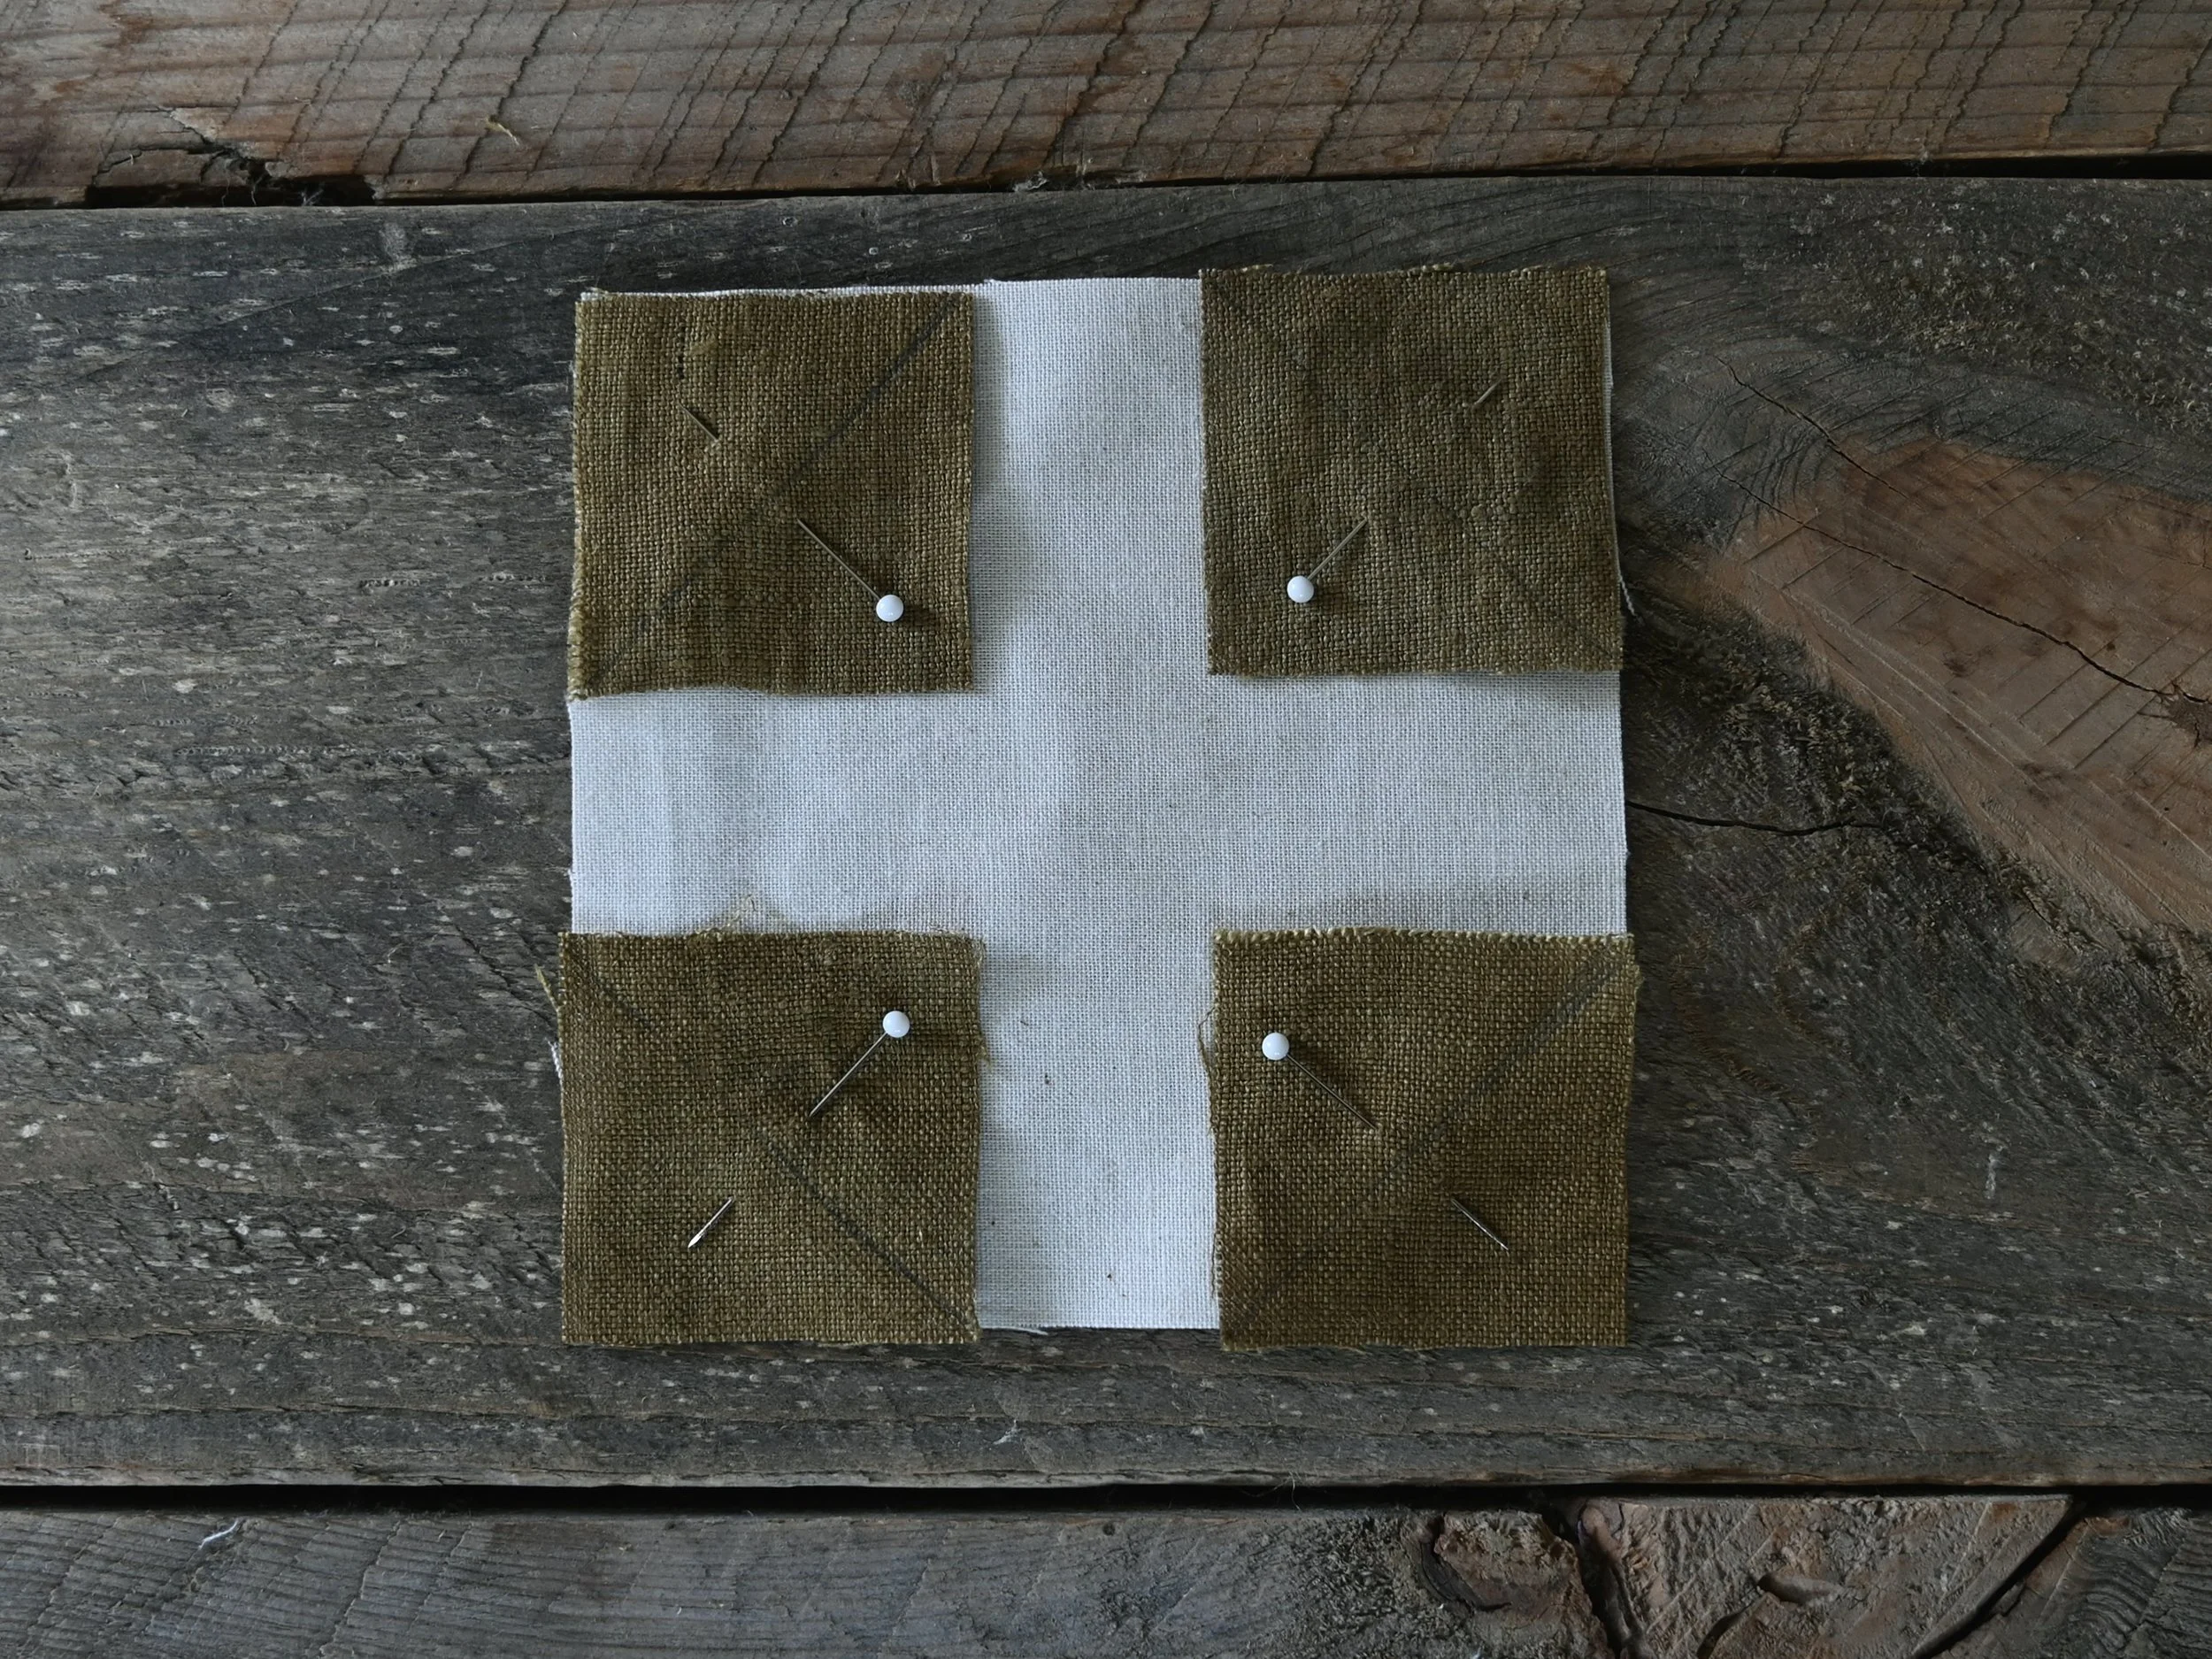
Pin a small square in each corner of the large square orienting the diagonal lines as shown below.
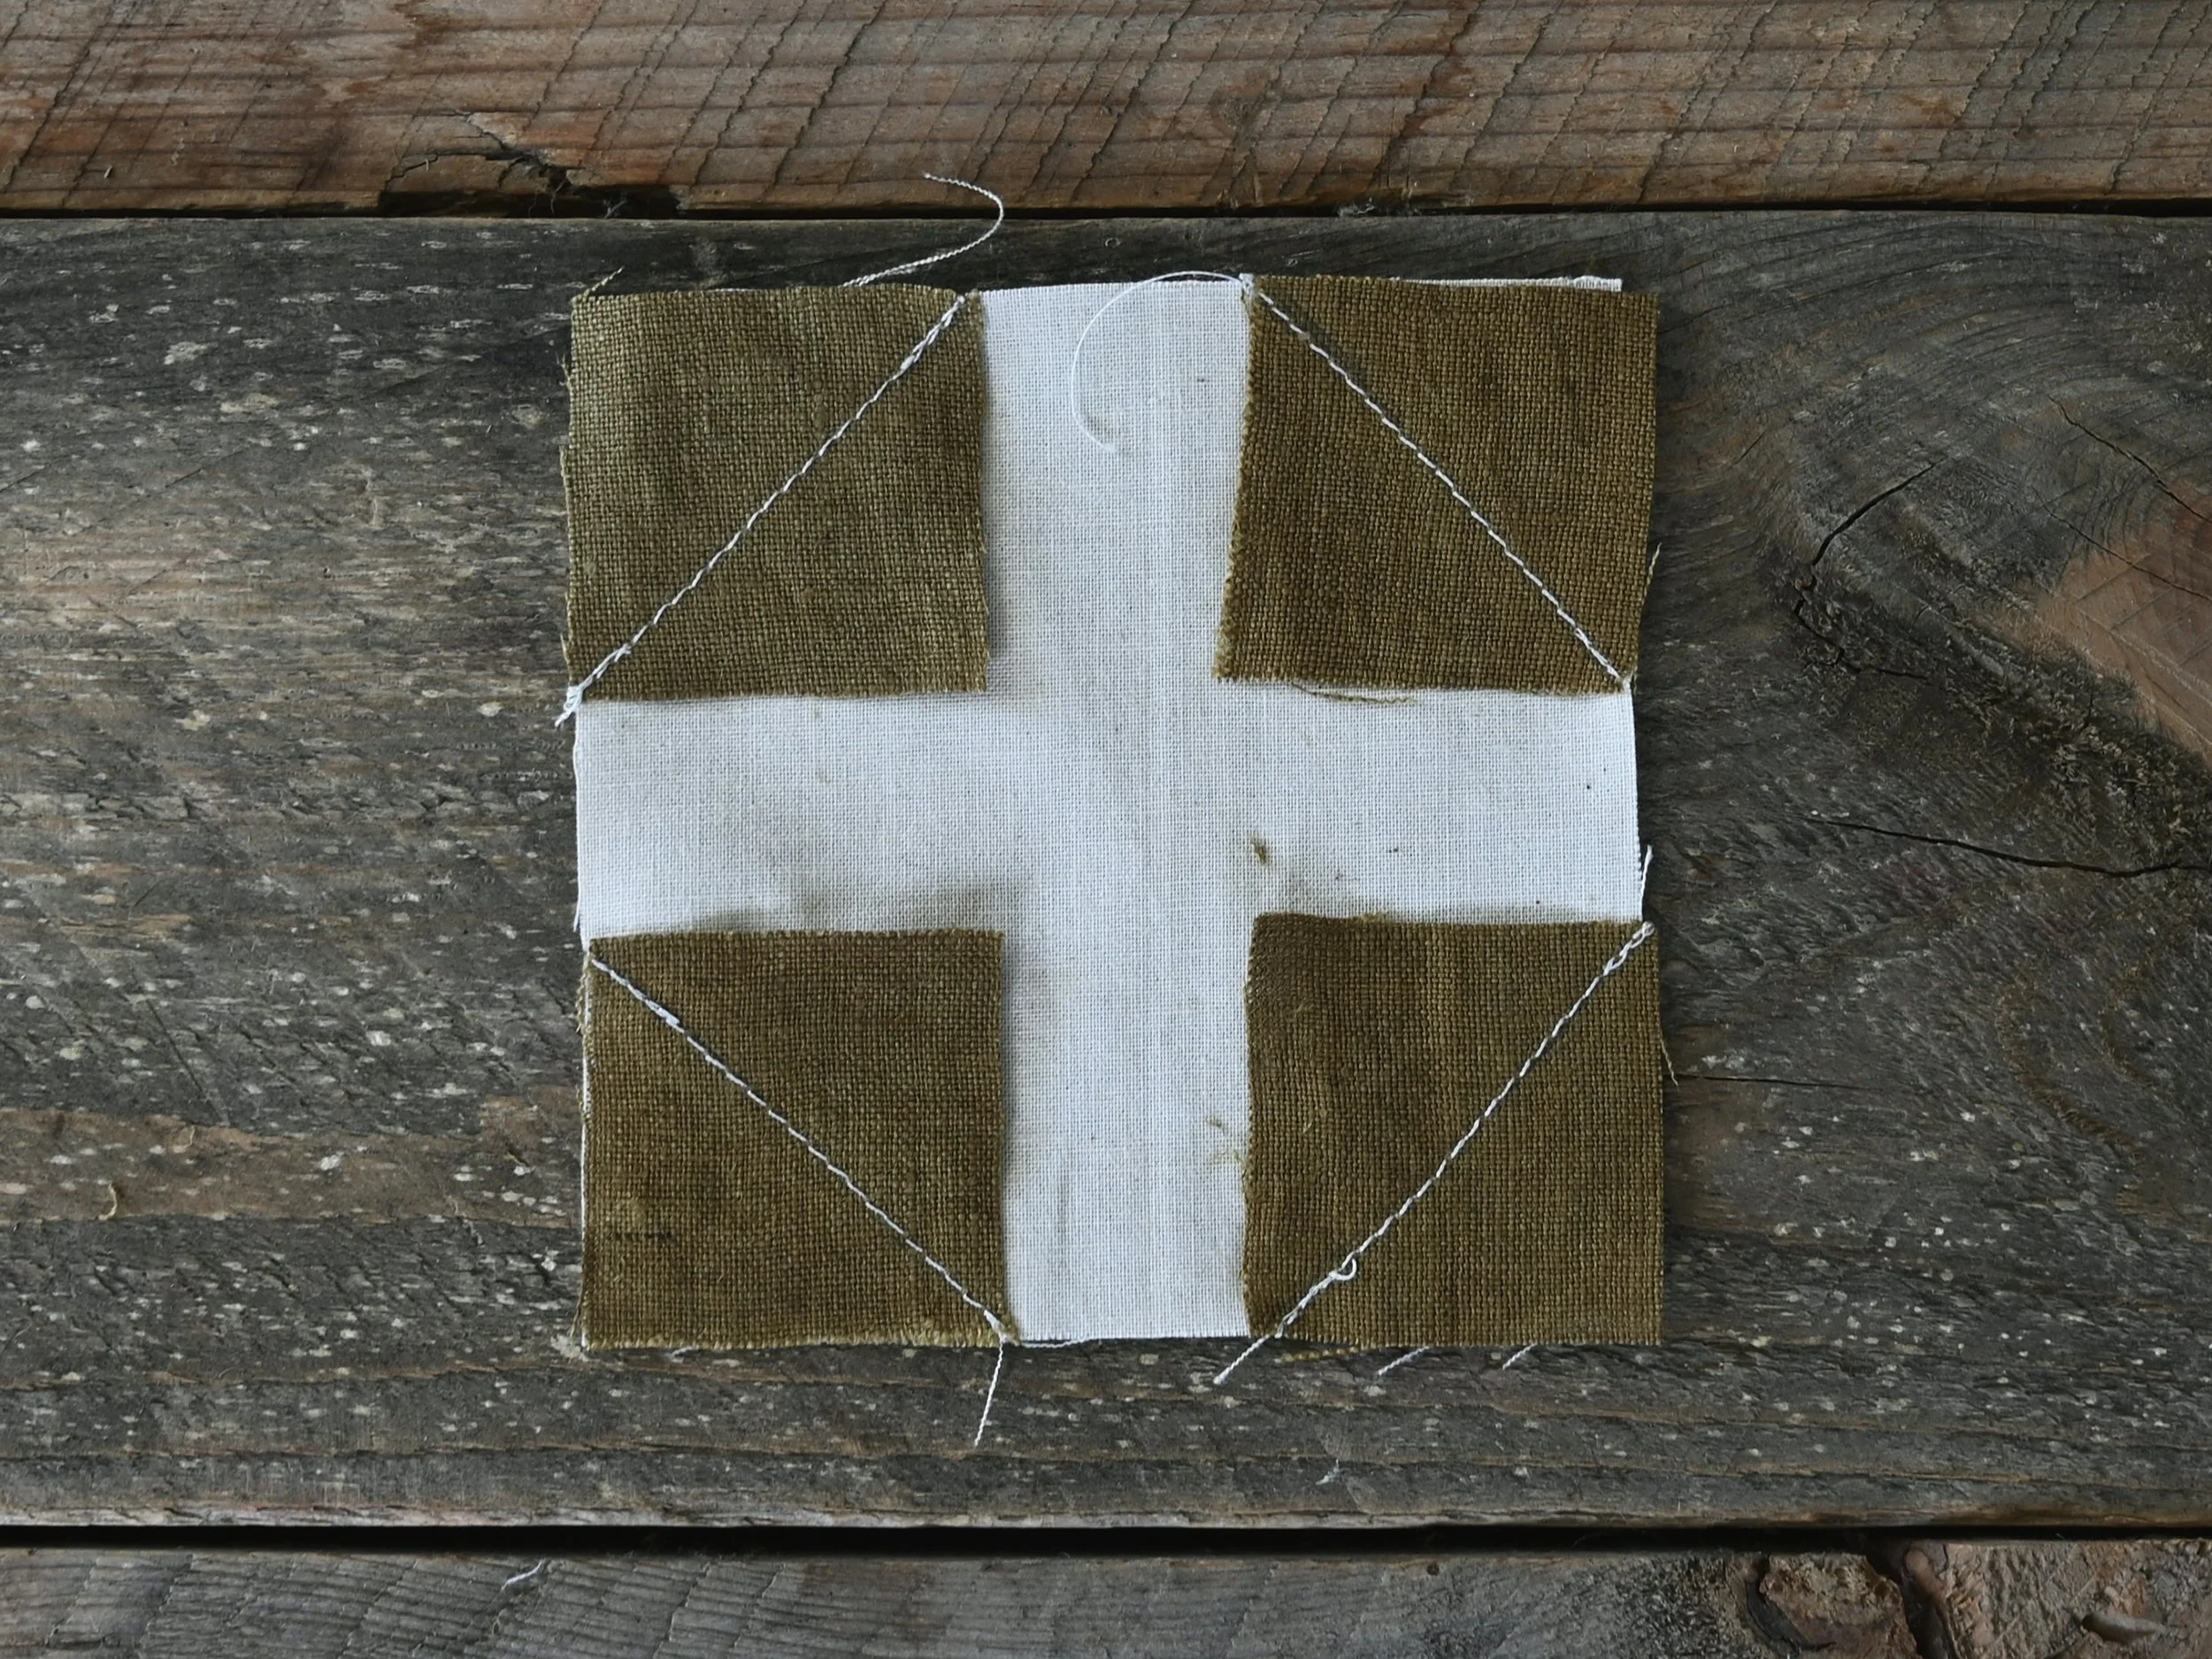
Sew along each diagonal line as shown below.
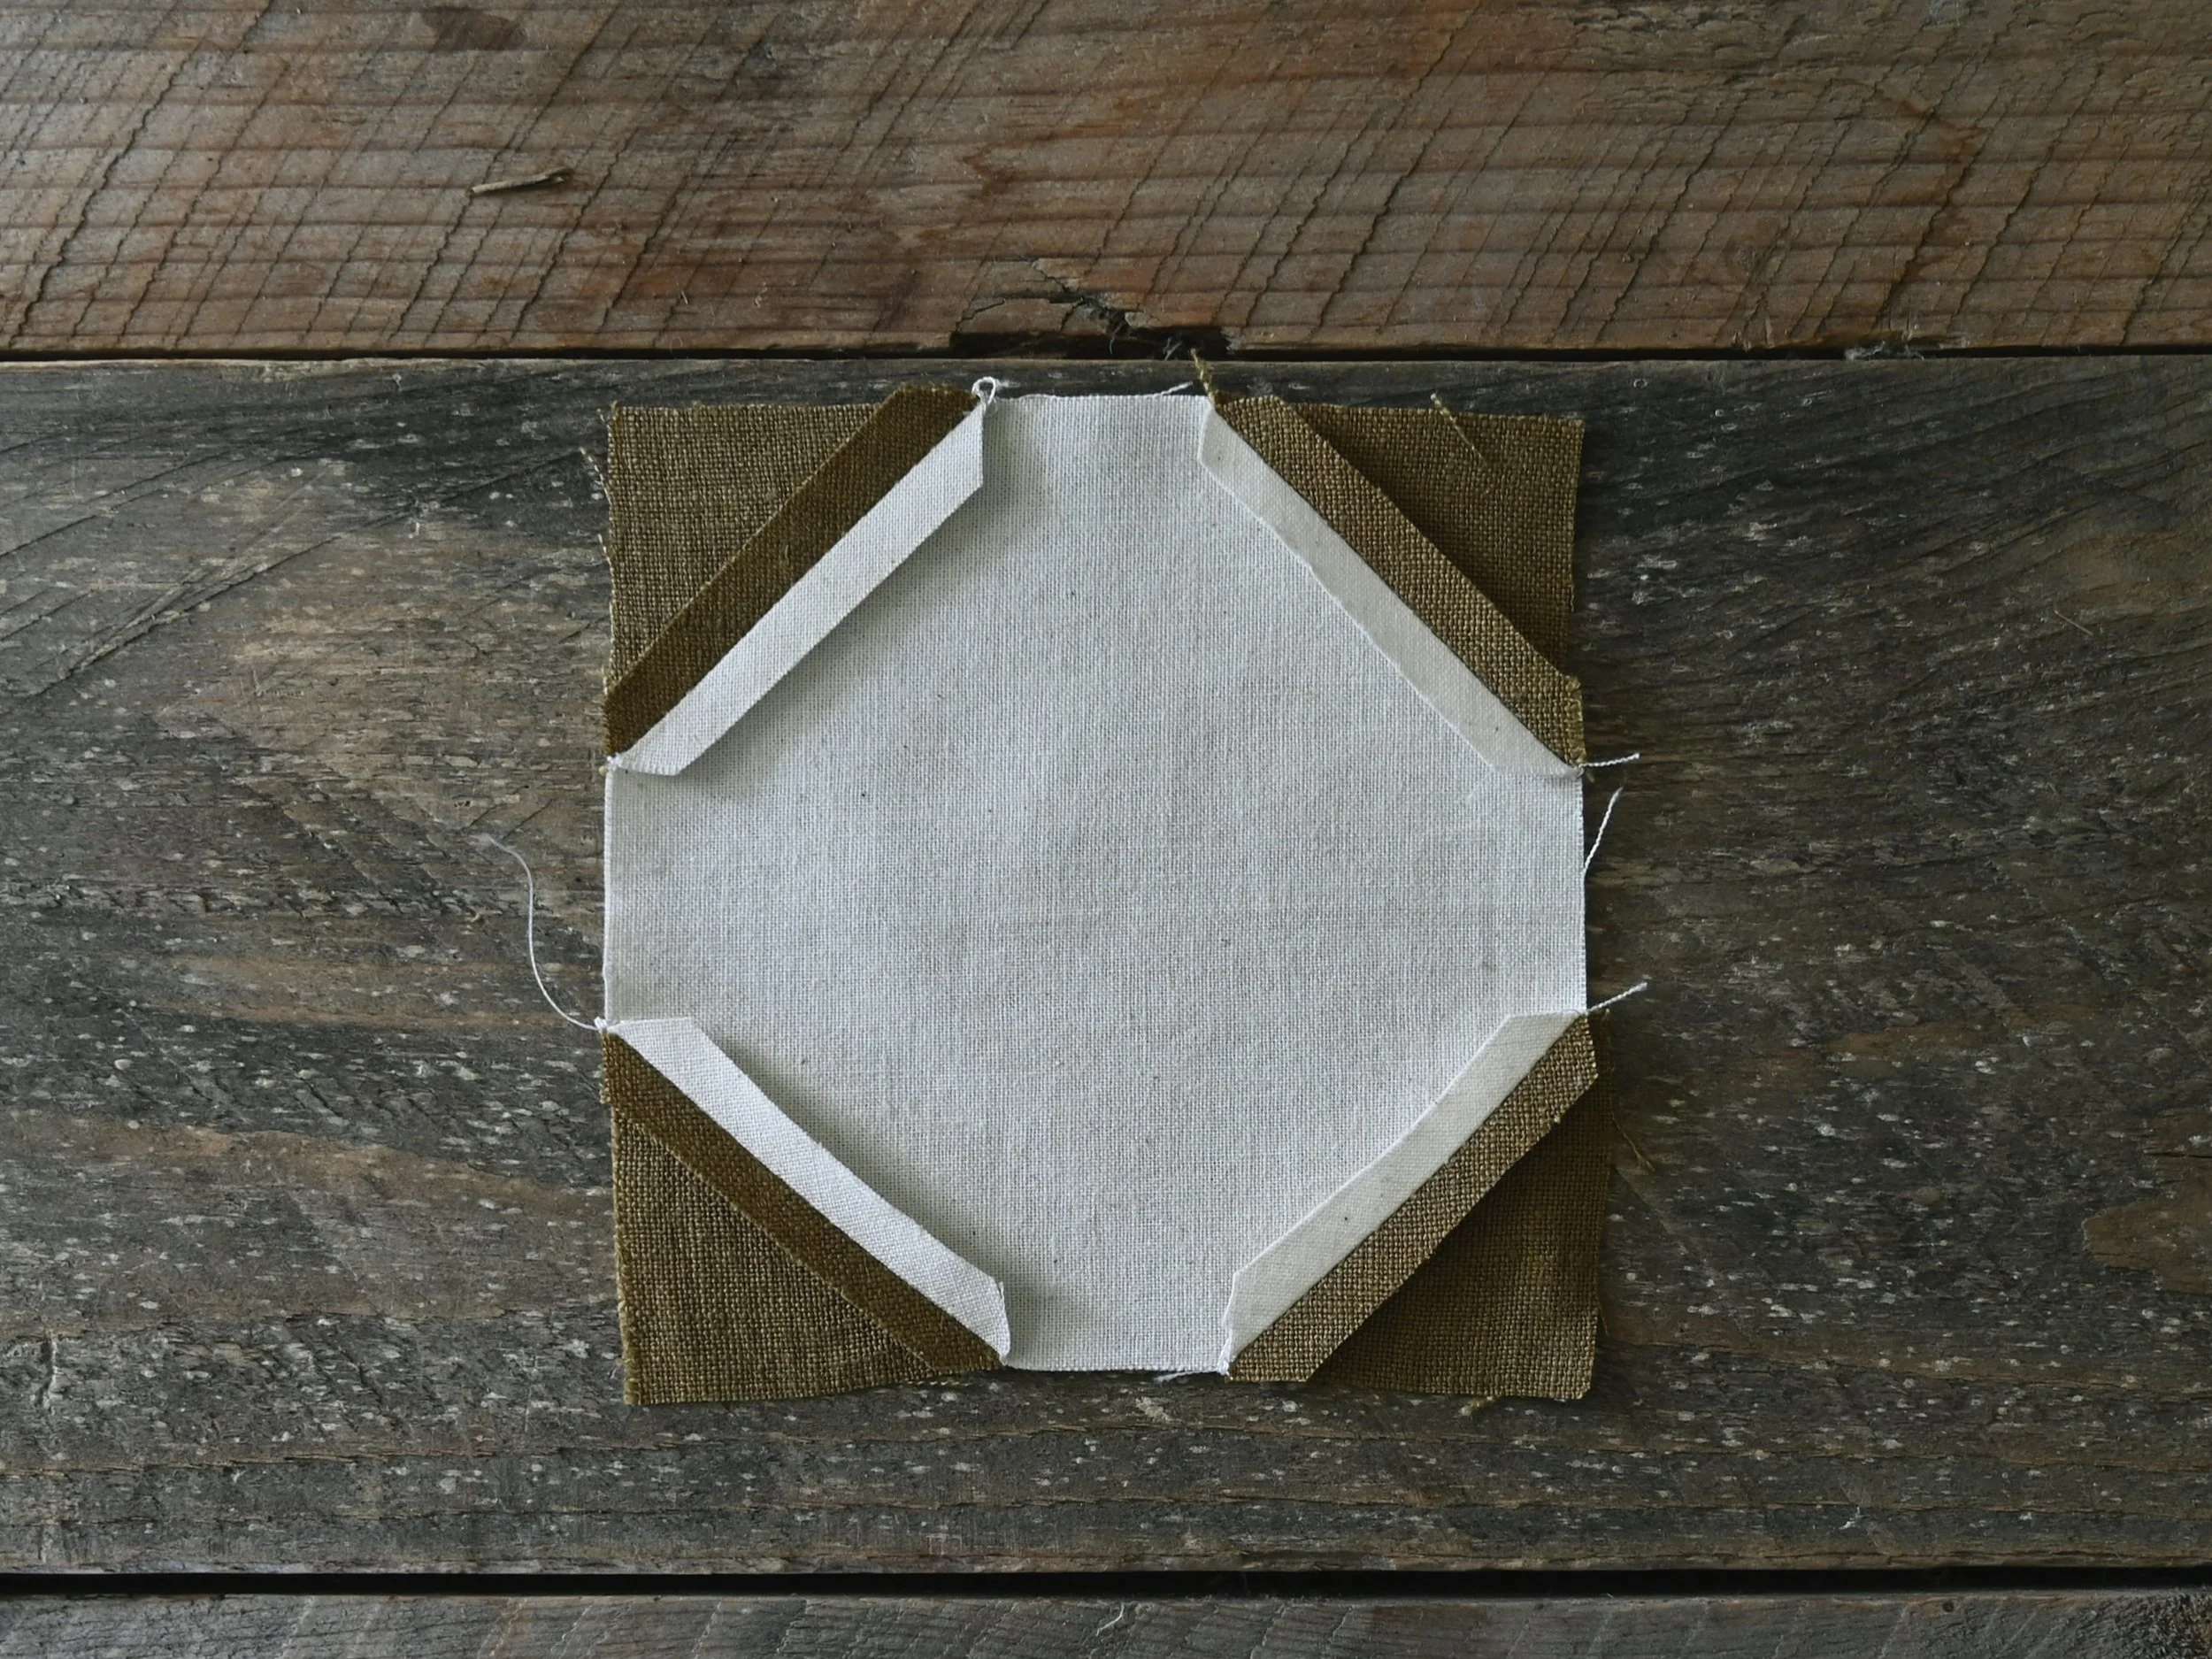
Trim the seam allowance to 1/4” as shown below.
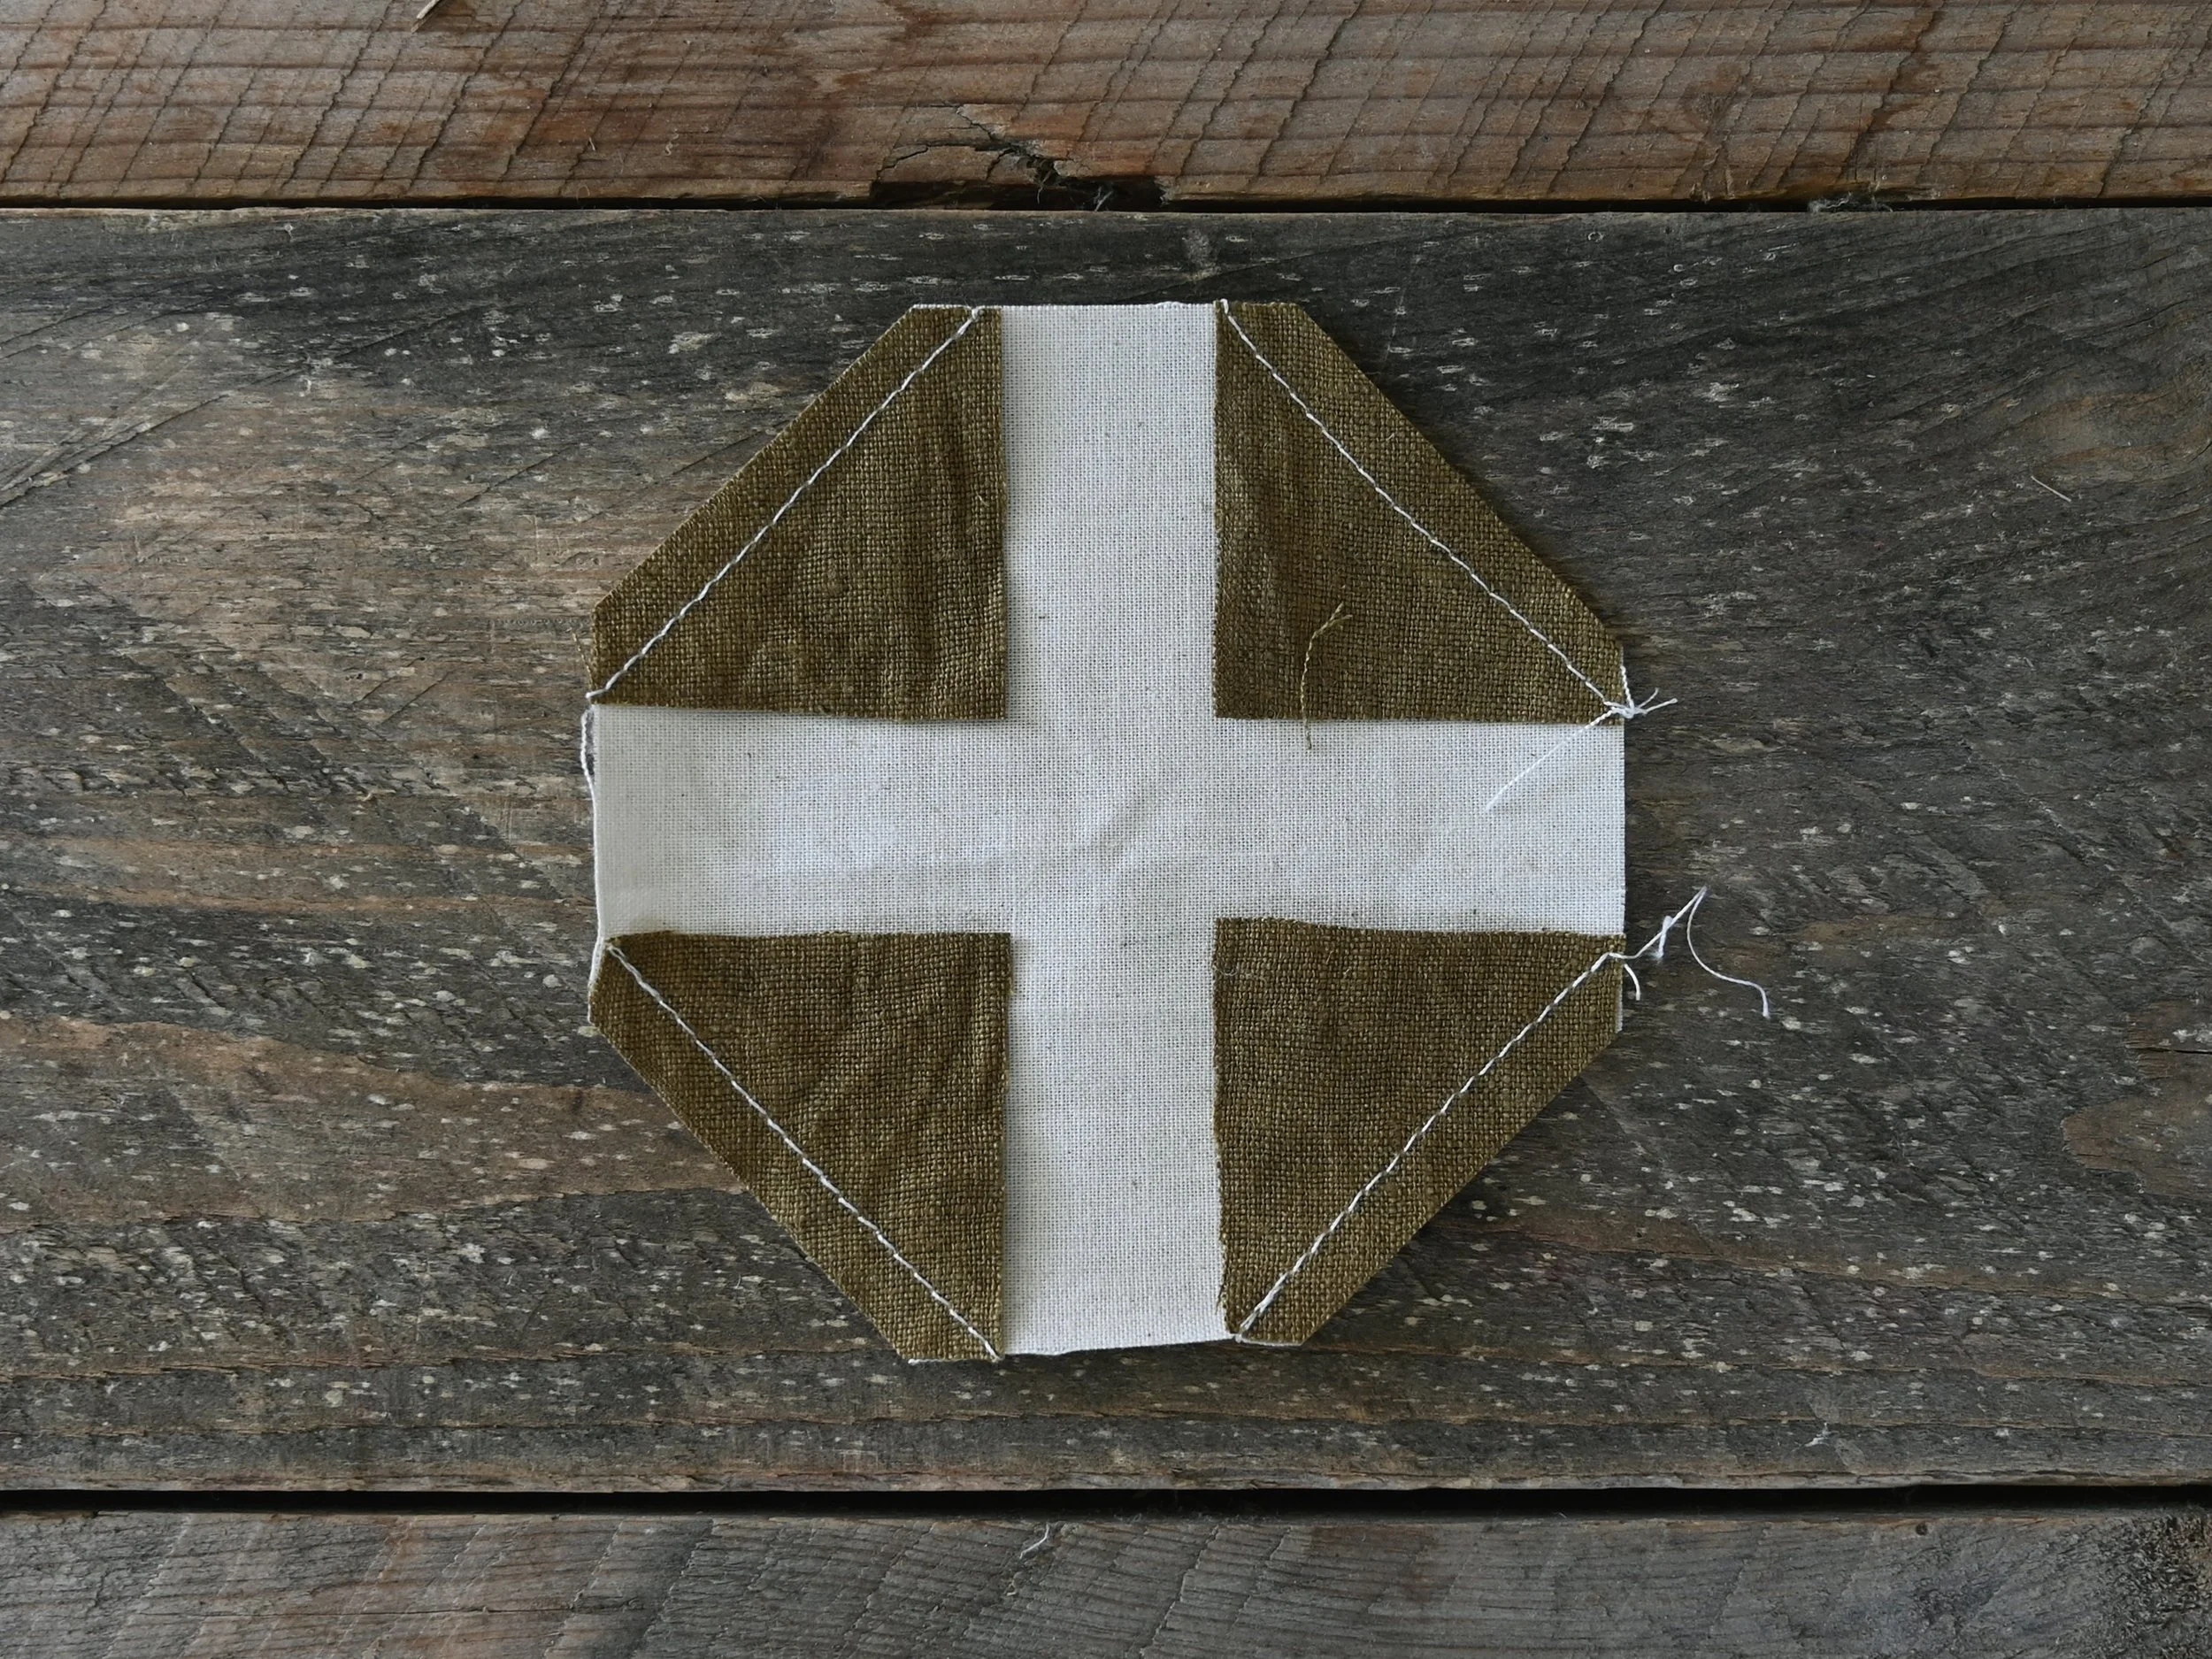
Press the seams open or to the side if you prefer.
And there you have a snowball block! So easy, so fun, so versatile!
