
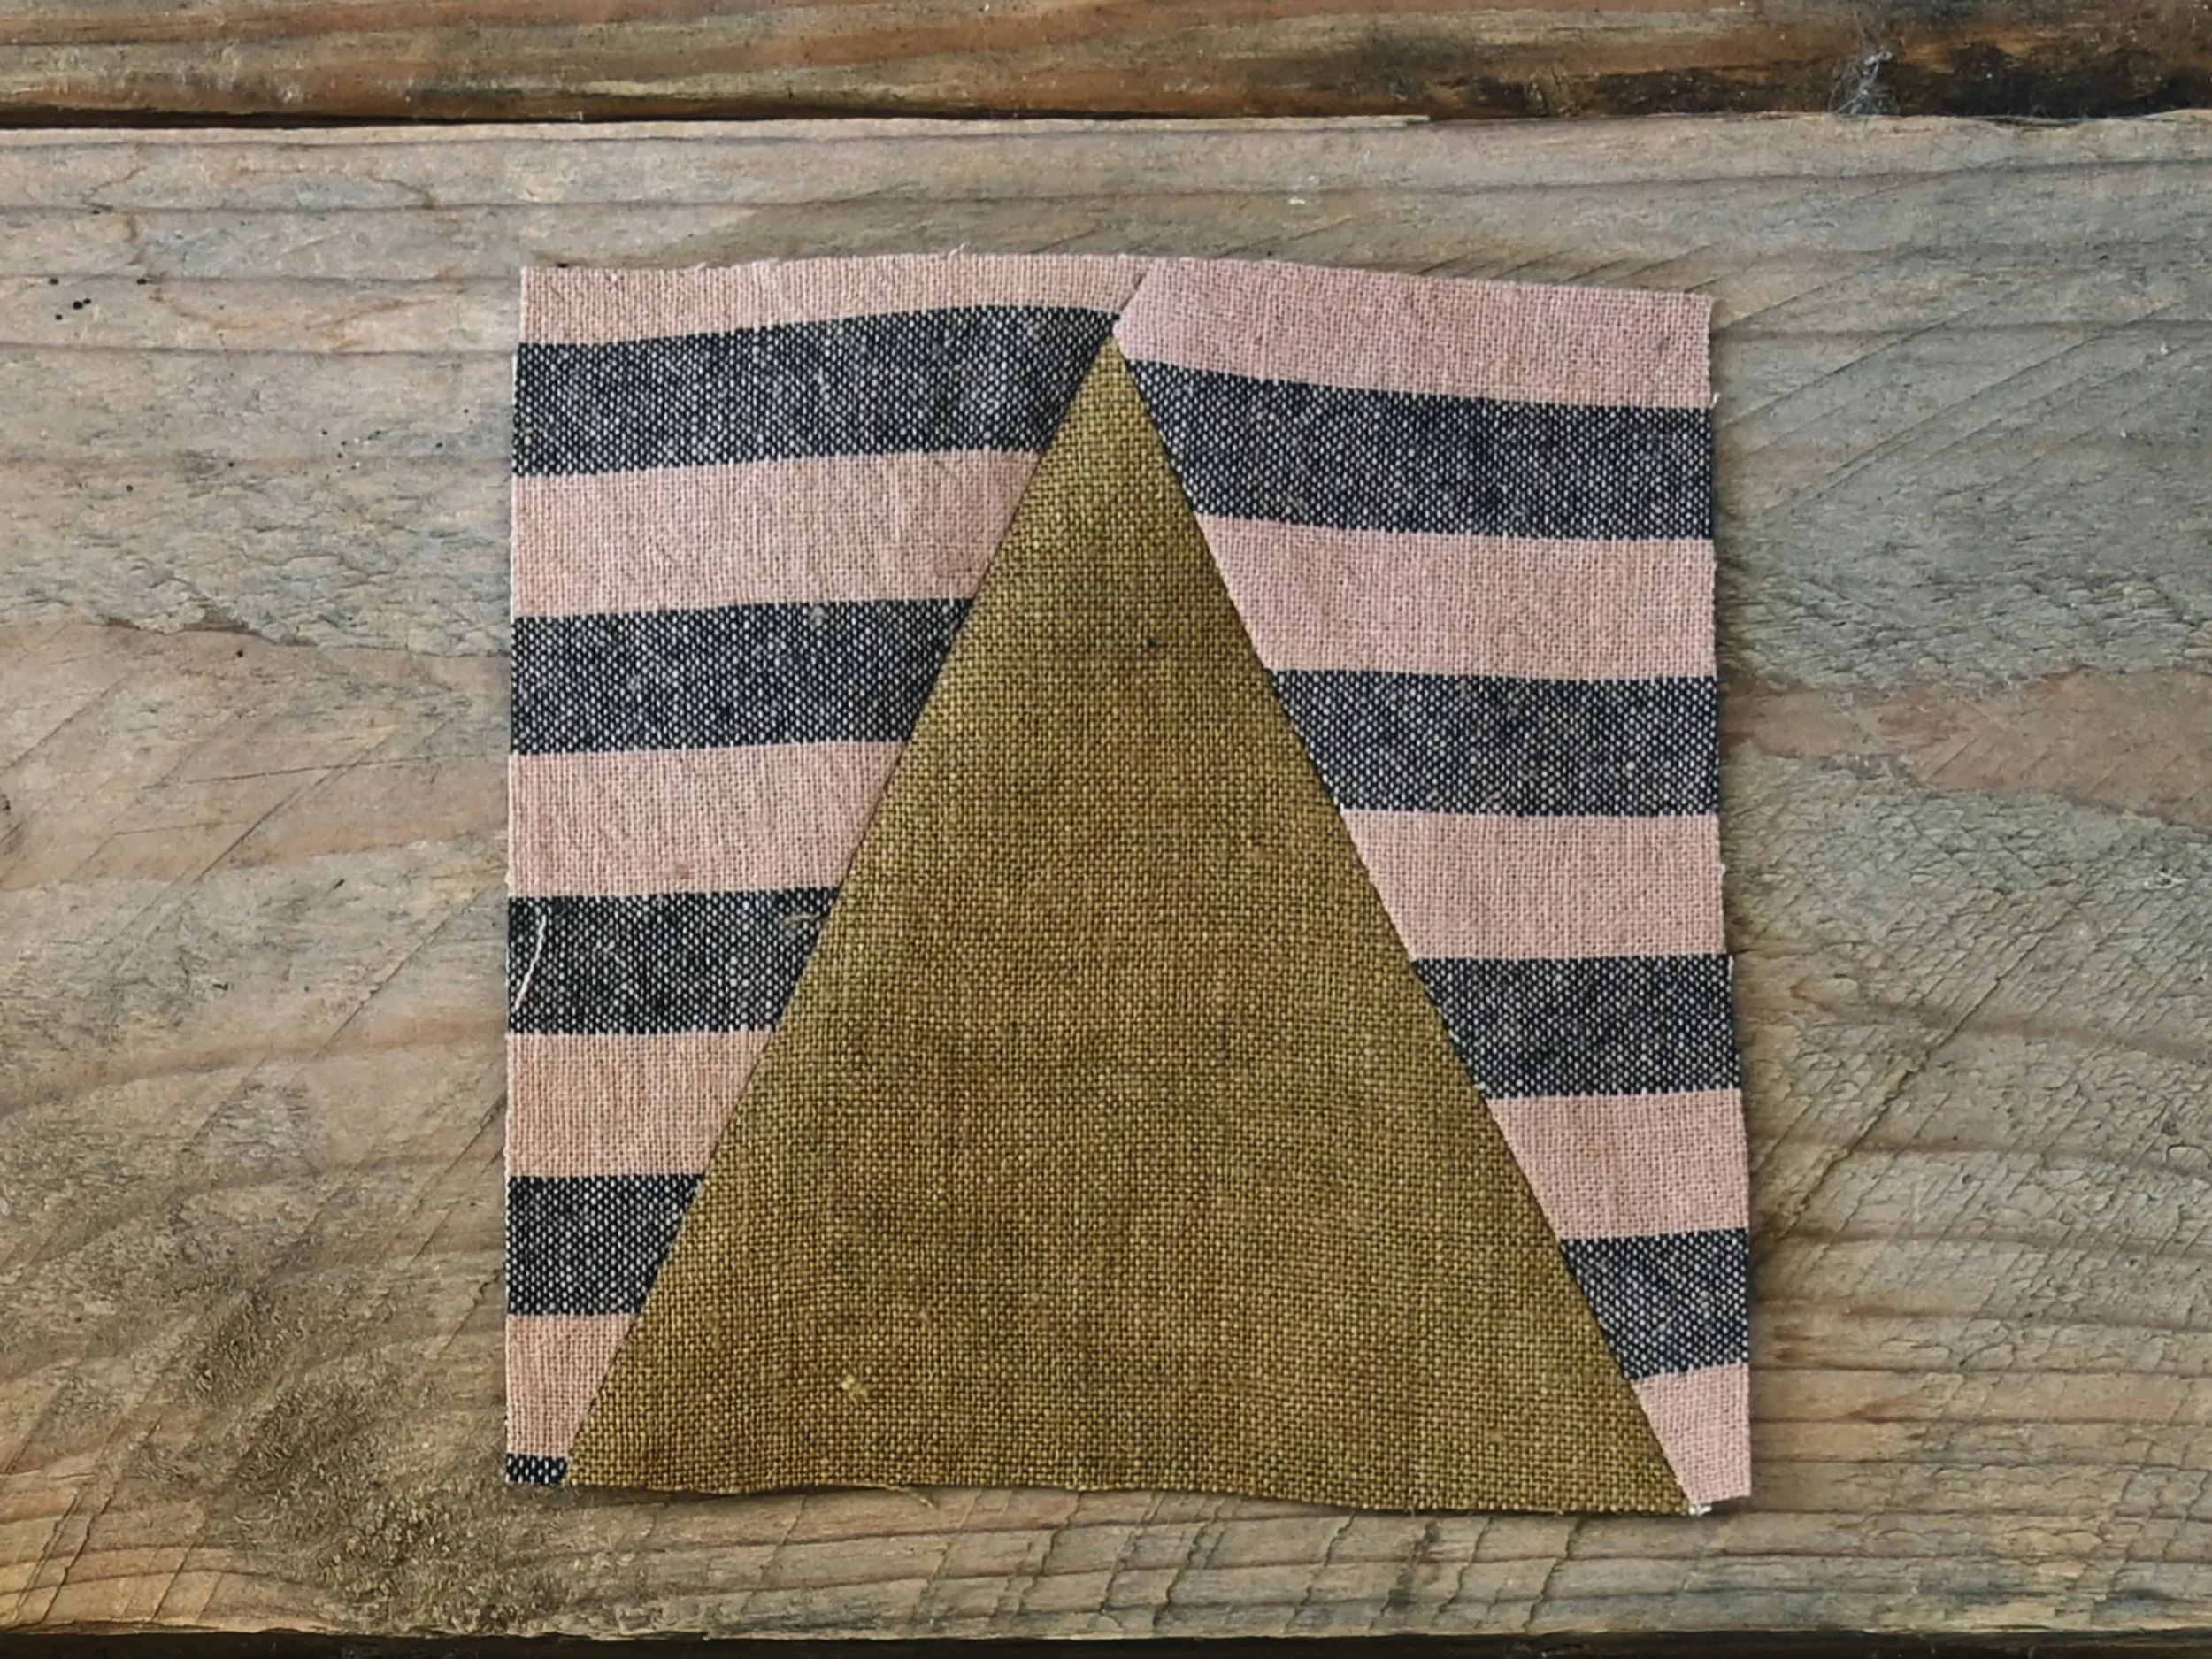
Triangle in a Square Quilt Block Tutorial
There are several different methods to make a Triangle in a Square quilt block. It’s a slightly finicky block to piece so many quilters prefer to paper piece it or to use specialty rulers. More often than not I prefer to figure out how to make blocks on my own without special tools, so in this tutorial I’ll walk you through creating a template set for a 4” finished Triangle in a Square block. You can use these instructions to make templates for any size block you desire. It’s very easy! A good amount of steps but I assure you, very easy.
Make the Templates
Supply List:
These are just my recommendations. I’m sure you can make do with what you have if you don’t have everything on this list.
1 piece of plain paper
1 piece of card stock paper
a mechanical pencil or very sharp pencil
a glue stick (or any kind of glue)
a quilter’s ruler
a rotary cutter
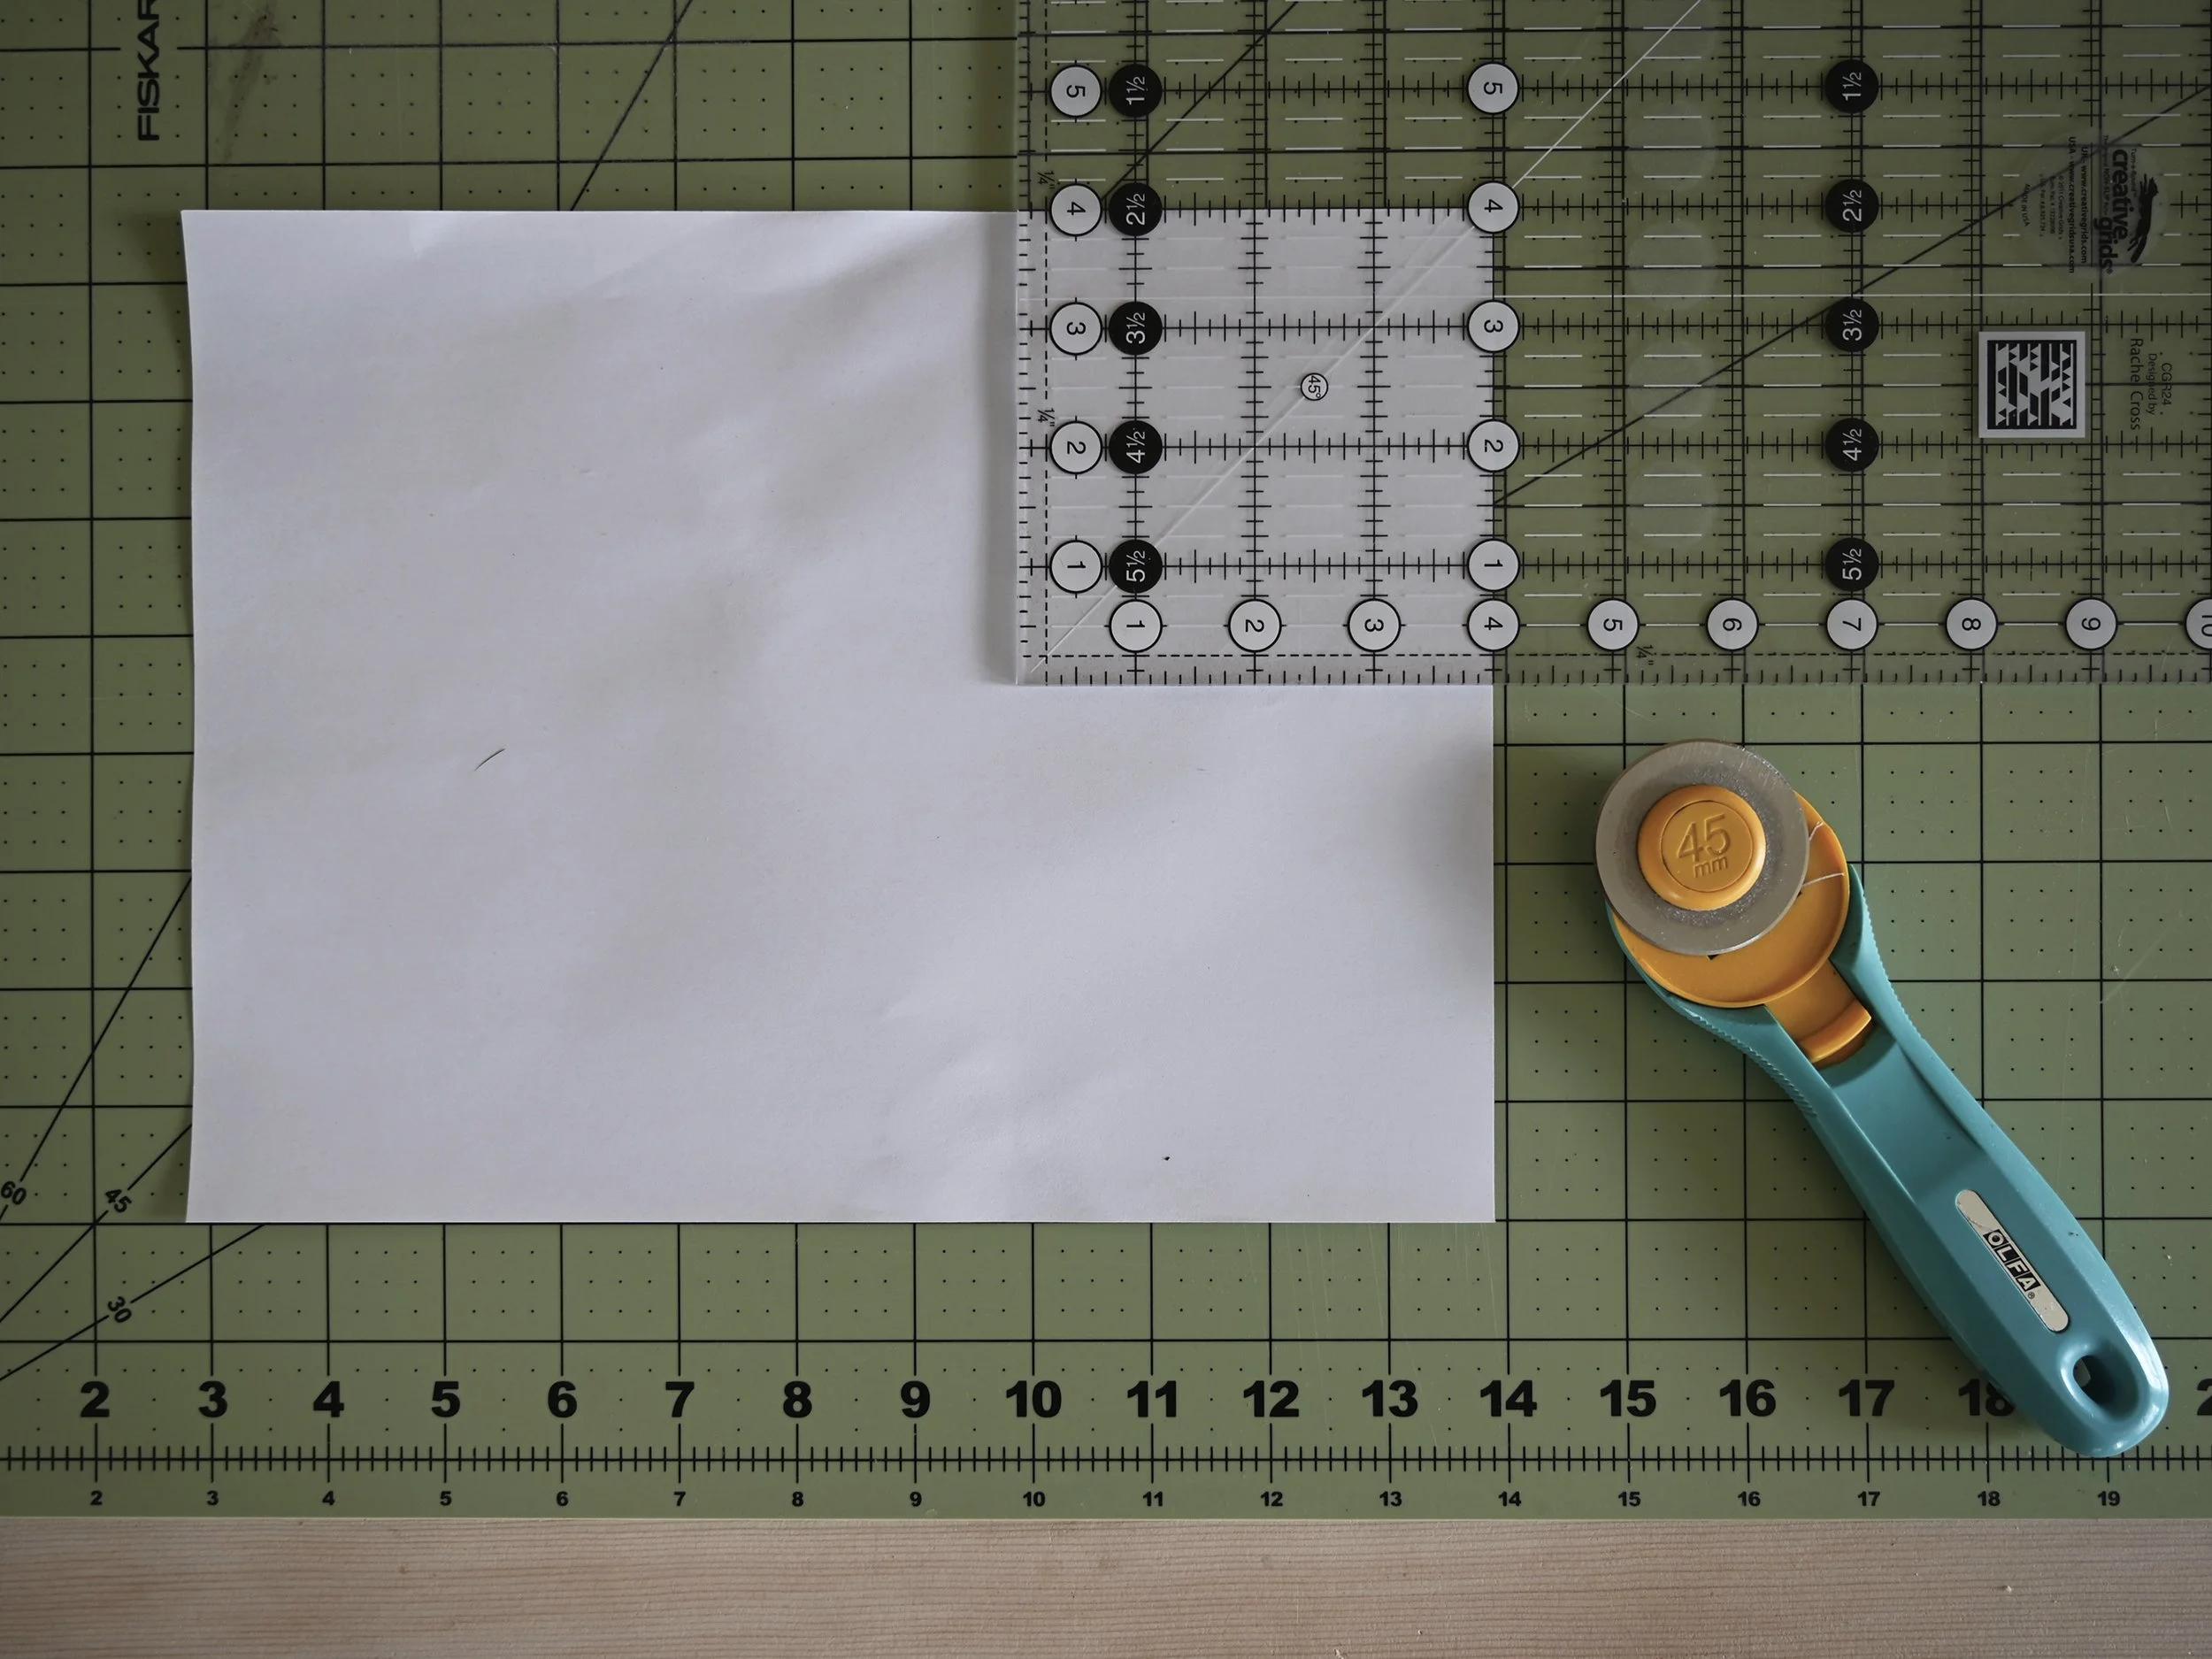
1) Cut a paper square the size you want your finished Triangle in a Square block to be. In the example I’m making a 4” finished block. I placed my quilter’s ruler over the corner of the paper and cut a 4” square.
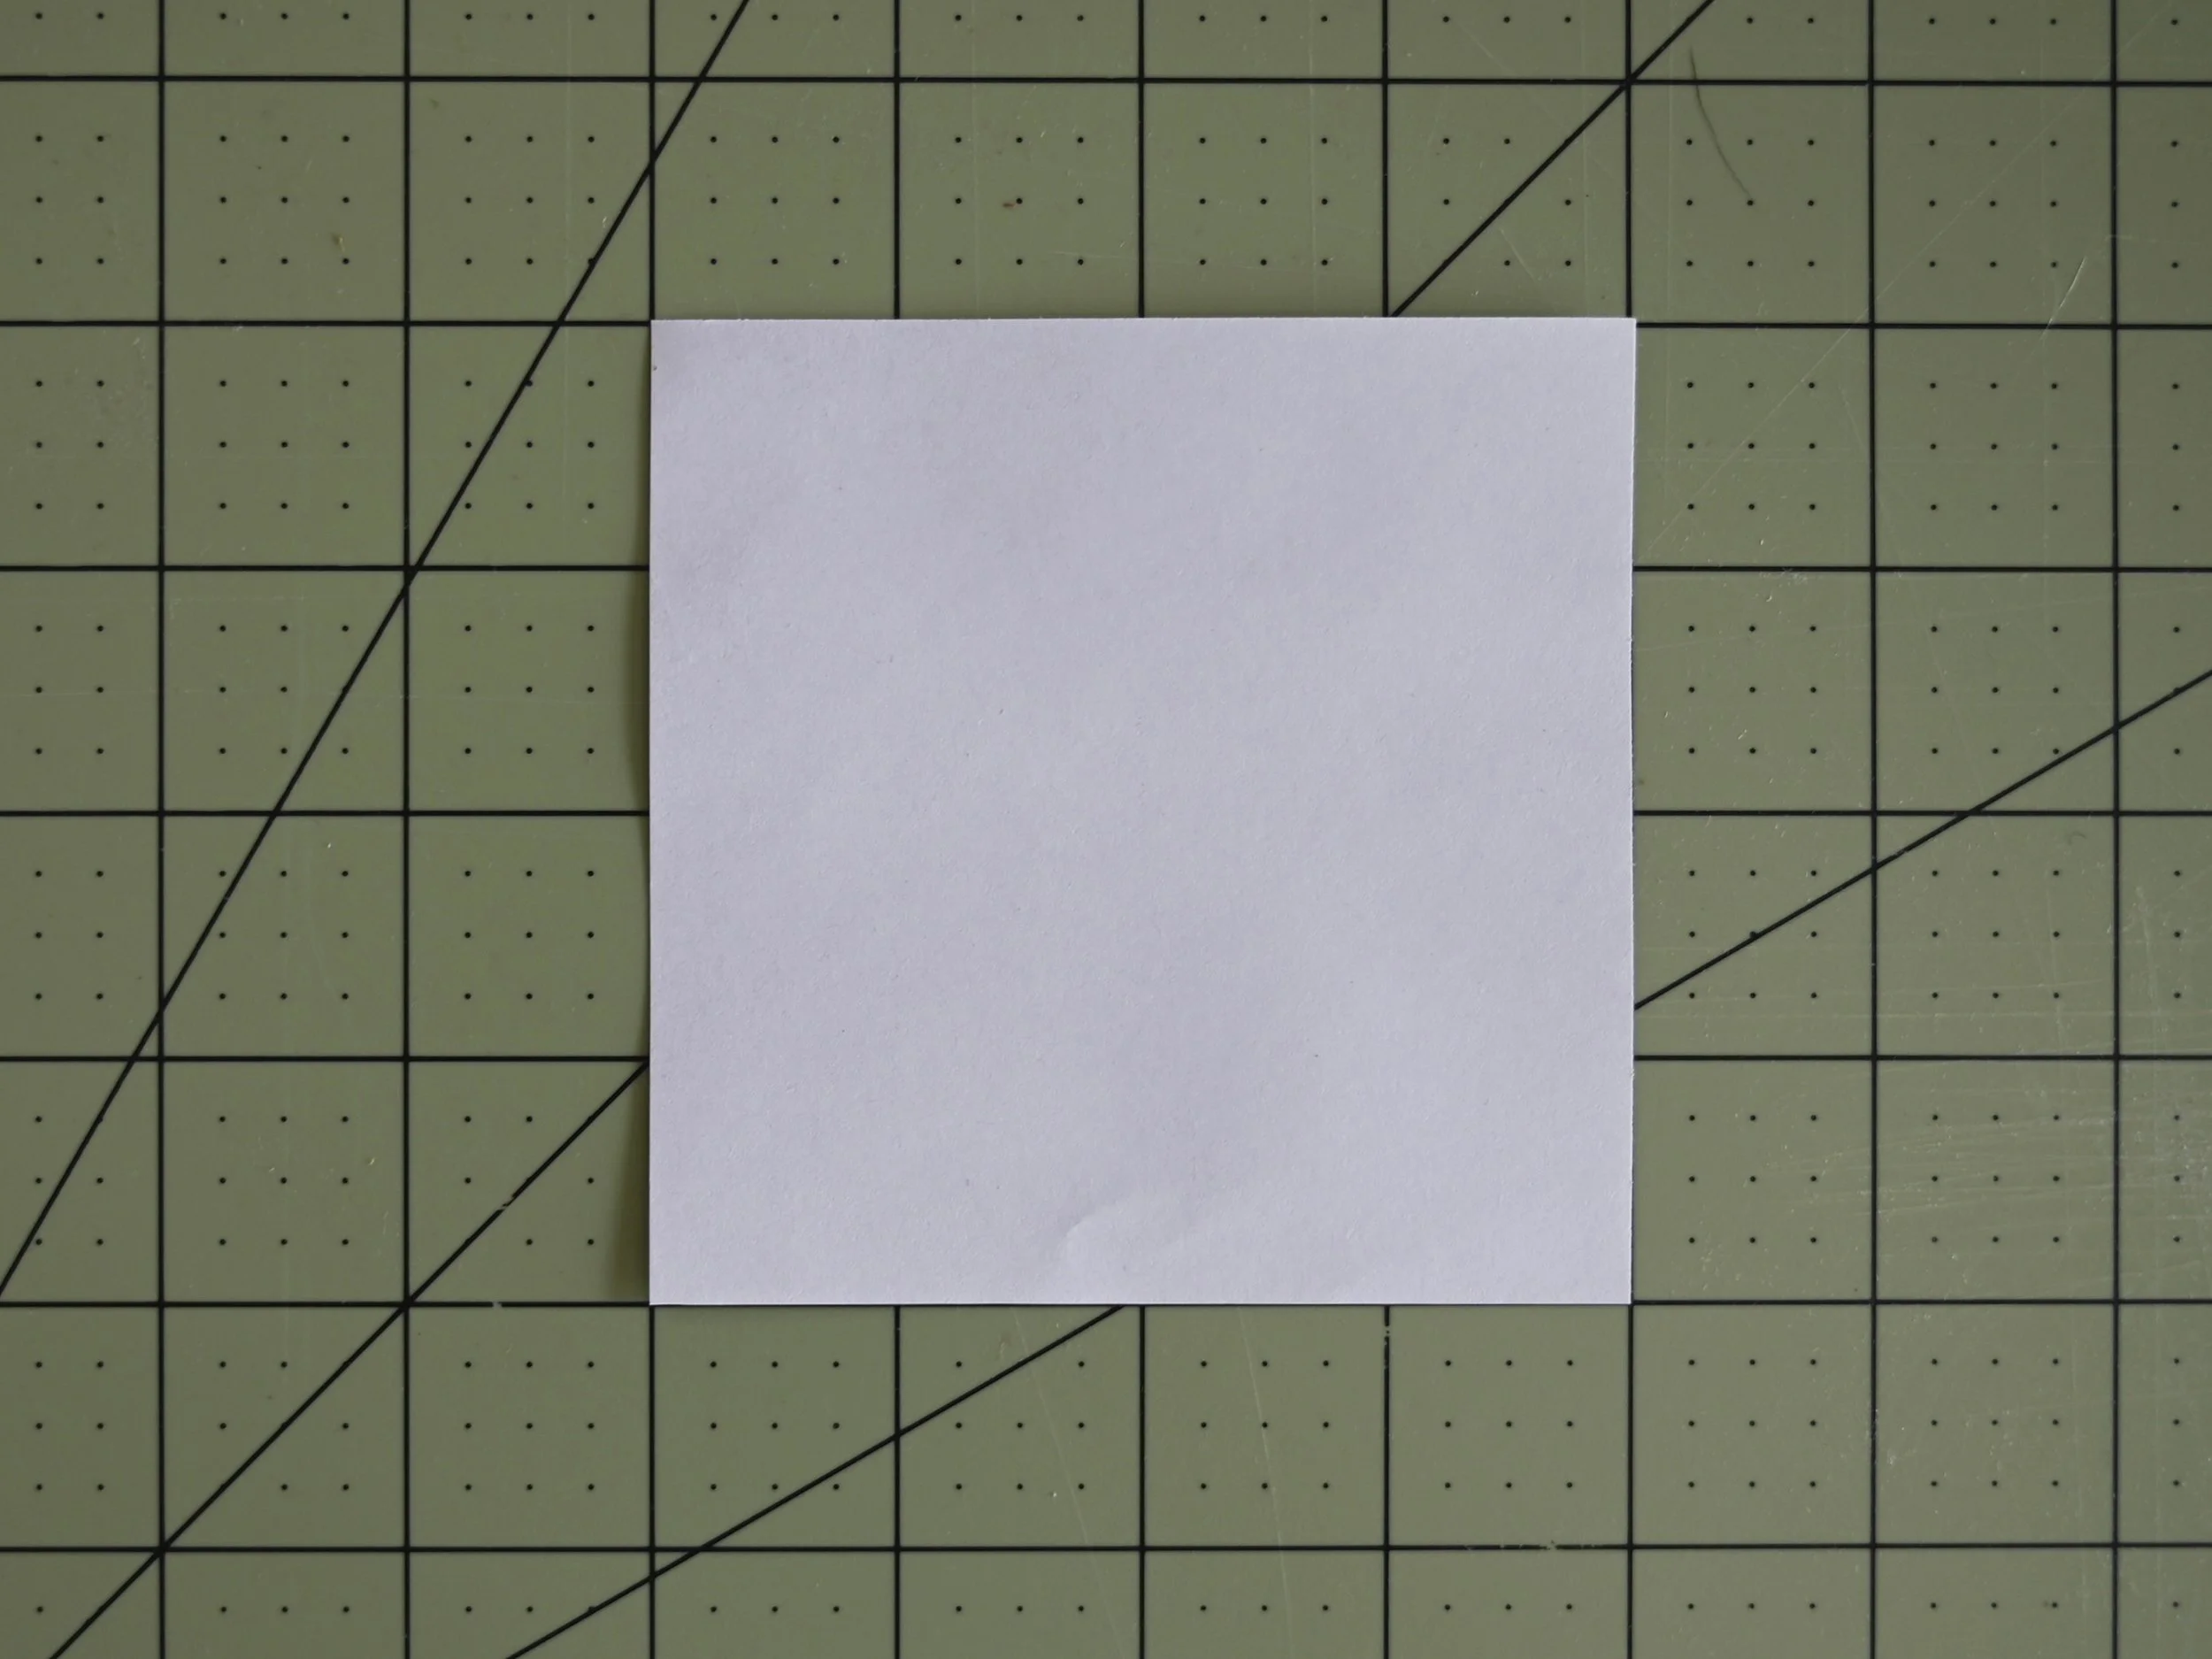
My 4” paper square
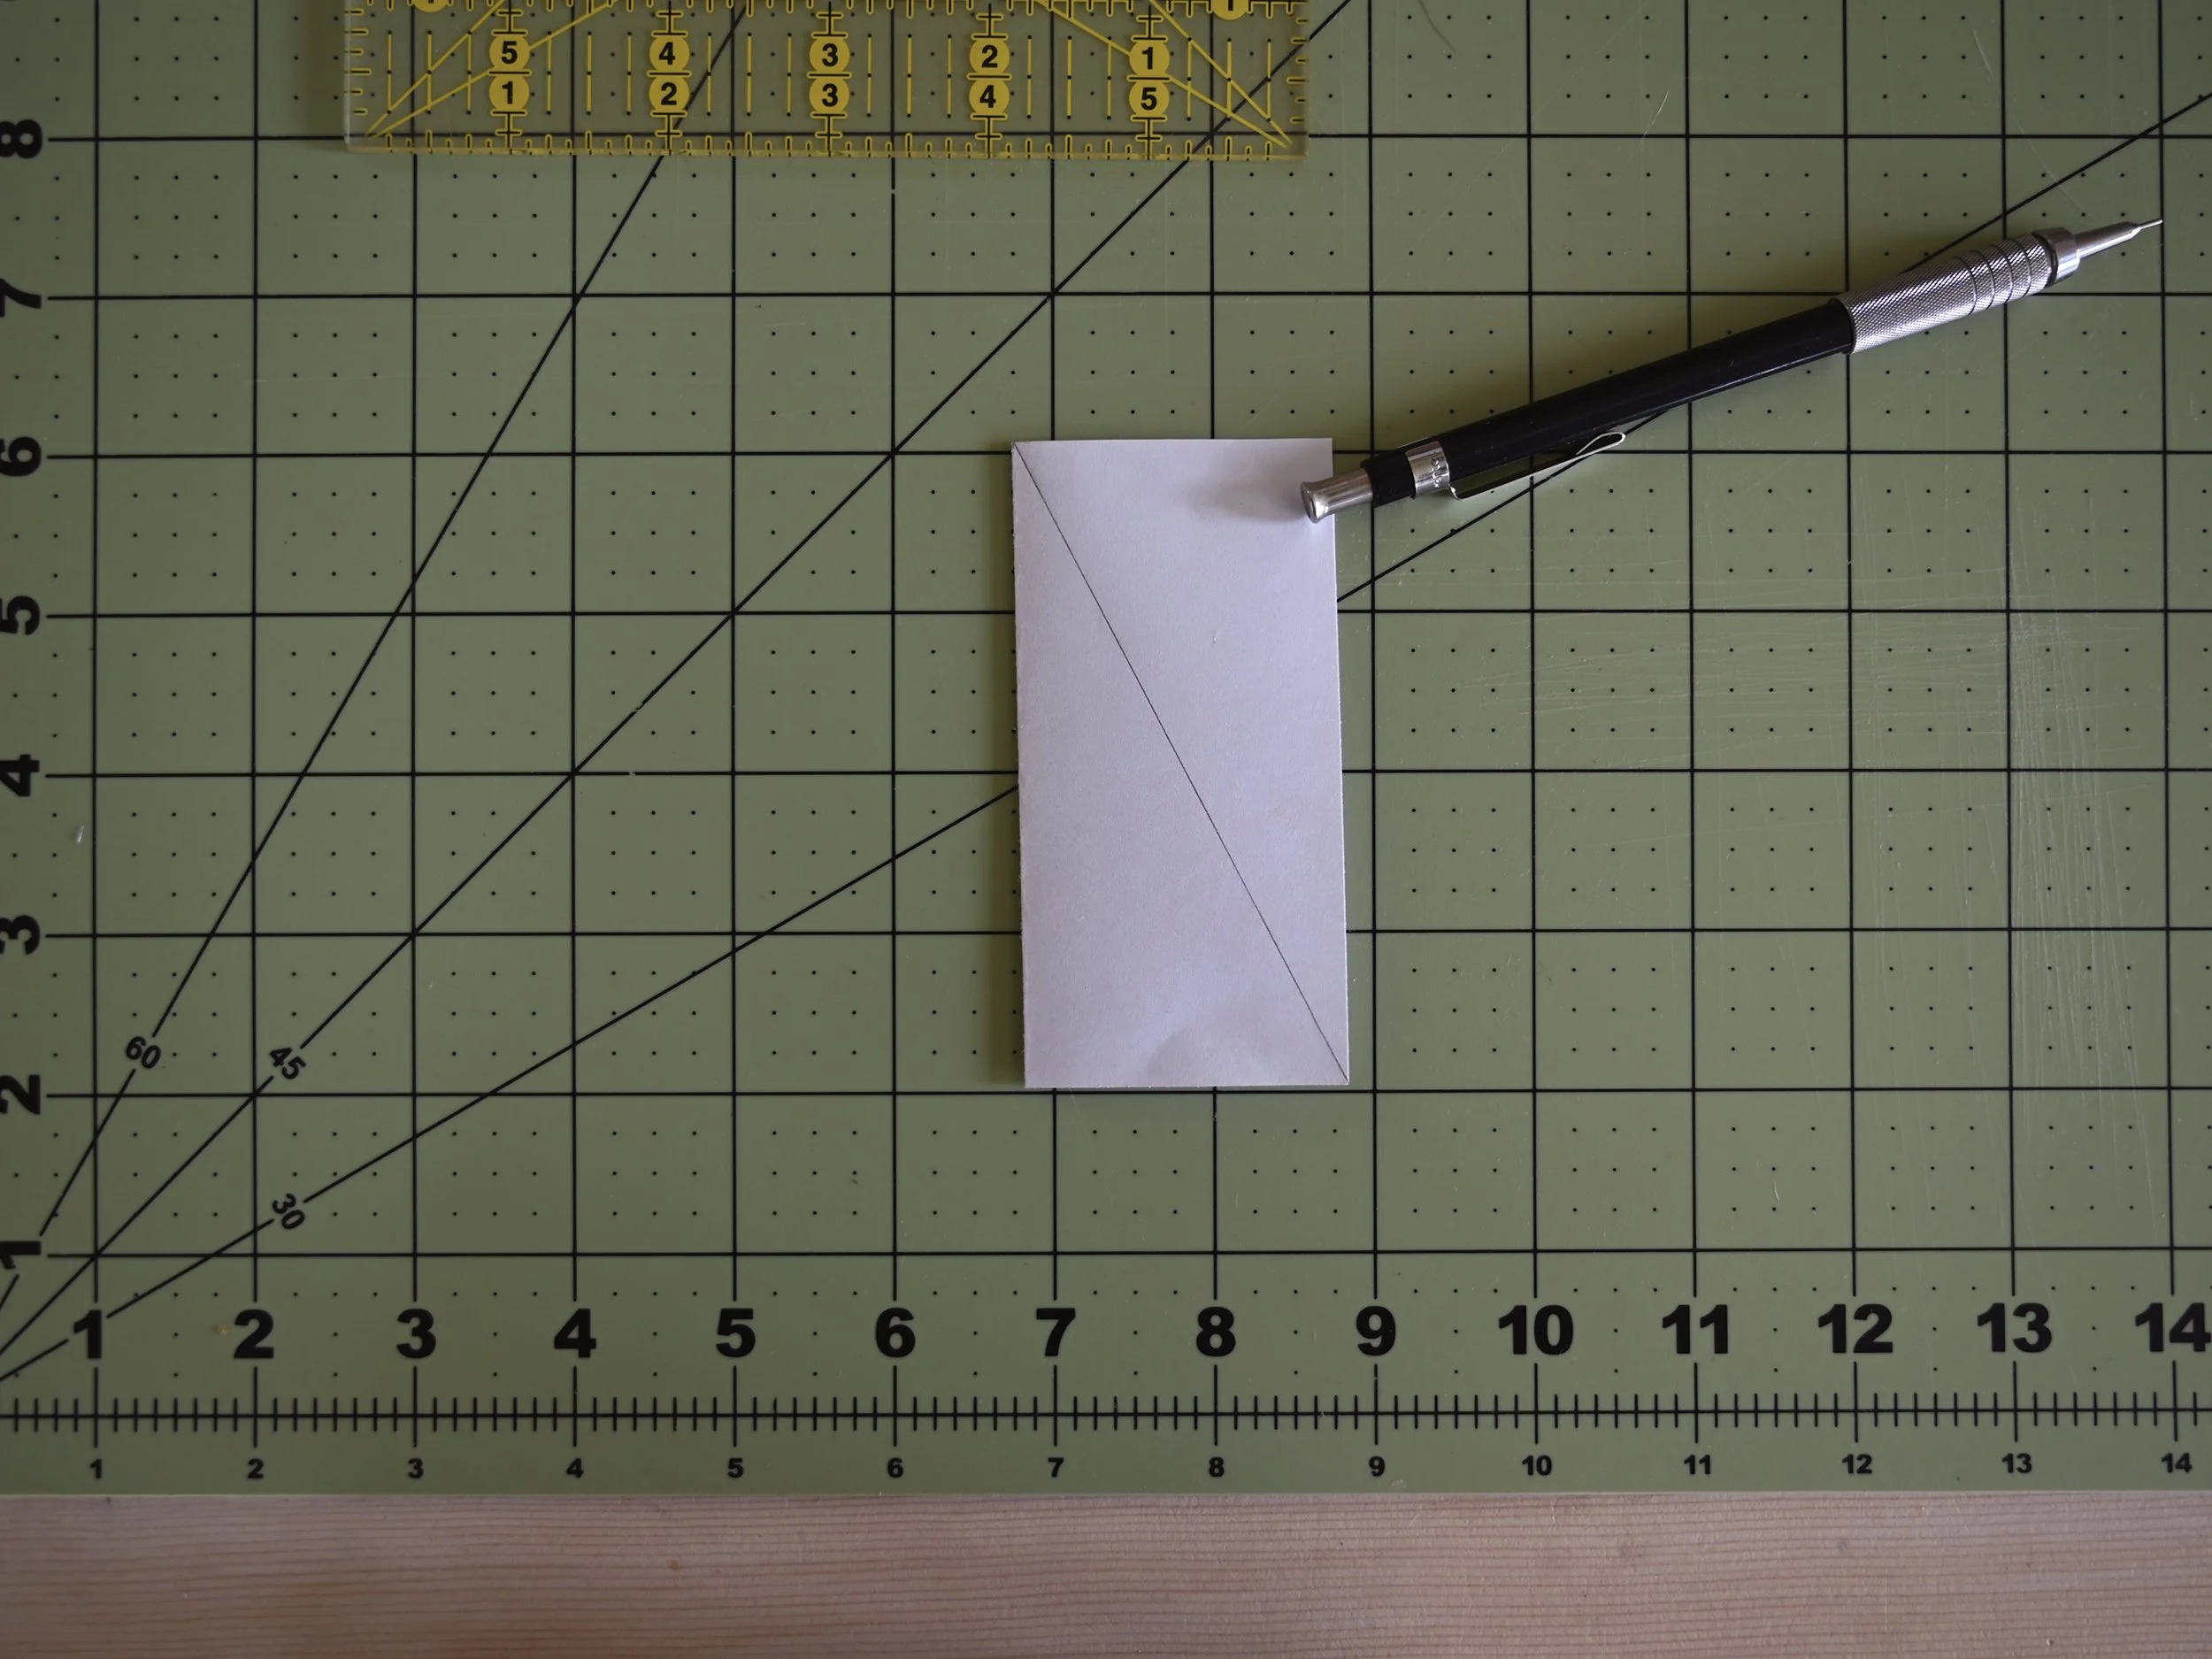
2) Fold the square in half being sure to line the corners up nicely. In the image below the folded edge is on the left. Use a mechanical pencil and a quilter’s ruler to mark a diagonal line from diagonal corner to corner as shown.
3) Use a rotary cutter and quilter’s ruler to cut along the marked line.

4) There are now 3 pieces: a center triangle and 2 side triangles. Since the side triangles are identical you only need to make 1 side triangle template so set one aside.

5) Use a glue stick to glue the shapes to a piece of card stock.

6) Use a quilter’s ruler and a mechanical pencil to add 1/4” seam allowances around the perimeter of each shape.


7) Use a rotary cutter and quilter’s ruler to cut out the shapes along the marked lines.

8) Place the center triangle on your work surface and use a quilter’s ruler to measure 1/4” above the tip of the smaller inner triangle as shown above in the image on the left. Use a rotary cutter to cut the tip off the larger outer triangle (right photo). The template should now be the height of your desired unfinished Triangle in a Square block. In this example my finished block size is 4” so my unfinished size is 4 1/2”.

9) Trim the tip off the side triangle template as shown in the previous step. After trimming off the tip, this triangle should also be the height of your unfinished block size.
Cut Fabric
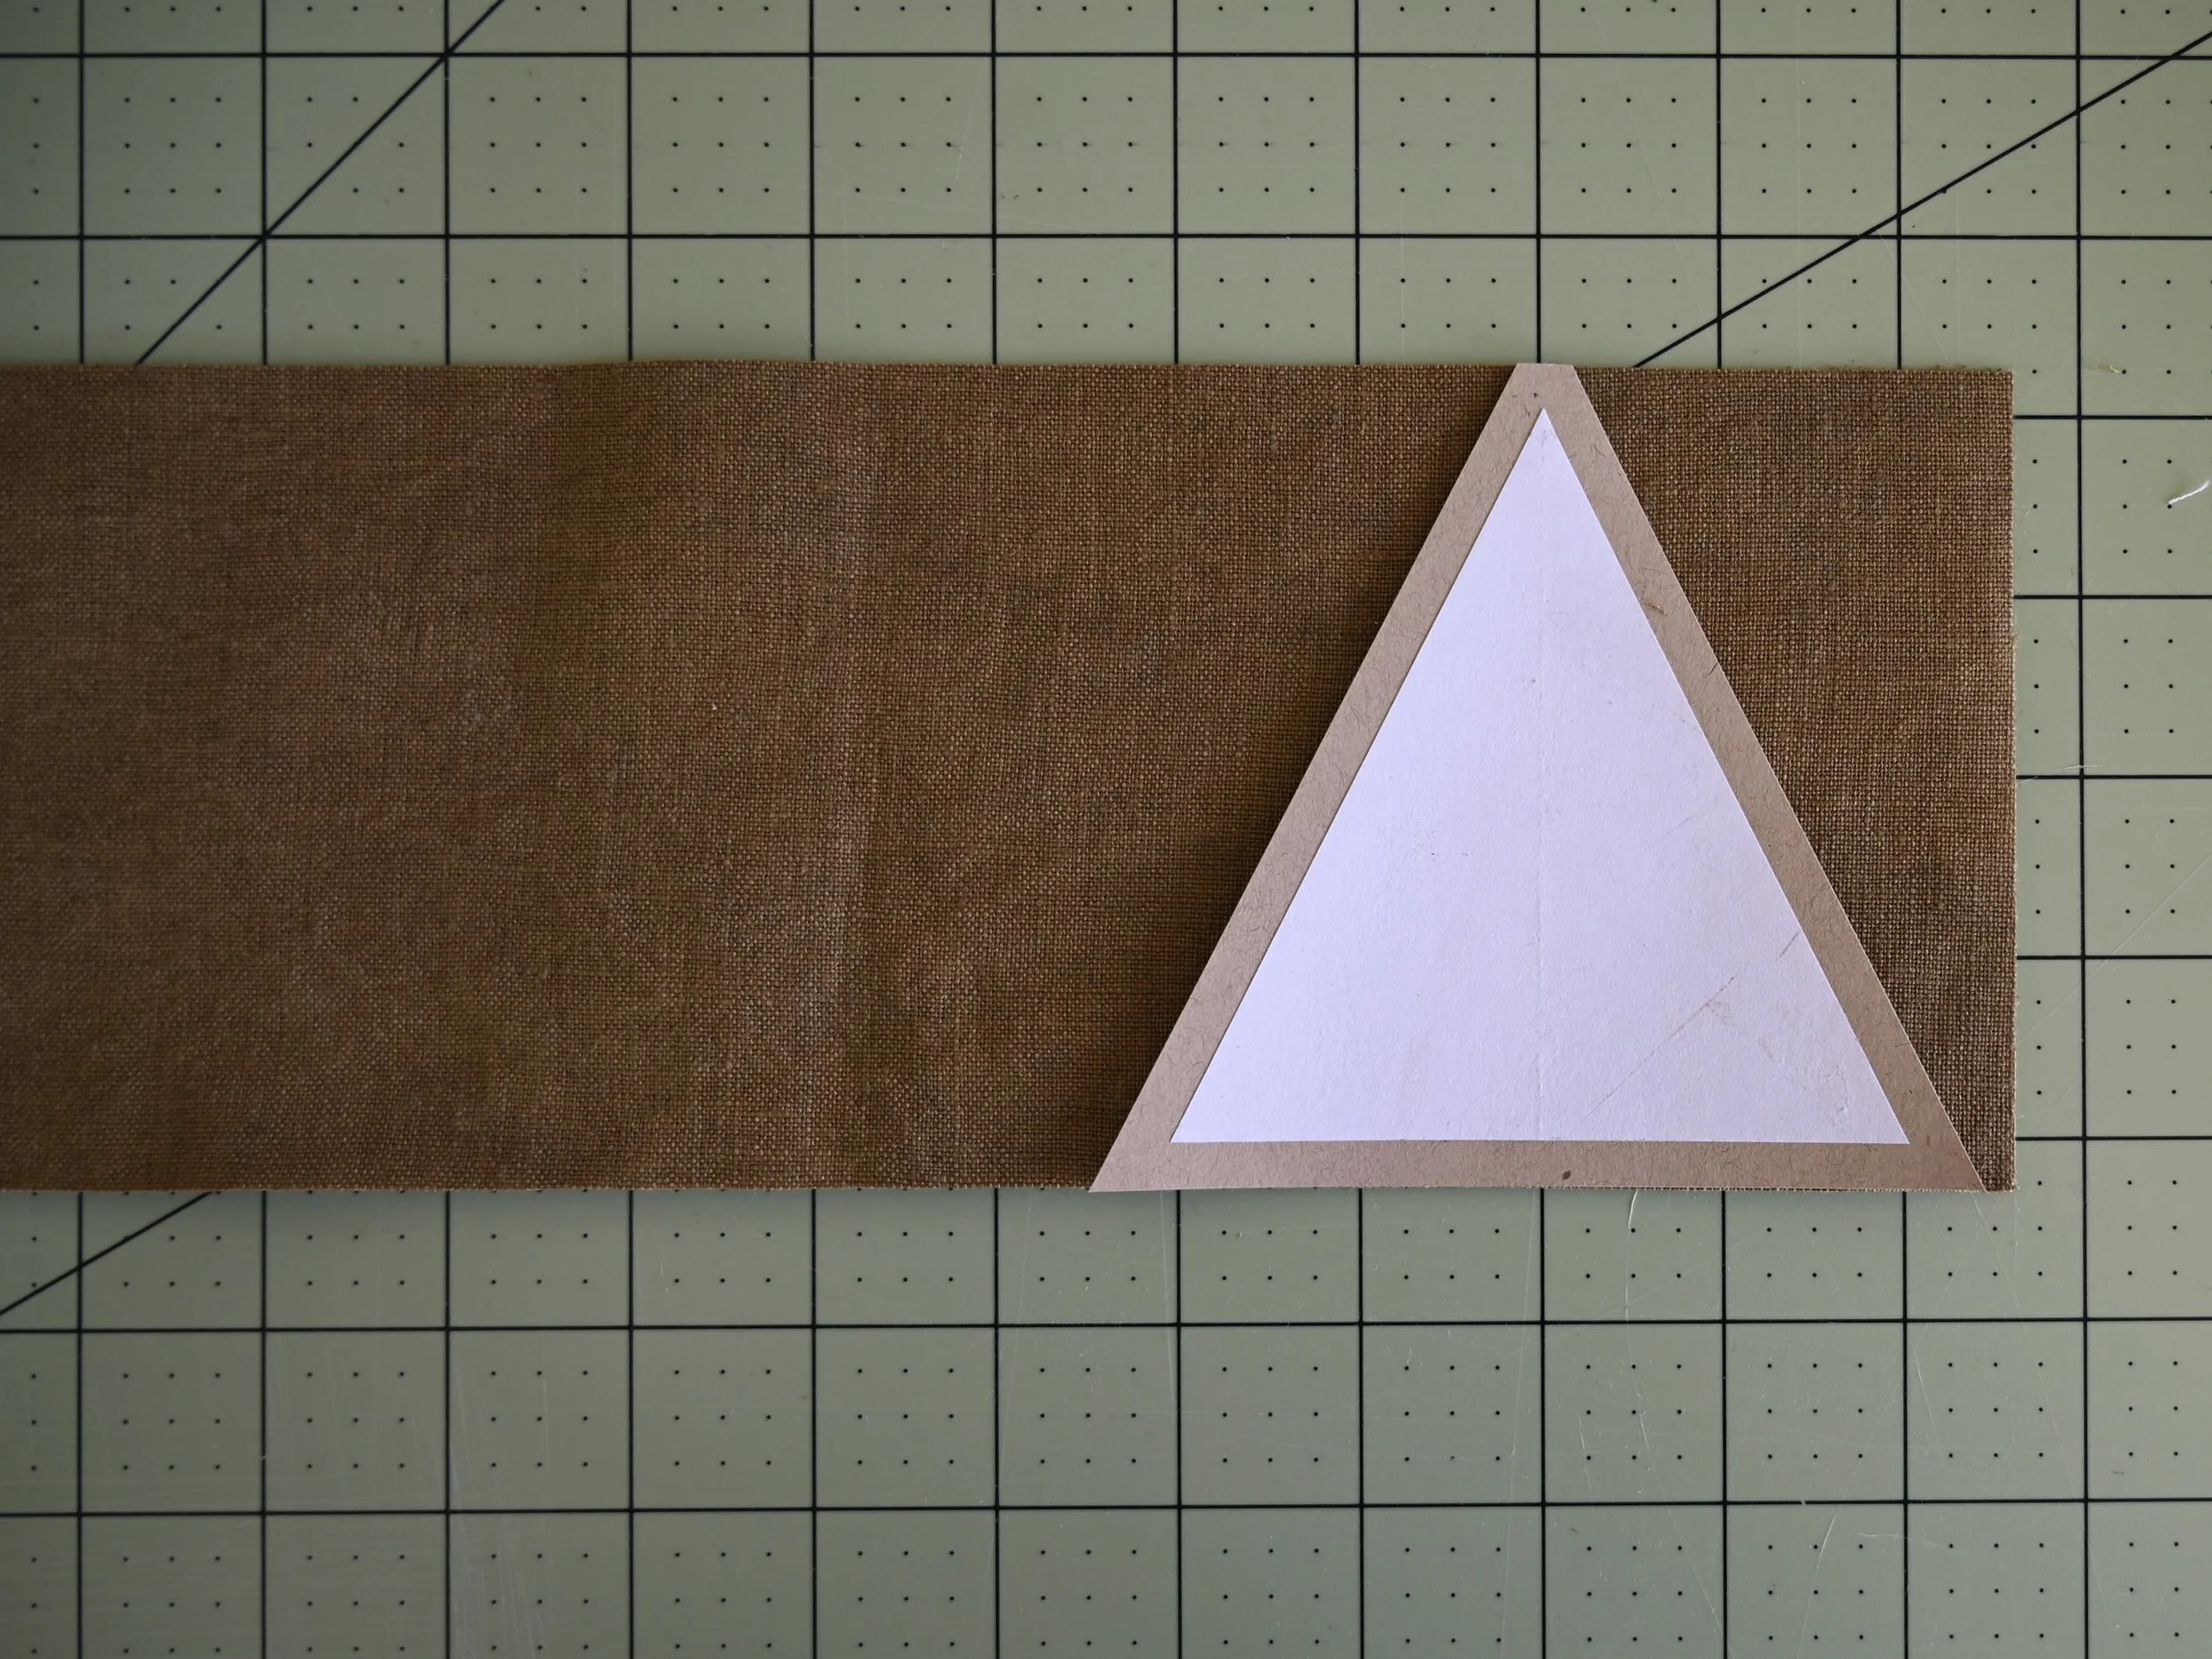
1) Cut a 4 1/2” wide strip (or whatever the measurement of your unfinished block) and place the center template over it as shown above.

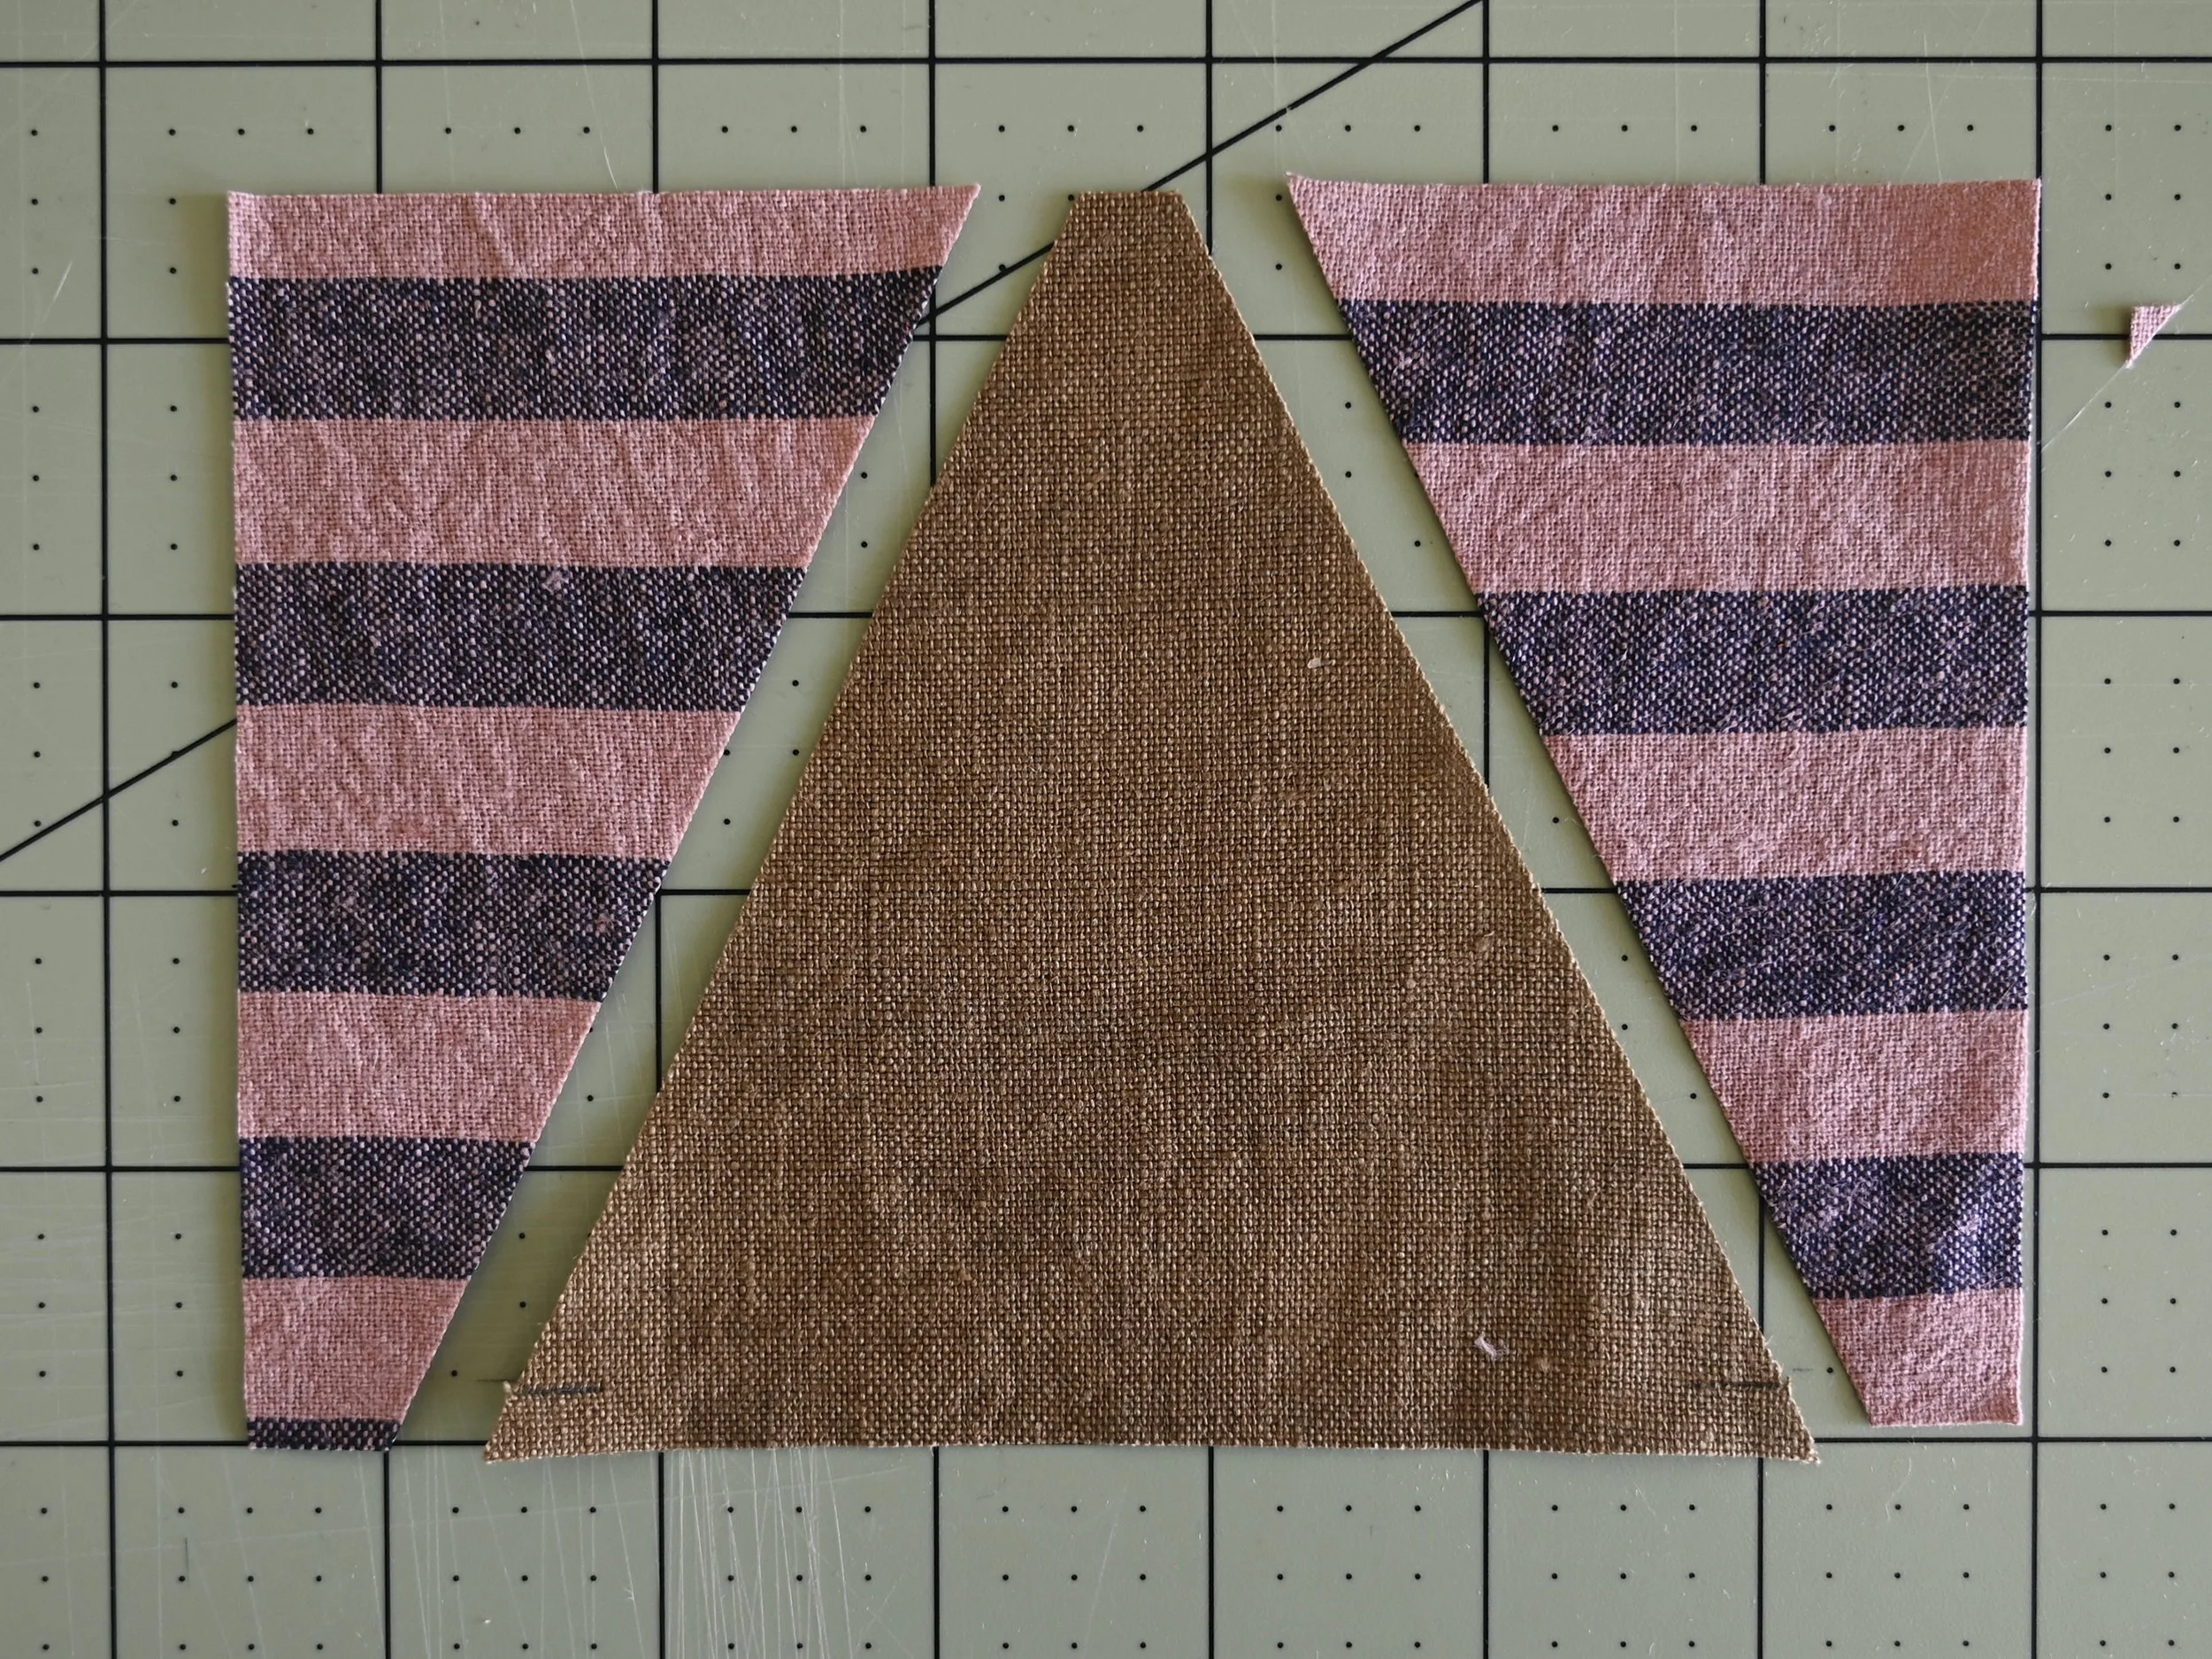
2) Use a rotary cutter and ruler to cut along the left and right edges being careful not to slice into your paper template. After cutting the first triangle rotate the template 180°, align all the edges, and cut your second triangle. You need 1 center triangle for each block so proceed cutting until you have as many as you need.

3) Fold your side triangle fabric in half so it’s double layered. Each center triangle needs 2 side triangles so you need twice as many. If you’re working with a print fabric be sure to fold the fabric so the right sides are facing each other (otherwise you’ll end up with 2 left or 2 right sides). Cut a 4 1/2” strip (or whatever the size of your unfinished block) and use the template to cut pairs of side triangles as shown above.

4) Place your center triangles on your work surface and use a quilter’s ruler (left photo) and a mechanical pencil to make little marks 1/4” above the bottom corners (right photo).
Assemble the Block
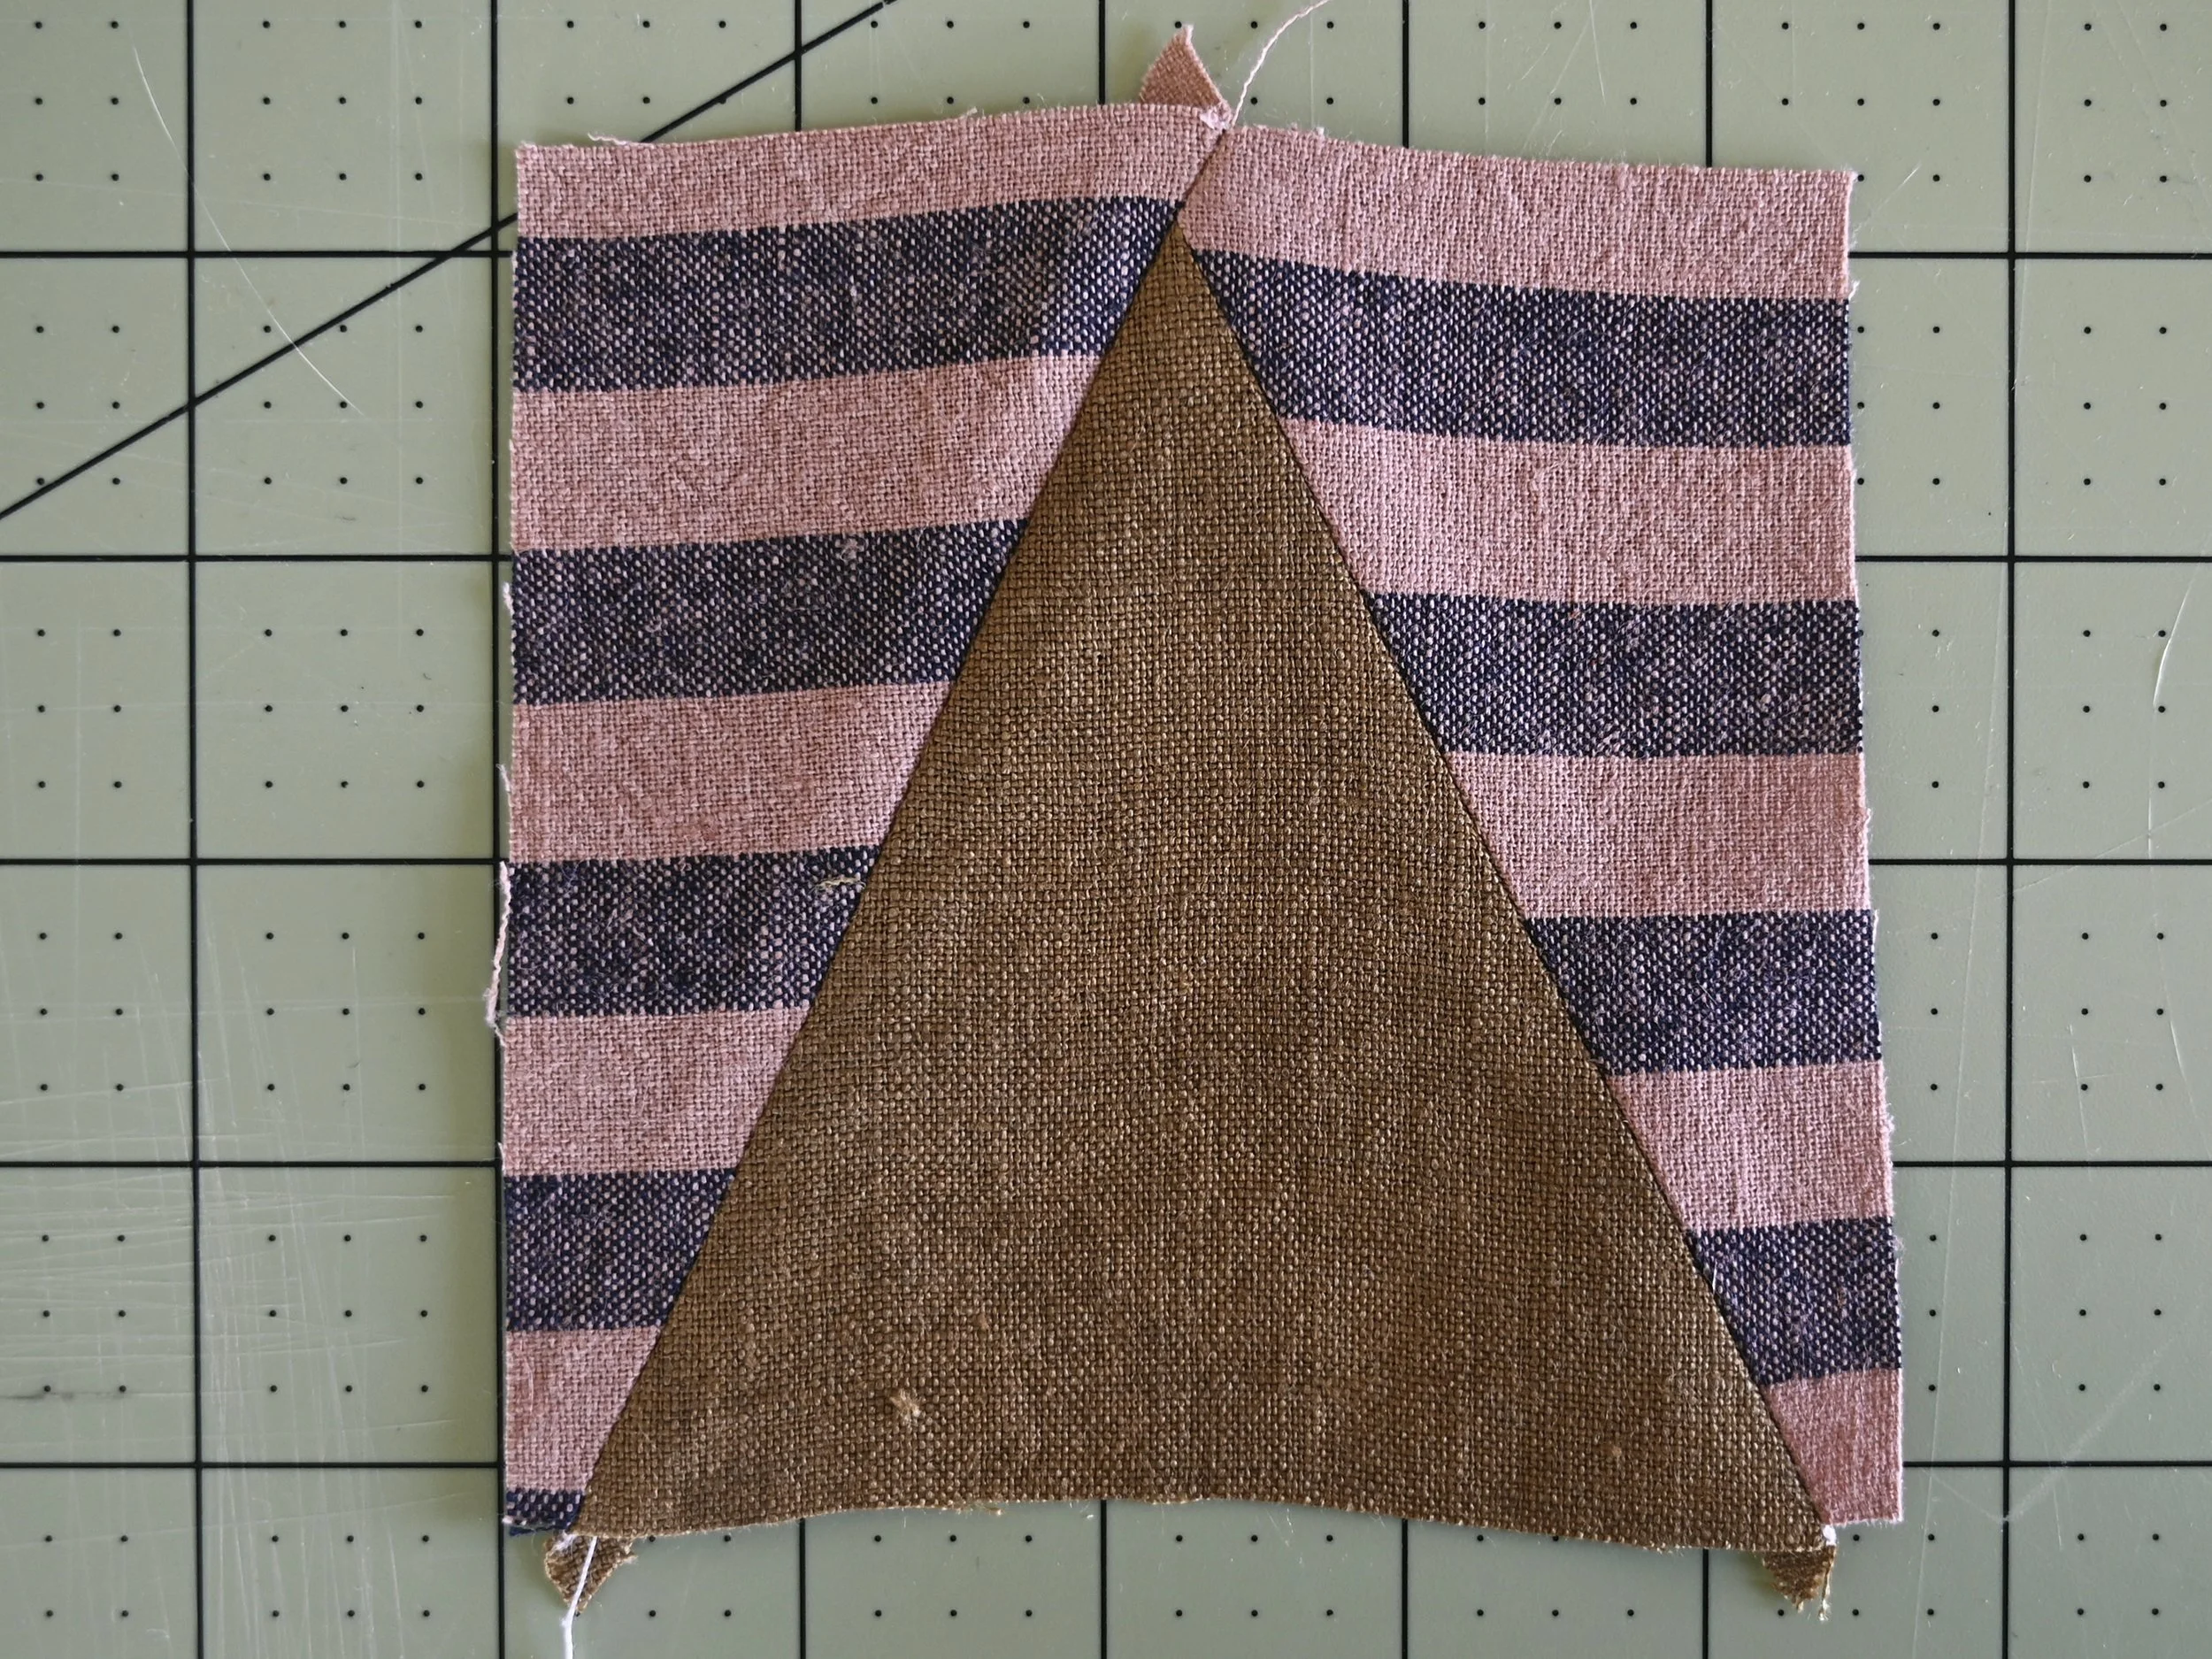
1) Place a center triangle and 2 side triangle on your work surface as shown above.
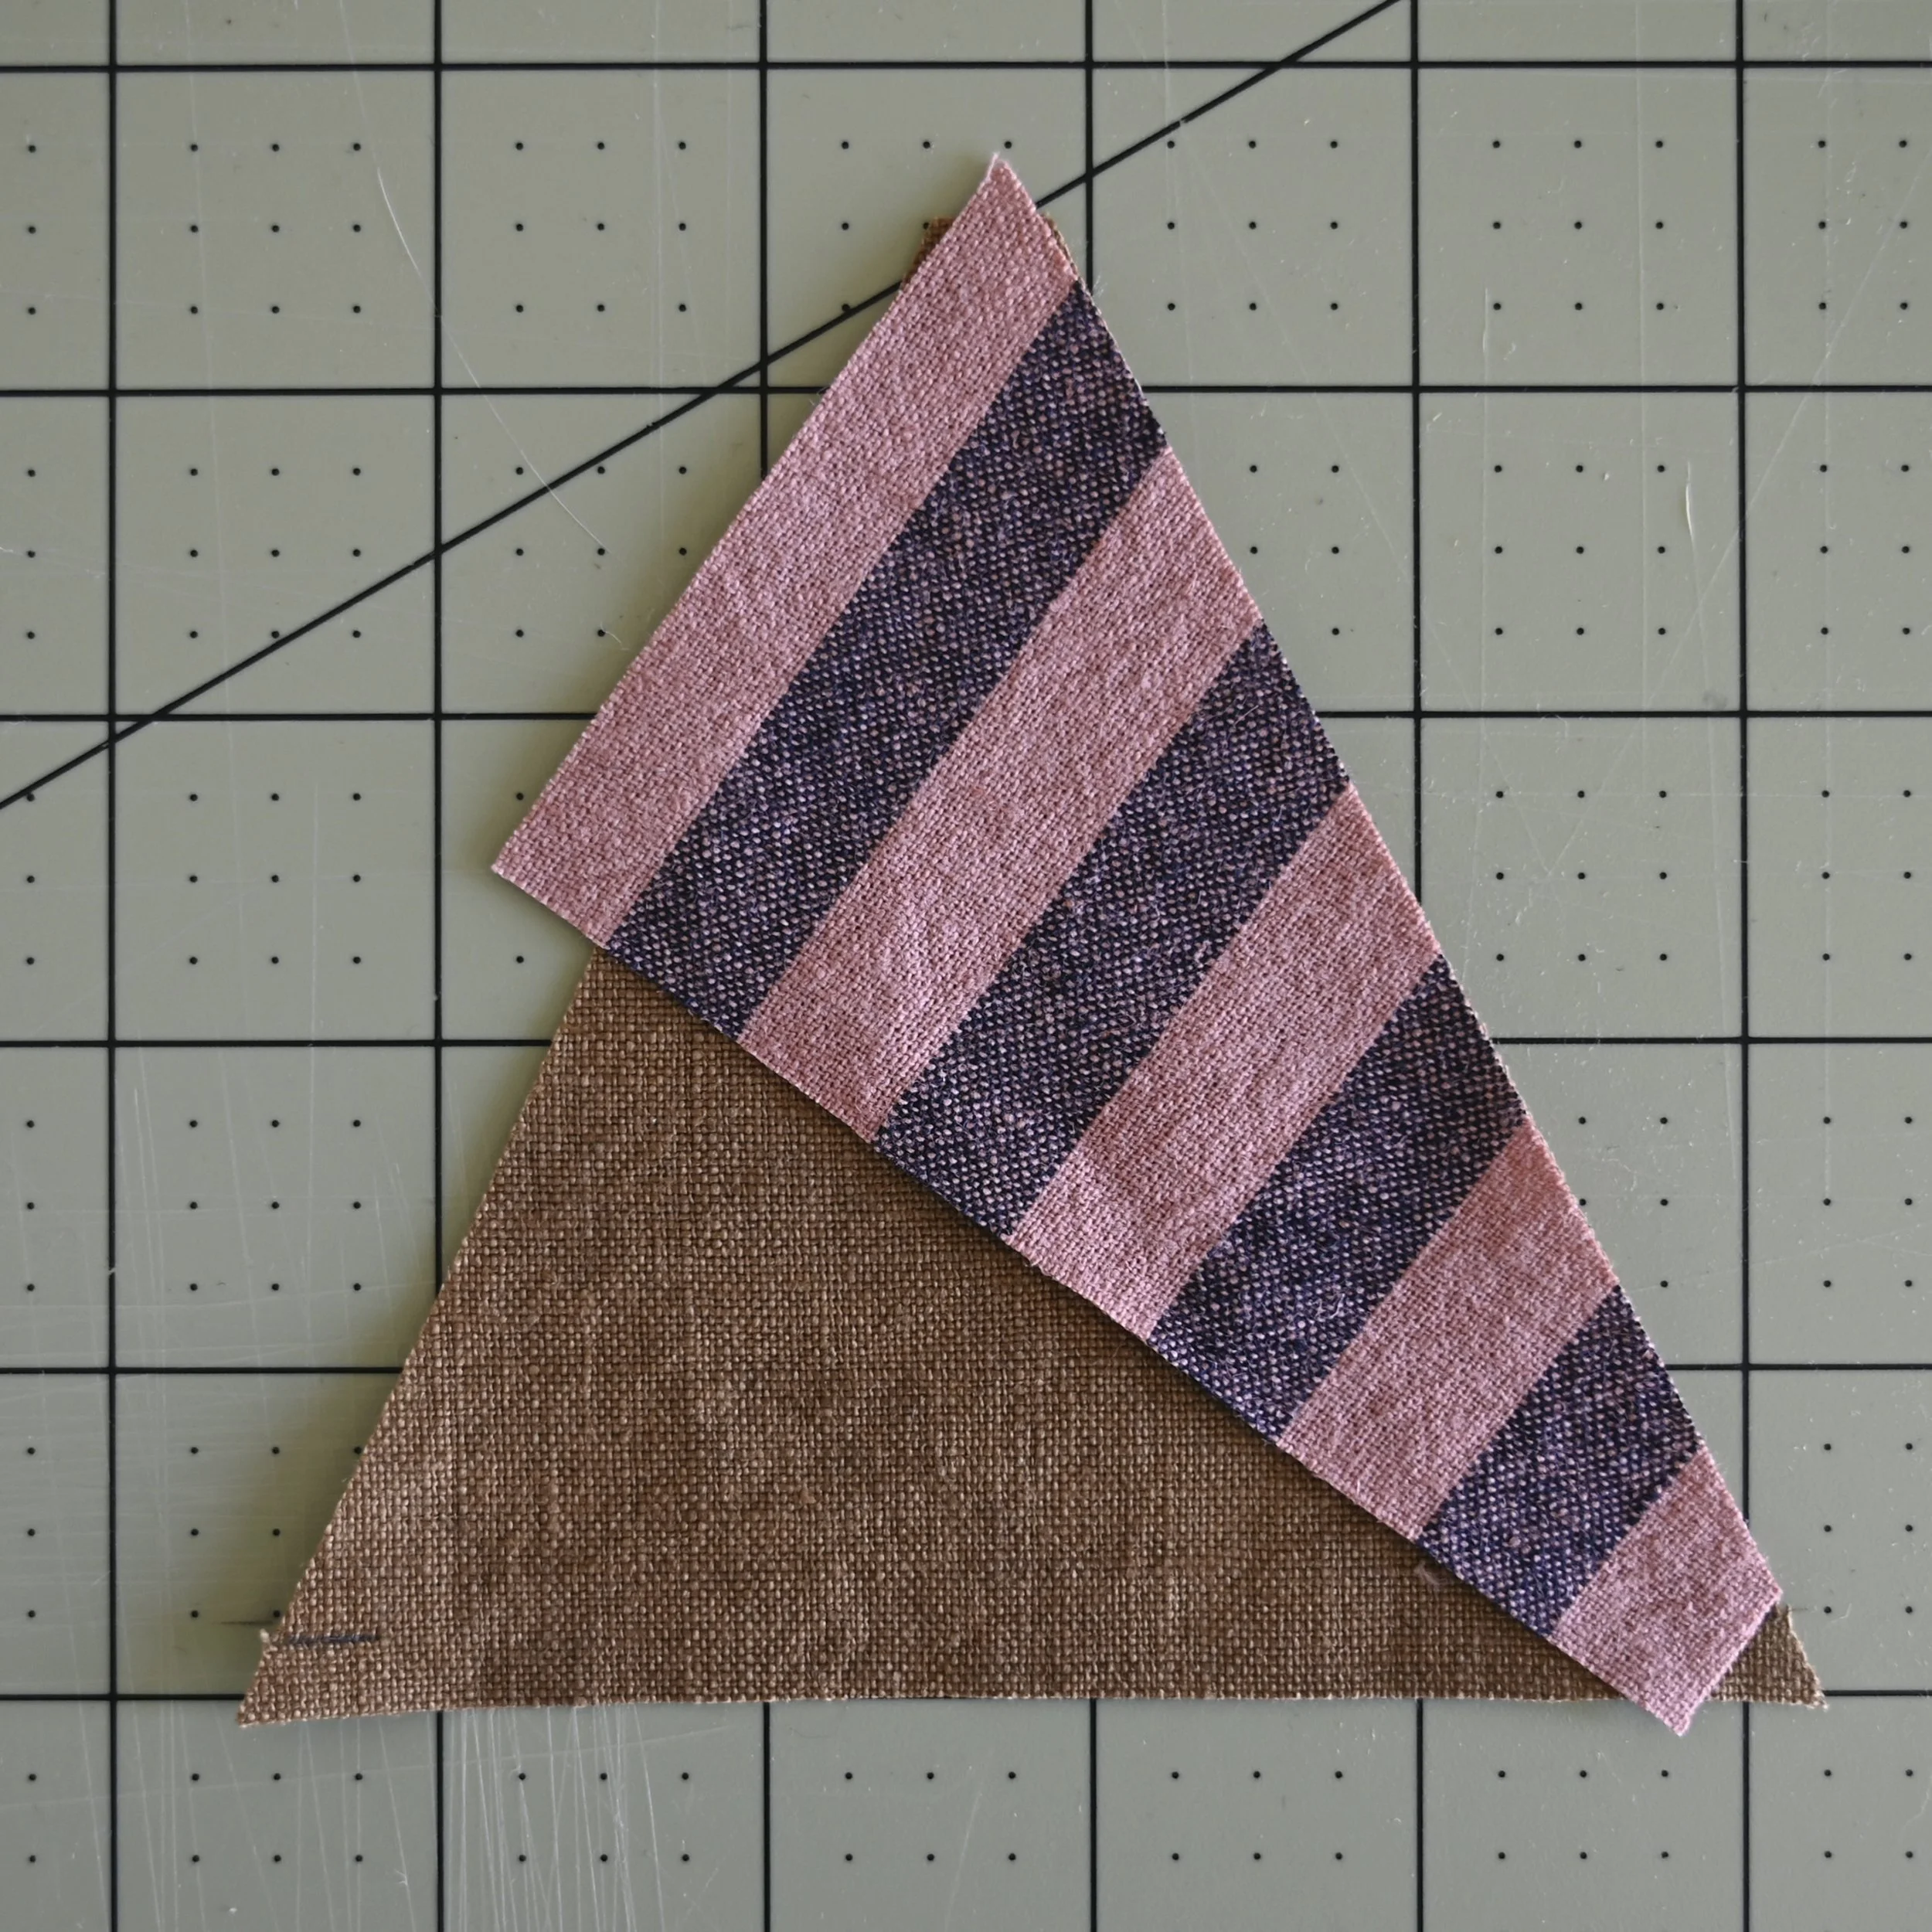
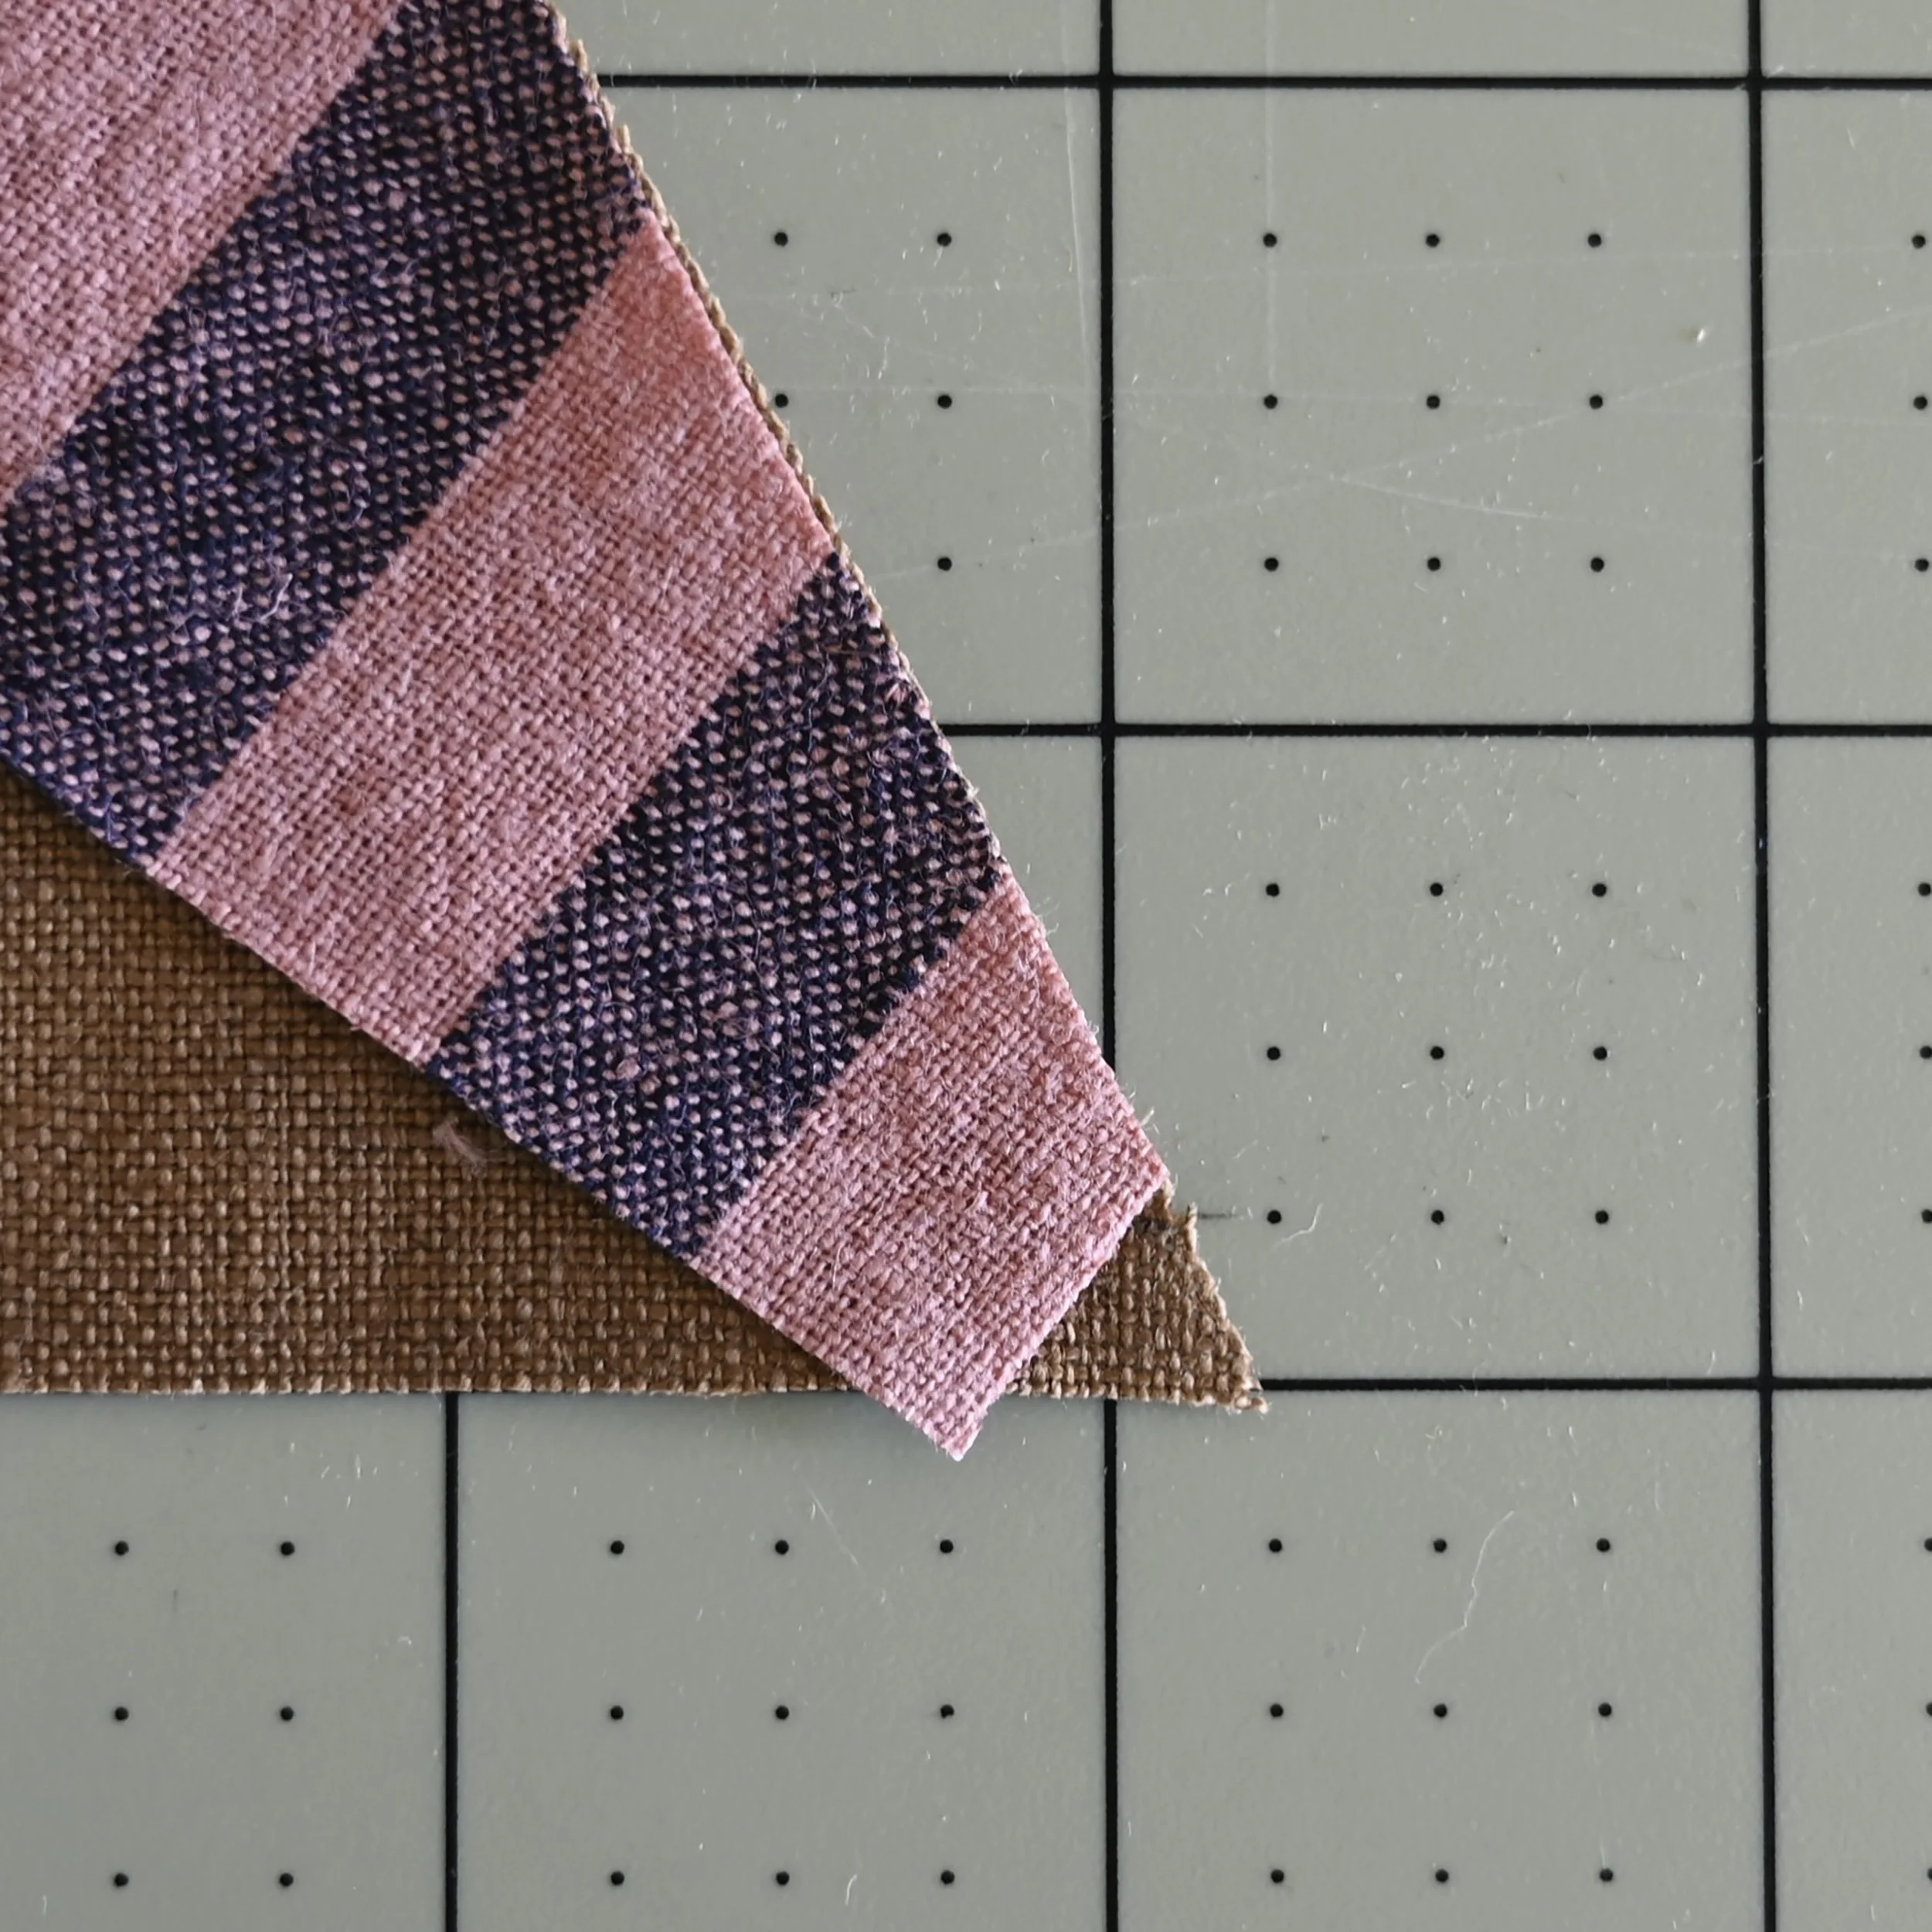
2) Place the right side triangle on top of the center triangle with the right sides facing. Align the blunt tip of the side triangle to the pencil mark you made in step 4. See the closeup below.
3) Pin the pieces together and use a 1/4” seam to sew them together. If you’re using a 1/4” seam foot which tends to sew a slightly larger than 1/4” seam you might want to remove it and use a regular foot so you can make a true 1/4”, or scant 1/4” seam. Press the seam open.

4) Repeat step 3 to sew the left side triangle to the center triangle and press the seam open.
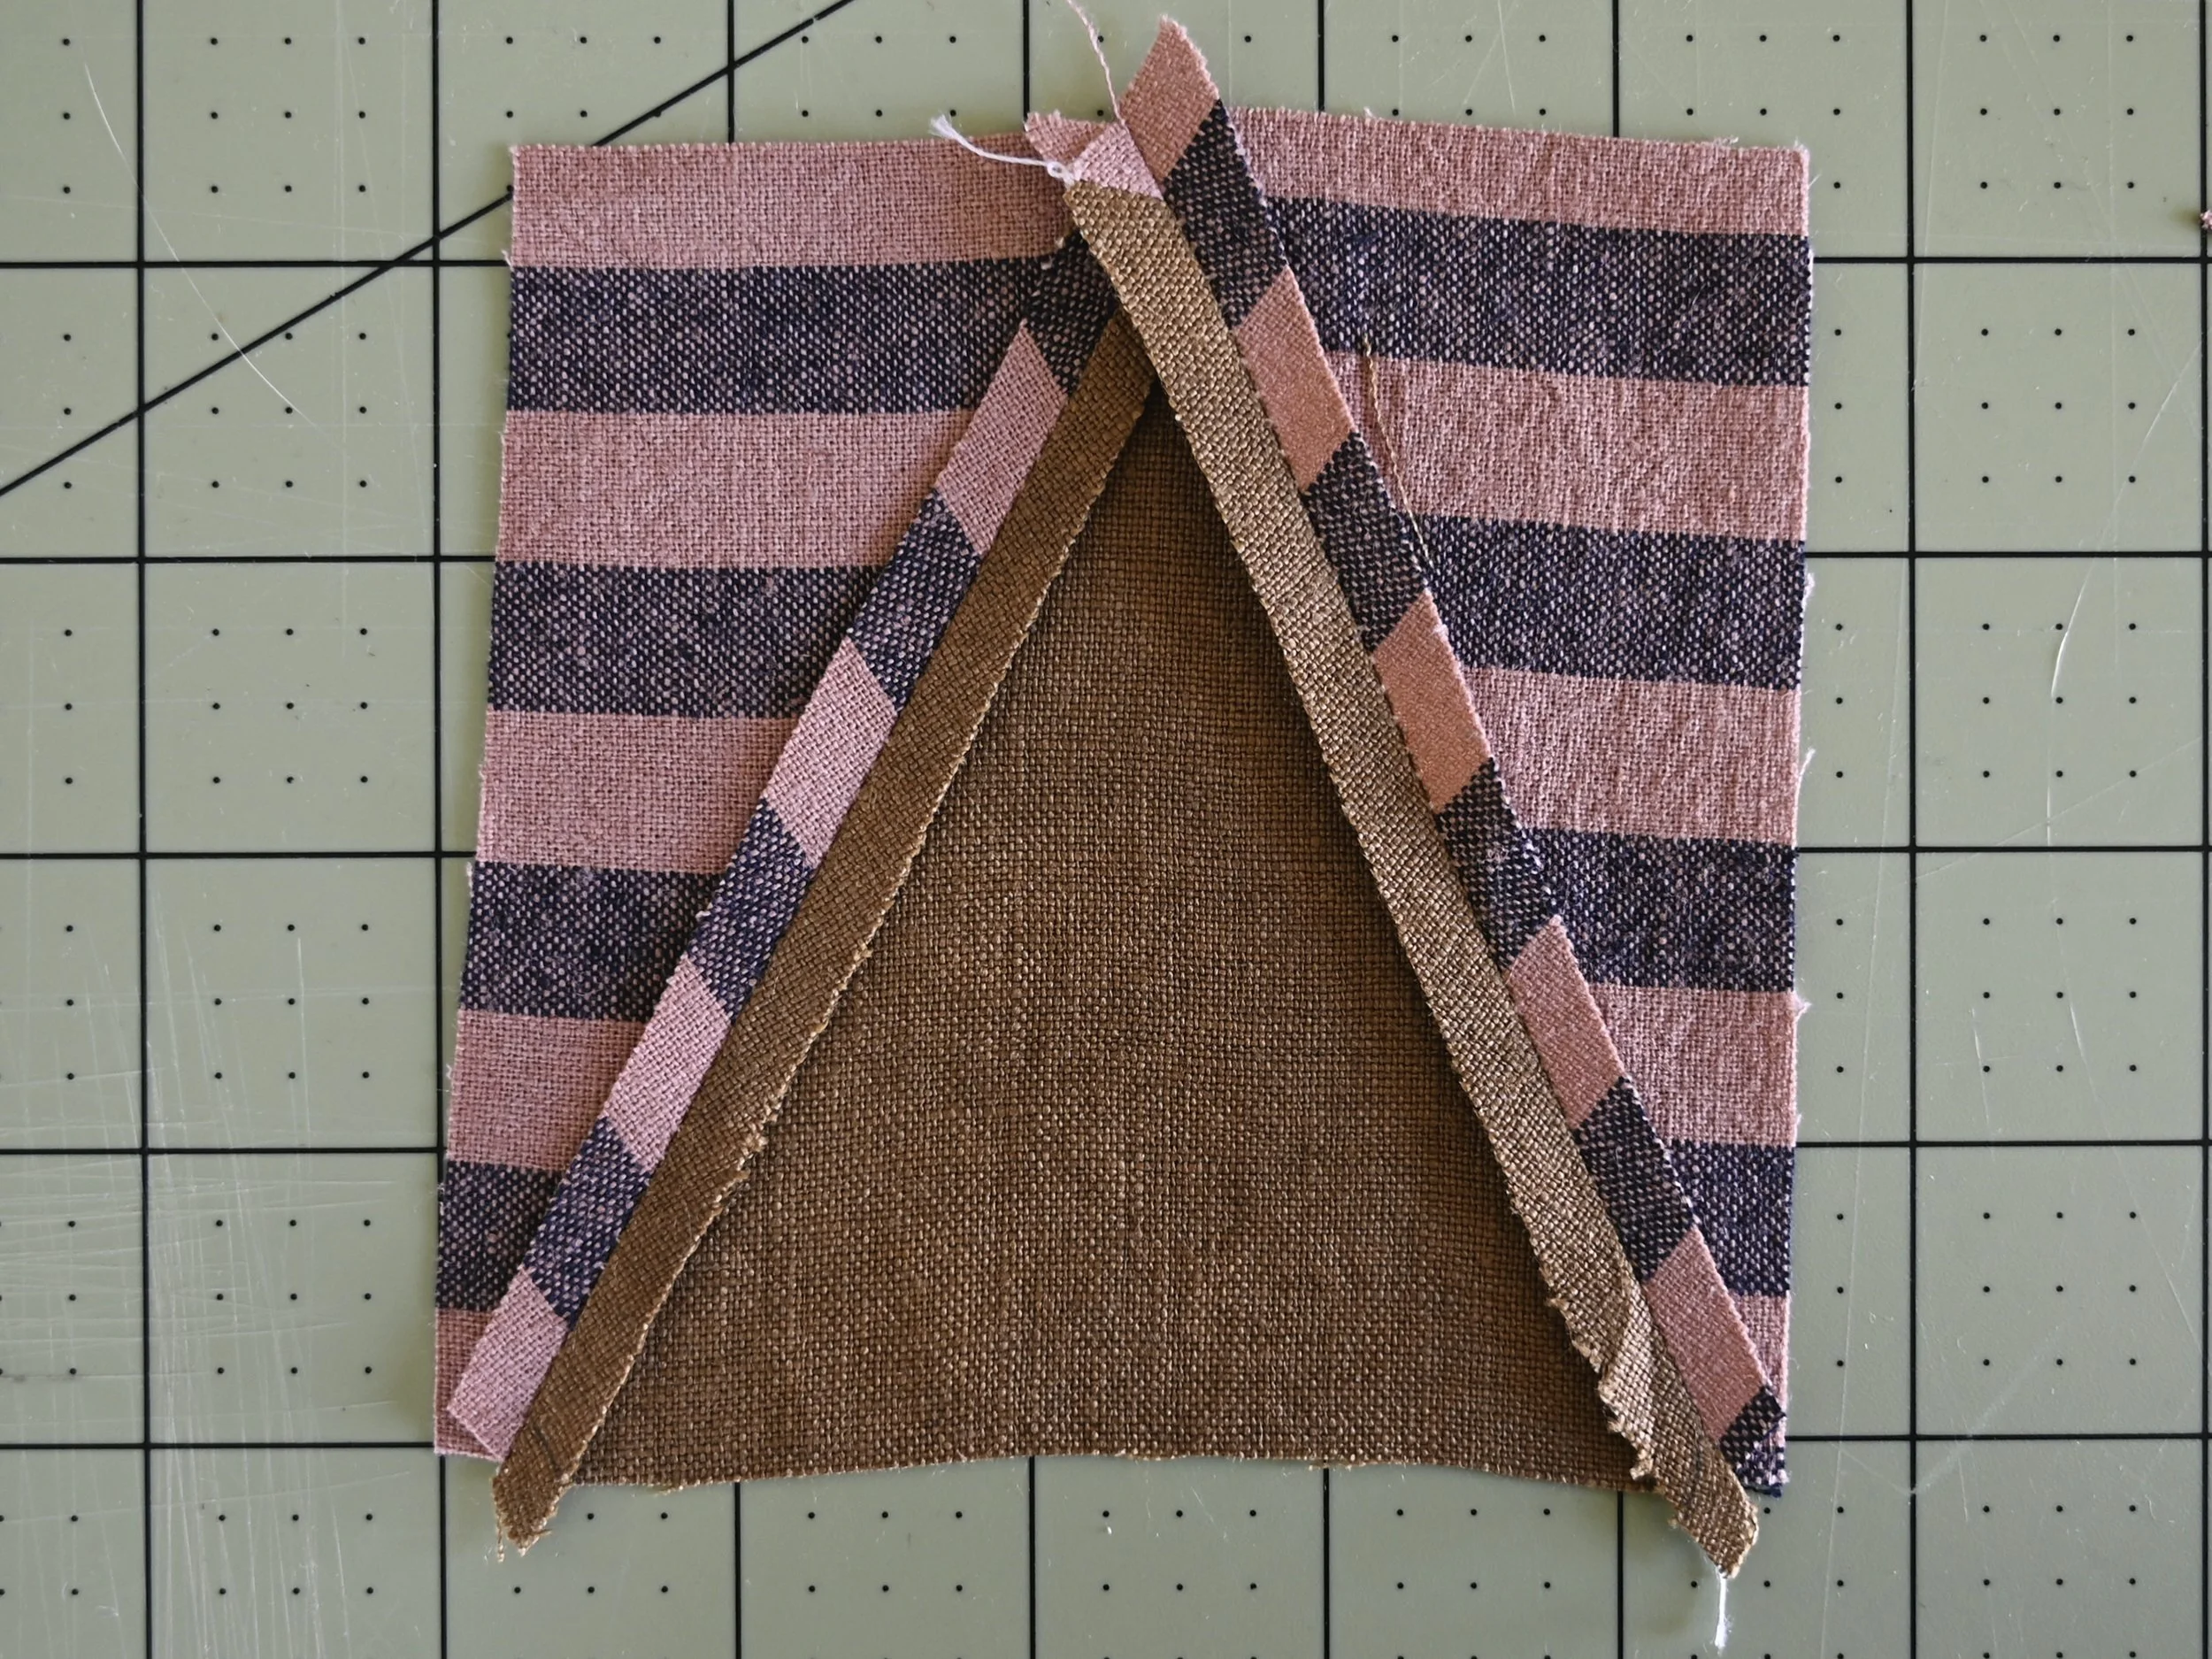
Seam side

5) Use a square ruler to trim the block to it’s unfinished size of 4 1/2” (or whatever your unfinished size is). If you don’t have a square ruler in the exact size you need no worries, just trim the block to it’s unfinished size with whatever ruler you have on hand. There’s usually very little to trim off and my Triangle in a Square blocks are often a bit on the small side which doesn’t usually matter at all.

Pepita is bored with all this Triangle in a Square talk. The Triangle in a Square block can be incorporated into an array of triangle quilt designs and can also be used to make star blocks. More on that to come!