
Monkey Wrench Quilt Block Tutorial
Folk Sampler Sew Along Block 20
It sure feels bittersweet to be posting the last block of this 20 week sew along adventure! I’ve received so many messages regarding how much joy and comfort this project has brought amidst all the current chaos. It surely has been a balm for me too! I will publish one more post next week to guide you through sewing your blocks together to form a quilt top. I’ll also share links to previous tutorials and resources I’ve published to guide you through finishing your quilt. After next week I plan to take a short break from posting quilt block tutorials because I’m working on a series of natural dye tutorials. I will resume posting quilt block tutorials after the dust settles from my natural dye crop launch. I hope to keep adding blocks to The Quilt Block Library slowly and steadily over the years.
It was really difficult to choose the final block but I went with Monkey Wrench which goes by so many other names including Churn Dash. This simple classic 9-patch block is made up of rectangles, half square triangles, and one square.

The finished size of this block is 12” (the unfinished size is 12 1/2”) because that’s what we’re working with in the Folk Sampler Sew Along. As with all quilt blocks you can change the size of the block by changing the size of the pieces within which is explained in this post. Throughout the following instructions I will refer to the colors as the ones I chose for my white background block shown on the left in the photo above: sky blue and white. As you plan your block, swap my colors for your personal choices.
For the natural dyers, the dye recipe I used for my block is light indigo blue.
Finished Block Size 12”
1/4” seam allowance
Cut List
For the Square:
Cut 1 white square: 4 1/2”
For the Rectangles:
Cut 4 white rectangles: 4 1/2” x 2 1/2”
Cut 4 light blue rectangles: 4 1/2” x 2 1/2”
For the HST’s:
Cut 2 white squares: 5”
Cut 2 light blue squares: 5”
Make the HST’s
Gather the 2 white and 2 sky blue (5”) squares you cut for the HST’s and head over to my HST tutorial to make a total of 4 HST’s. Begin the tutorial at the part where it says ASSEMBLE. When you get to the TRIM part, trim your 4 HST’s to 4 1/2”. Set the HST’s aside and move on to making the rectangle bar blocks.

Make the Rectangle Bar Blocks
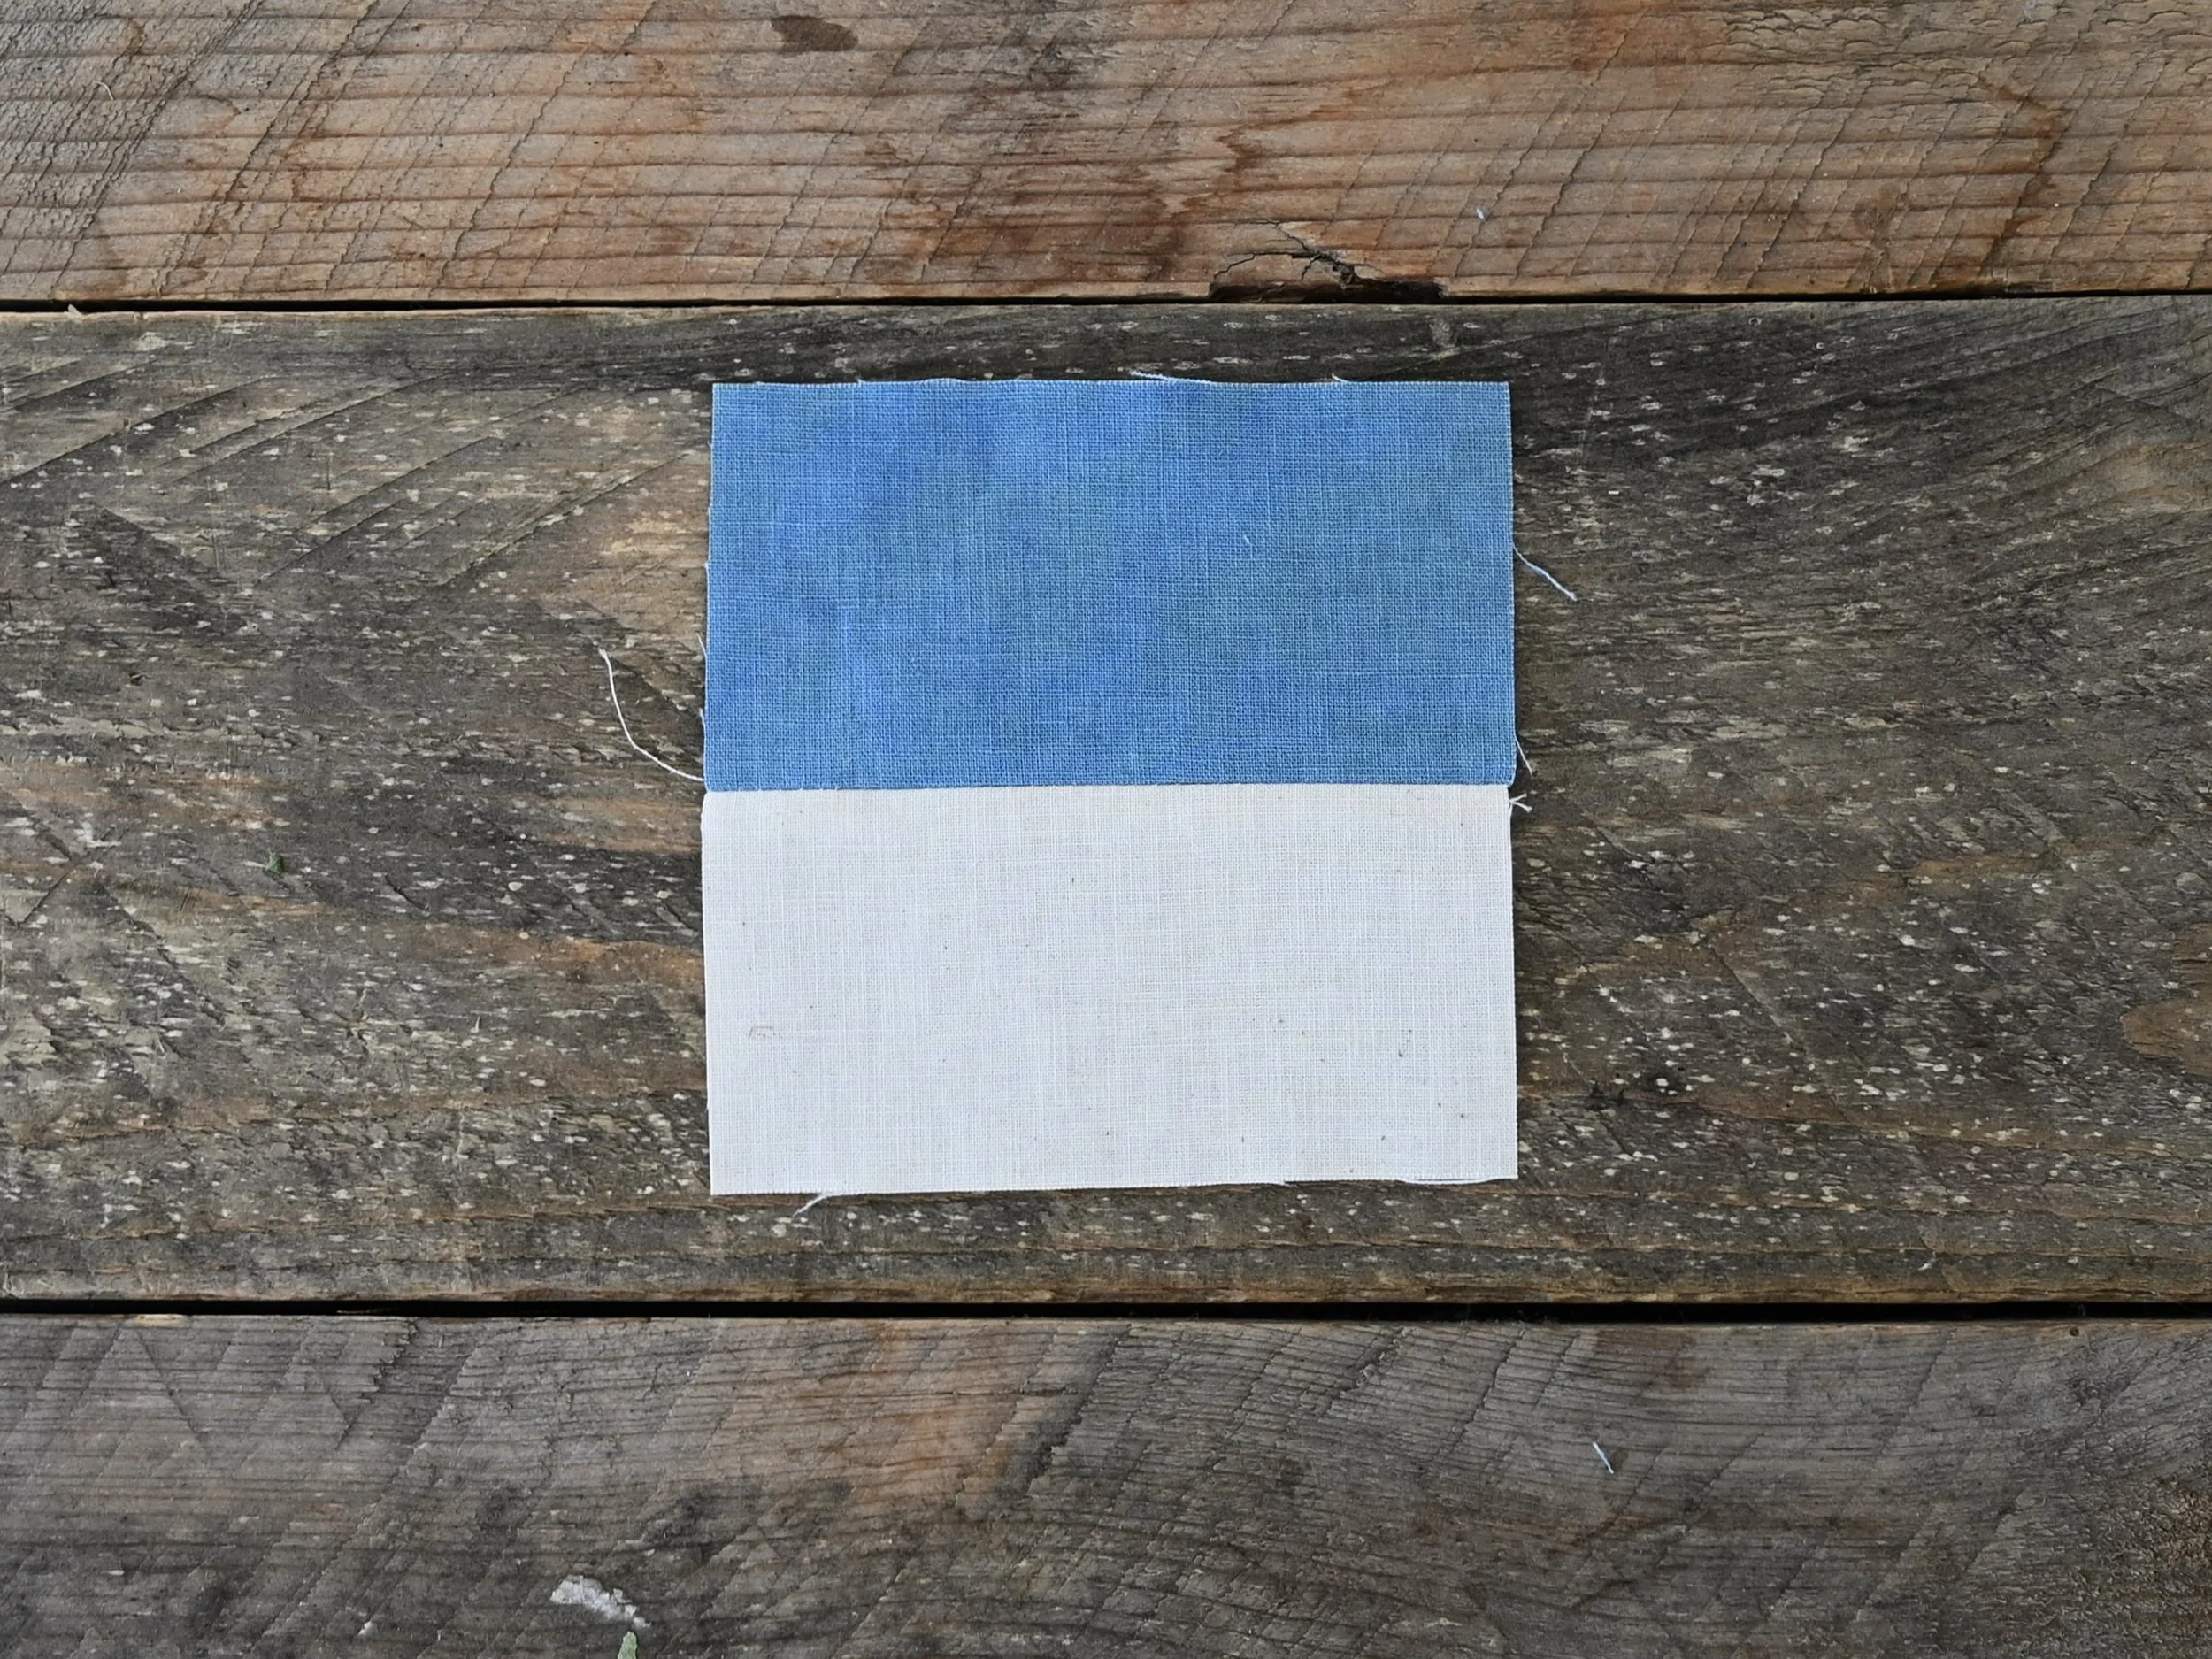
Gather the 8 rectangles you cut and sew them together into blue and white pairs as shown below. Make a total of 4 pairs. Press the seams open or to the side if you prefer.
Easy peasy! Now we have all the pieces we need to make a Monkey Wrench block. Lay out the pieces on your work surface as shown below.

Sew the pieces together to form 3 horizontal rows as shown below. Press the seams open or to the side if you prefer.

Now sew the rows together. Be sure to match the seams by pinning them in place. Press the seams open or to the side if you prefer.

All 20 blocks together! Woohoo we did it you guys! I love a good slow project.

I’ll be back here next week to help you sew your blocks together! Please continue to share your work on Instagram by using the hashtag #folksamplersewalong . I am so proud of you all and the gorgeous work you’ve created!! If you have any questions please ask in the comment section below for all to reference. I’ll attach the tip jar to this post and the final post next week. Thanks so much to everyone who has donated already and no worries at all if you’re not able to donate. This project is for everyone.