
Rolling Star Quilt Block Tutorial
Folk Sampler Sew Along Block 16
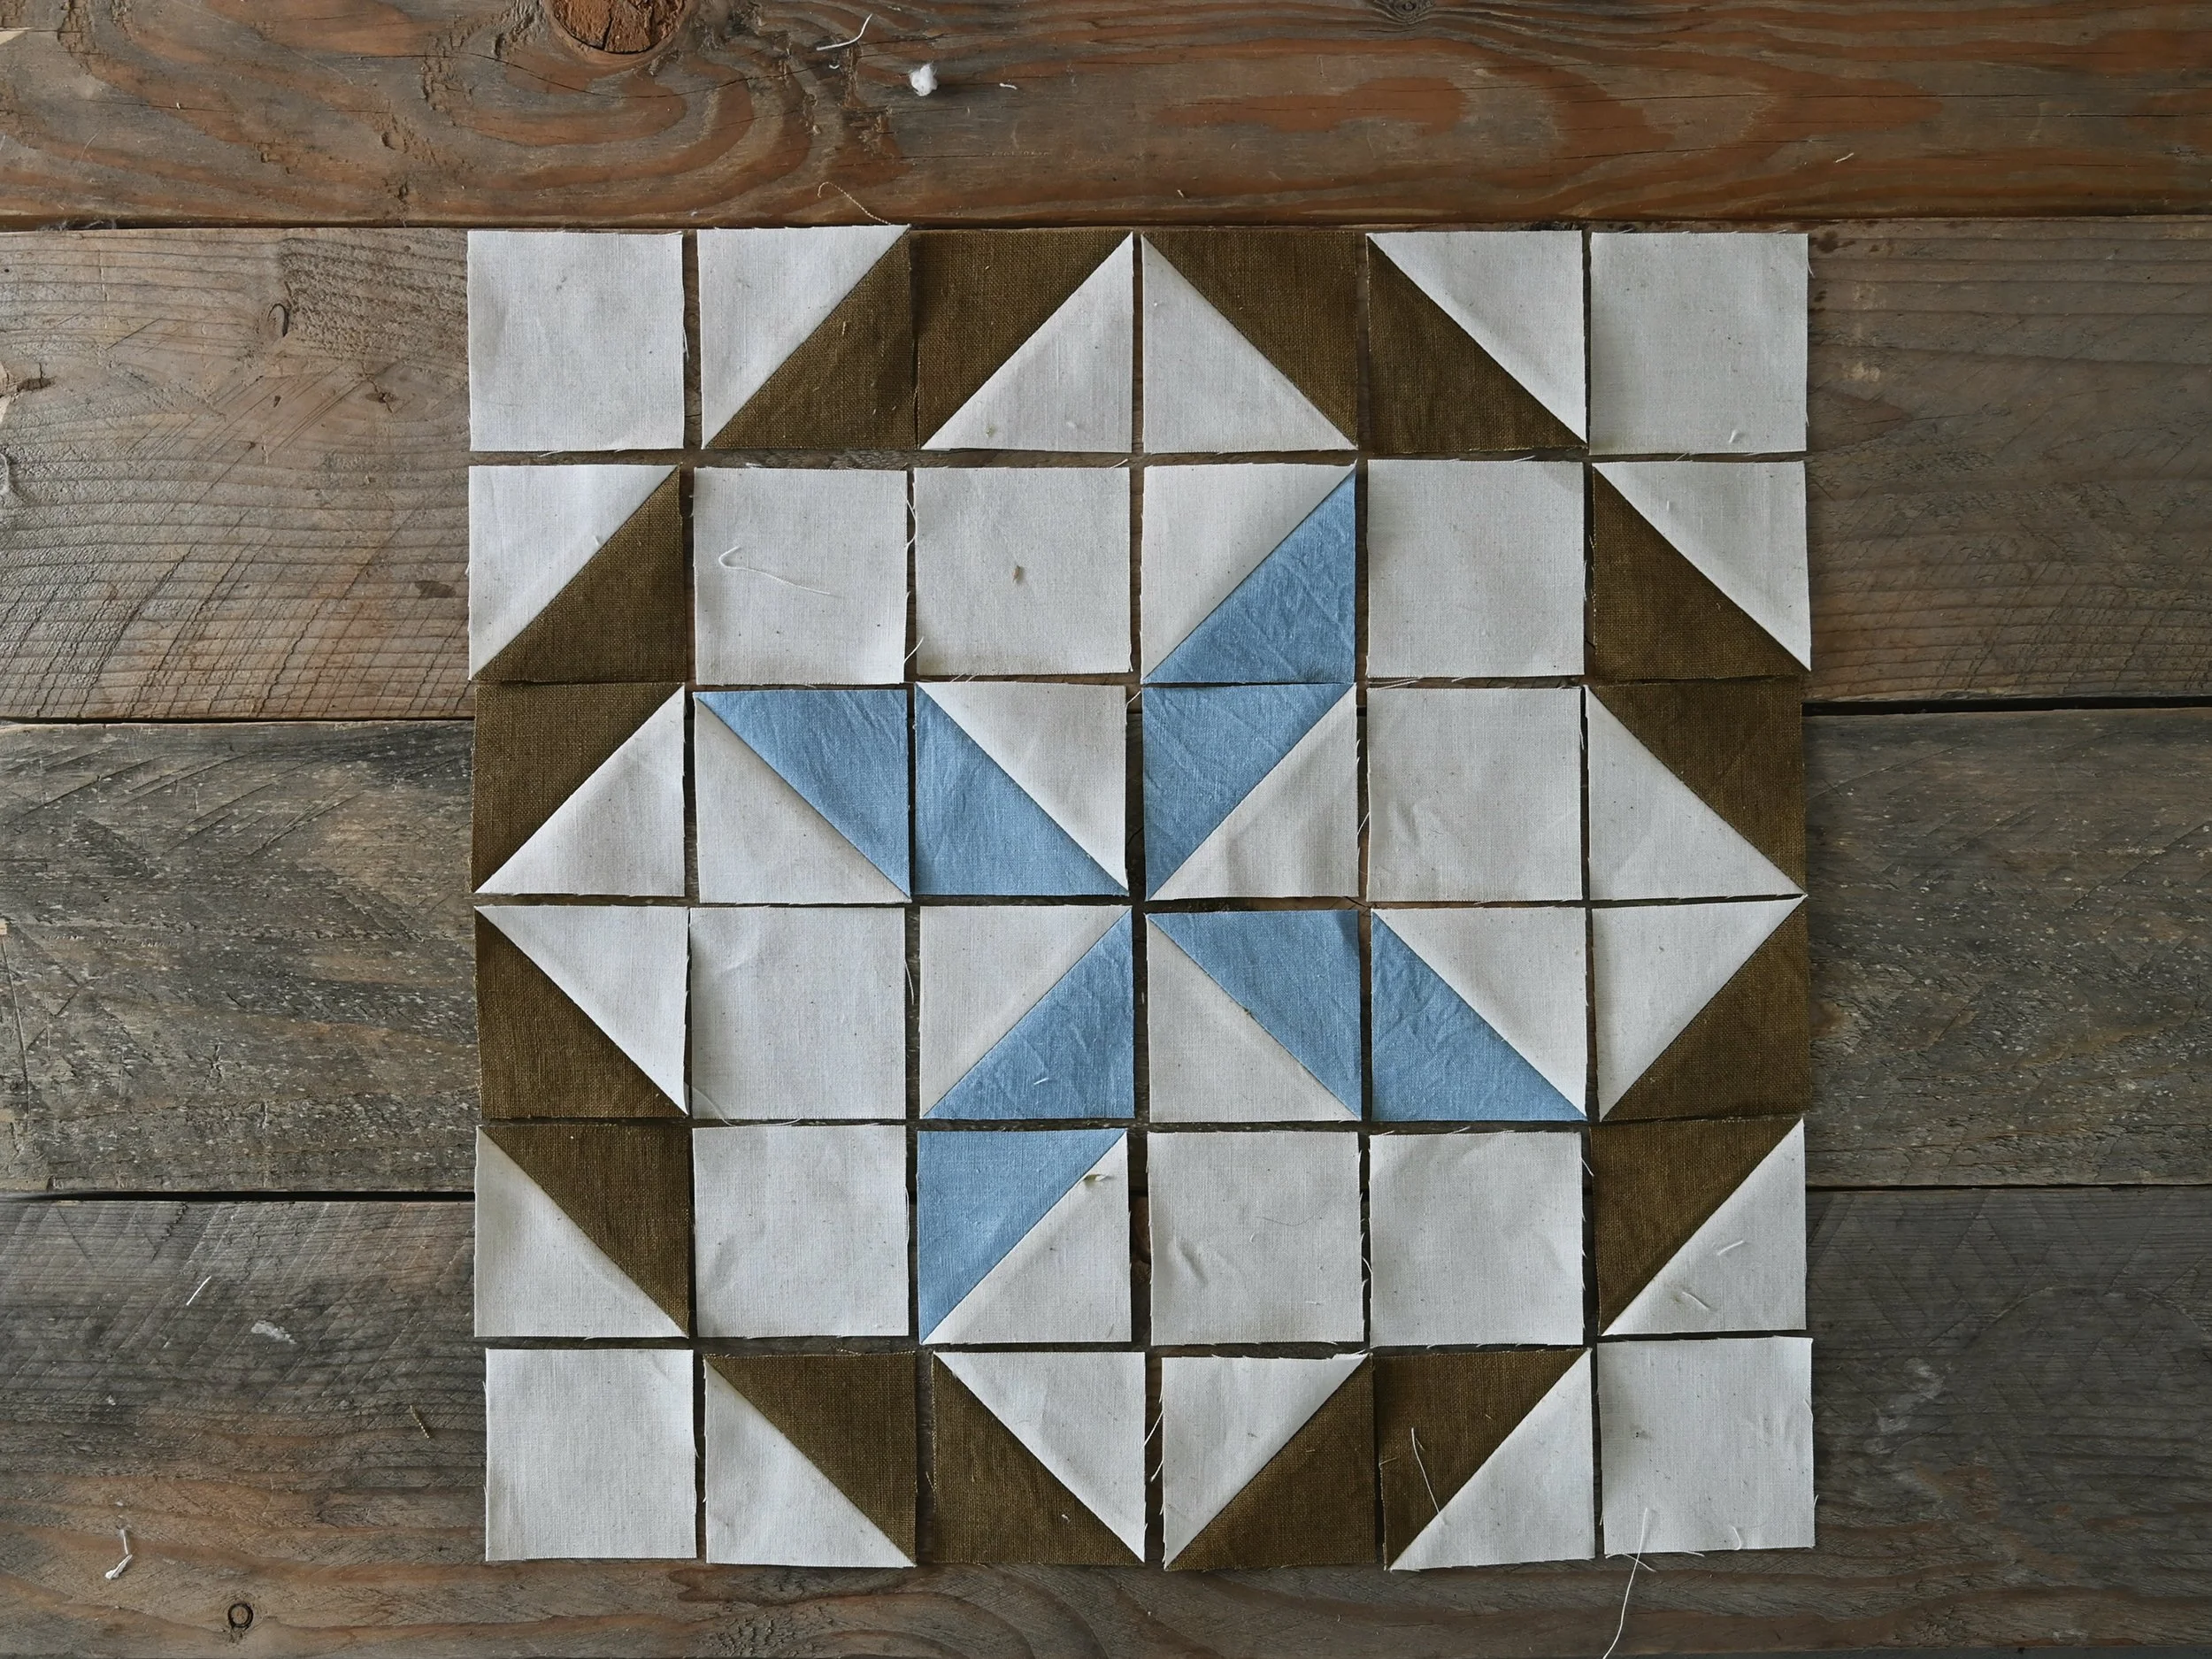
The Rolling Star quilt block is featured in our sampler quilt example which you can see here. The traditional way of piecing this block is with diamonds and squares which require Y-seam construction. For this tutorial I break the diamonds up into Half Square Triangles to avoid the Y-seams, and also to avoid the extra steps of making templates. This modern method of piecing the block is easy, although there are a lot of pieces—24 HST’s, and 12 squares.

The finished size of this block is 12” (the unfinished size is 12 1/2”) because that’s what we’re working with in the Folk Sampler Sew Along. As with all quilt blocks you can change the size of the block by changing the size of the pieces within which is explained in this post. Throughout the following instructions I will refer to the colors as the ones I chose for my block shown on the left in the photo above: white, light indigo blue, and olive green. As you plan your block, swap my colors for your personal choices.
For the natural dyers you can find my recipe for olive green here, and my recipe for light blue here.
Finished Block Size 12”
1/4” seam allowance
Cut List
For the Squares:
Cut 12 white squares: 2 1/2”
For the HST’s:
Cut 12 white squares: 3”
Cut 8 olive squares: 3”
Cut 4 light blue squares: 3”

Make the HST’s
Gather all of the 3” squares you cut for the HST’s

Place a white square on top of each olive and light blue square being careful to align all the corners and edges.

Now head over to my HST tutorial to make a total of 24 HST’s from these 12 pairs. Begin the tutorial at the part where it says ASSEMBLE. When you get to the TRIM part, trim all 24 HST’s to 2 1/2”.

Now we have all the pieces we need to make a Rolling Star block. Arrange the pieces on your work surface as shown below.
There are a lot of pieces so be careful to keep them oriented correctly as you work. Sew the pieces together to form 6 horizontal rows as shown below. Press the seams open or to the side if you prefer.

Sew the rows together one at a time being careful to match the seams by pinning. Press the seams open or to the side if you prefer.

And there we have a Rolling Star block!

Oh my goodness, I can’t believe we only have 4 more weeks left! The last 4 blocks will likely be blocks from our example quilt. If you have any questions please ask them in the comment section below for all to reference. Please continue to share your beautiful work on IG using the tag #folksamplersewalong. What a gorgeous gallery we’re creating over there. Thank you for sharing!