
Drunkard’s Path Quilt Block Tutorial
Folk Sampler Sew Along Block 13
Drunkard’s Path is an incredibly versatile traditional quilt block! This shape can be arranged in many different ways to create a vast array of different block and quilt designs. Please do an internet image search for “Drunkard’s Path quilt designs” or something of the sort so you can see the huge world of possibilities for this block! Piecing curves tends to be a dreaded thing in the world of quilting but it’s really not very difficult. If you’re new to quilting you may find curves a bit fiddly but you will likely get the hang of it after some practice. If this is your first time piecing curves I recommend choosing a fabric that’s good at holding its shape such as quilting cotton. This block requires a template so I’ll begin by walking you through making one..

MAke a Template
Supply List:
Try to make do with what you have if you don’t have everything on this list.
1 piece of plain paper
1 piece of card stock paper
a mechanical pencil or very sharp pencil
a glue stick (or any kind of glue)
a quilter’s ruler
a rotary cutter
a compass (or a round object such as a bowl)

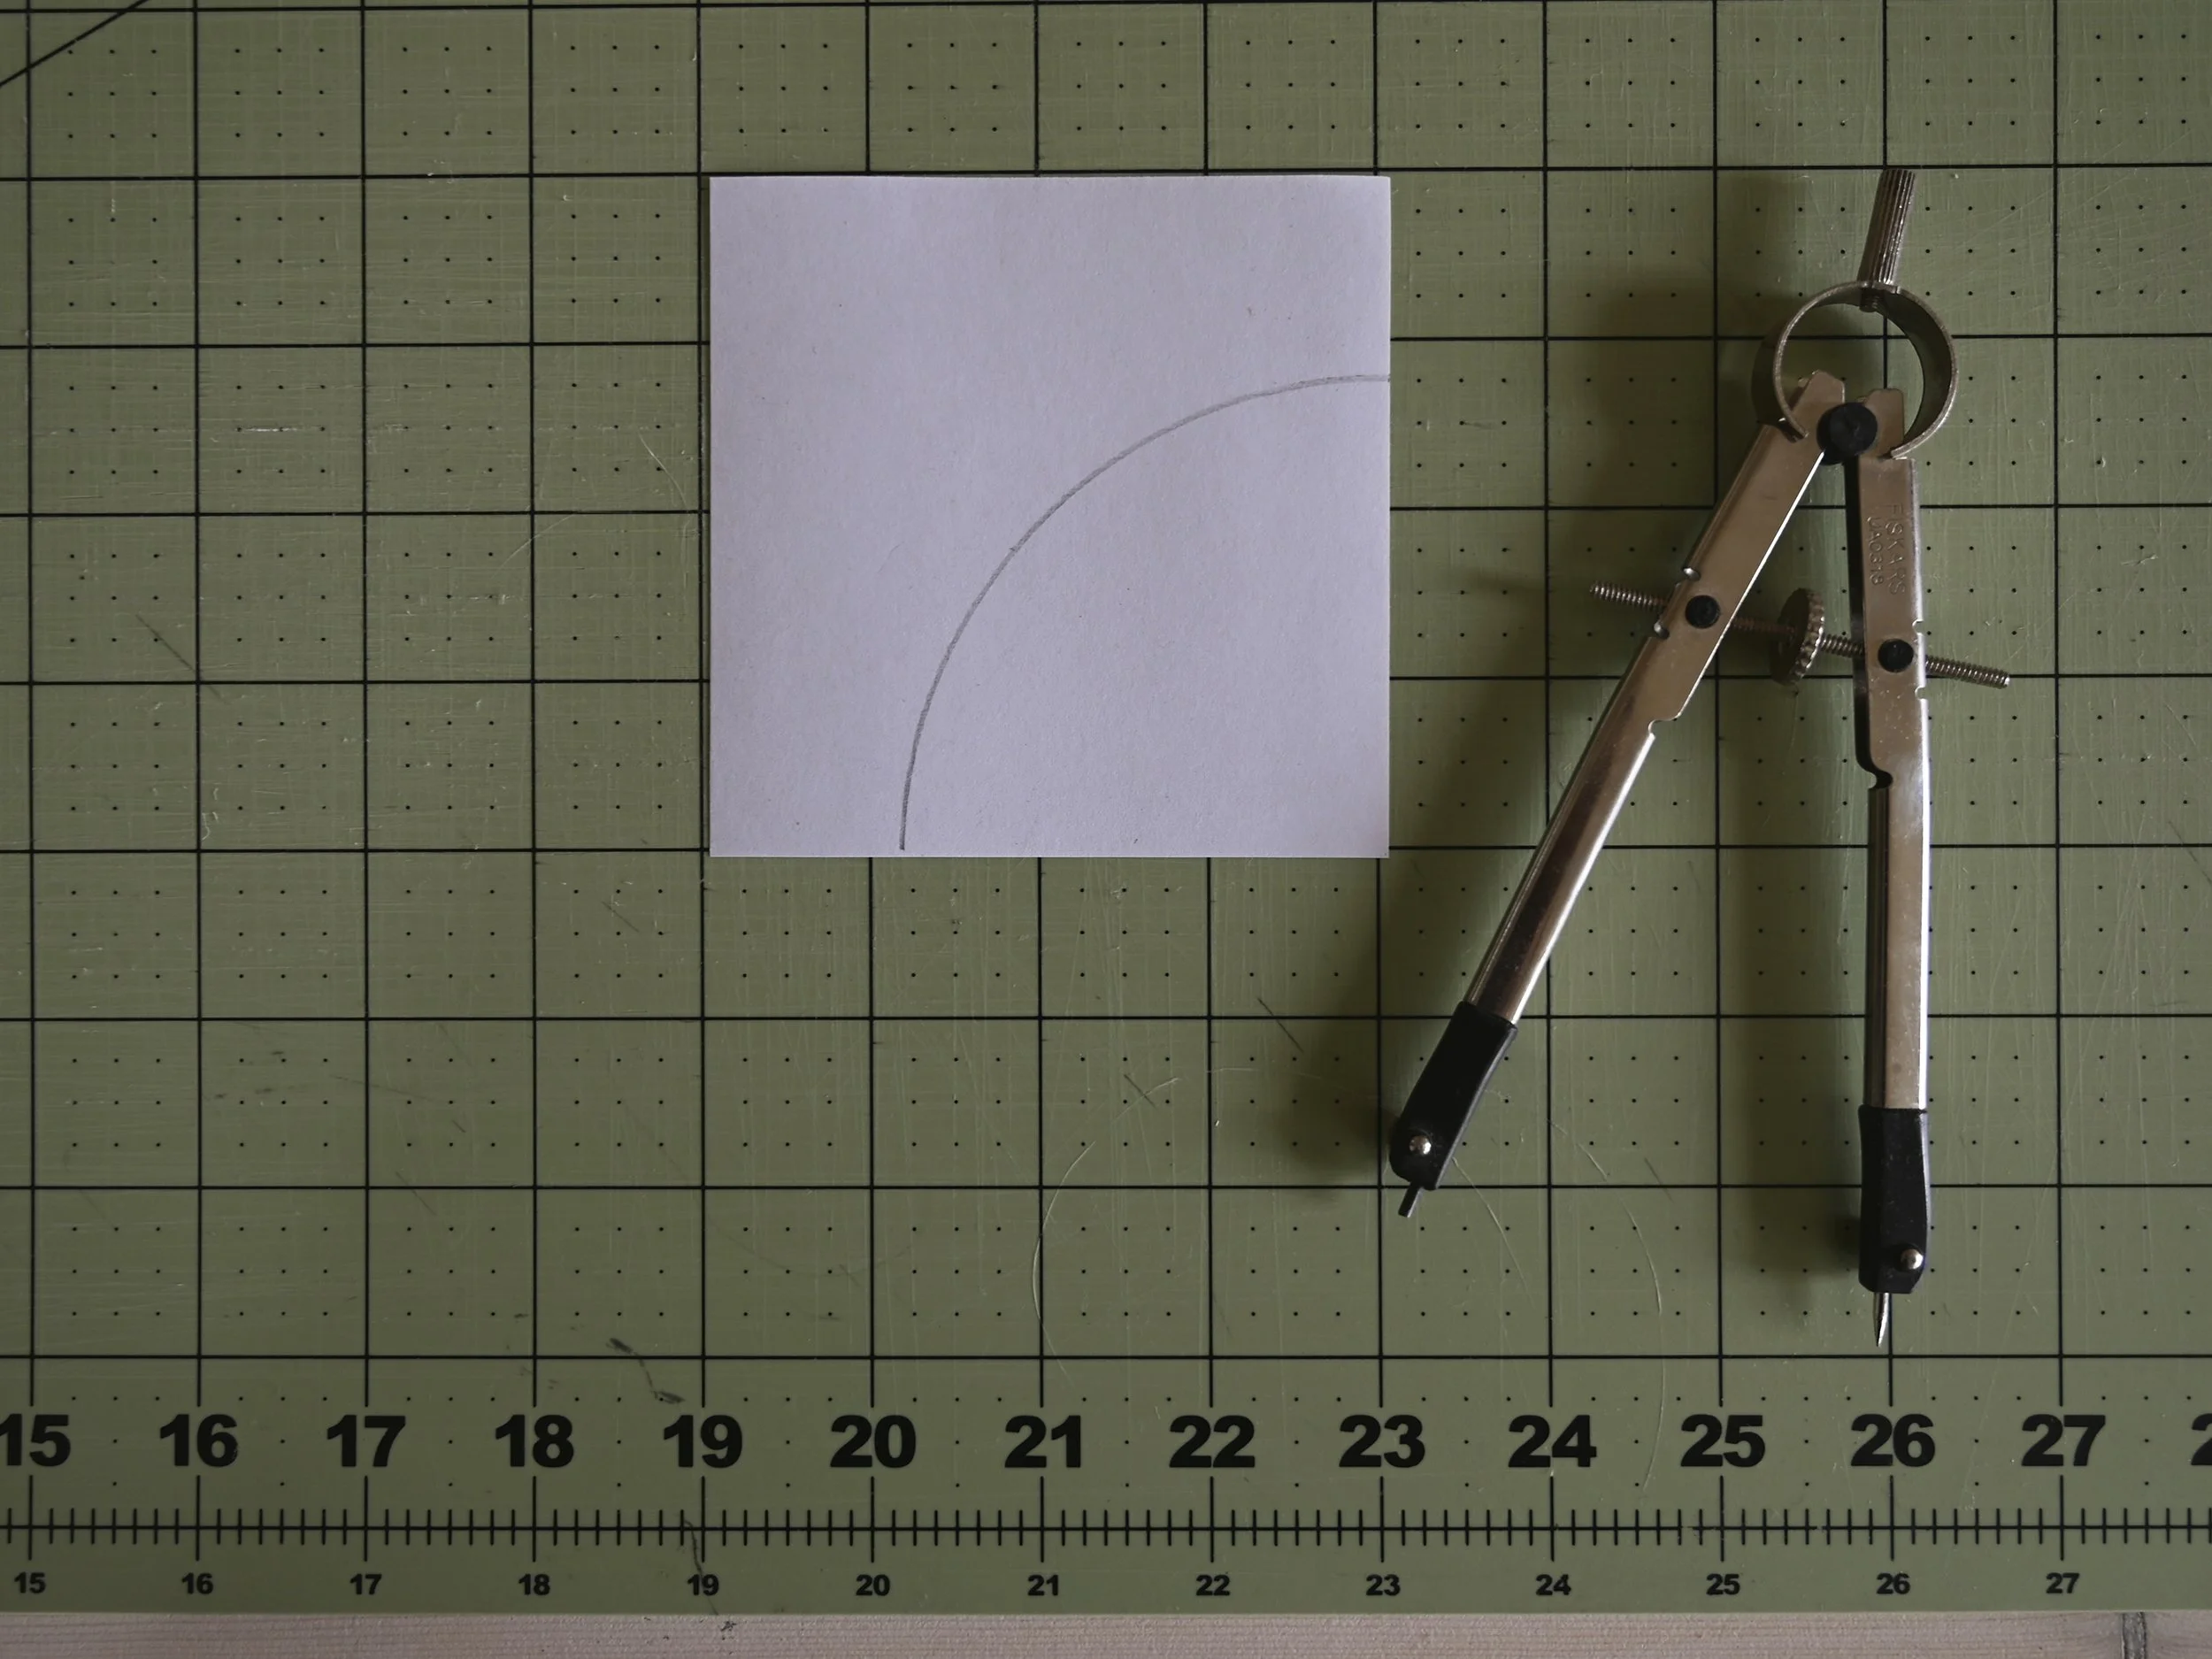
Cut a 4” paper square. *This is the finished size of the block we’re making today. For future reference, you can make a Drunkard’s Path template in any custom size you want by beginning with a paper square cut to your desired finished block size.

Use a compass or any round object such as a bowl to mark a curved line similar as shown in the image below. I did not measure this as it doesn’t have to be exact.
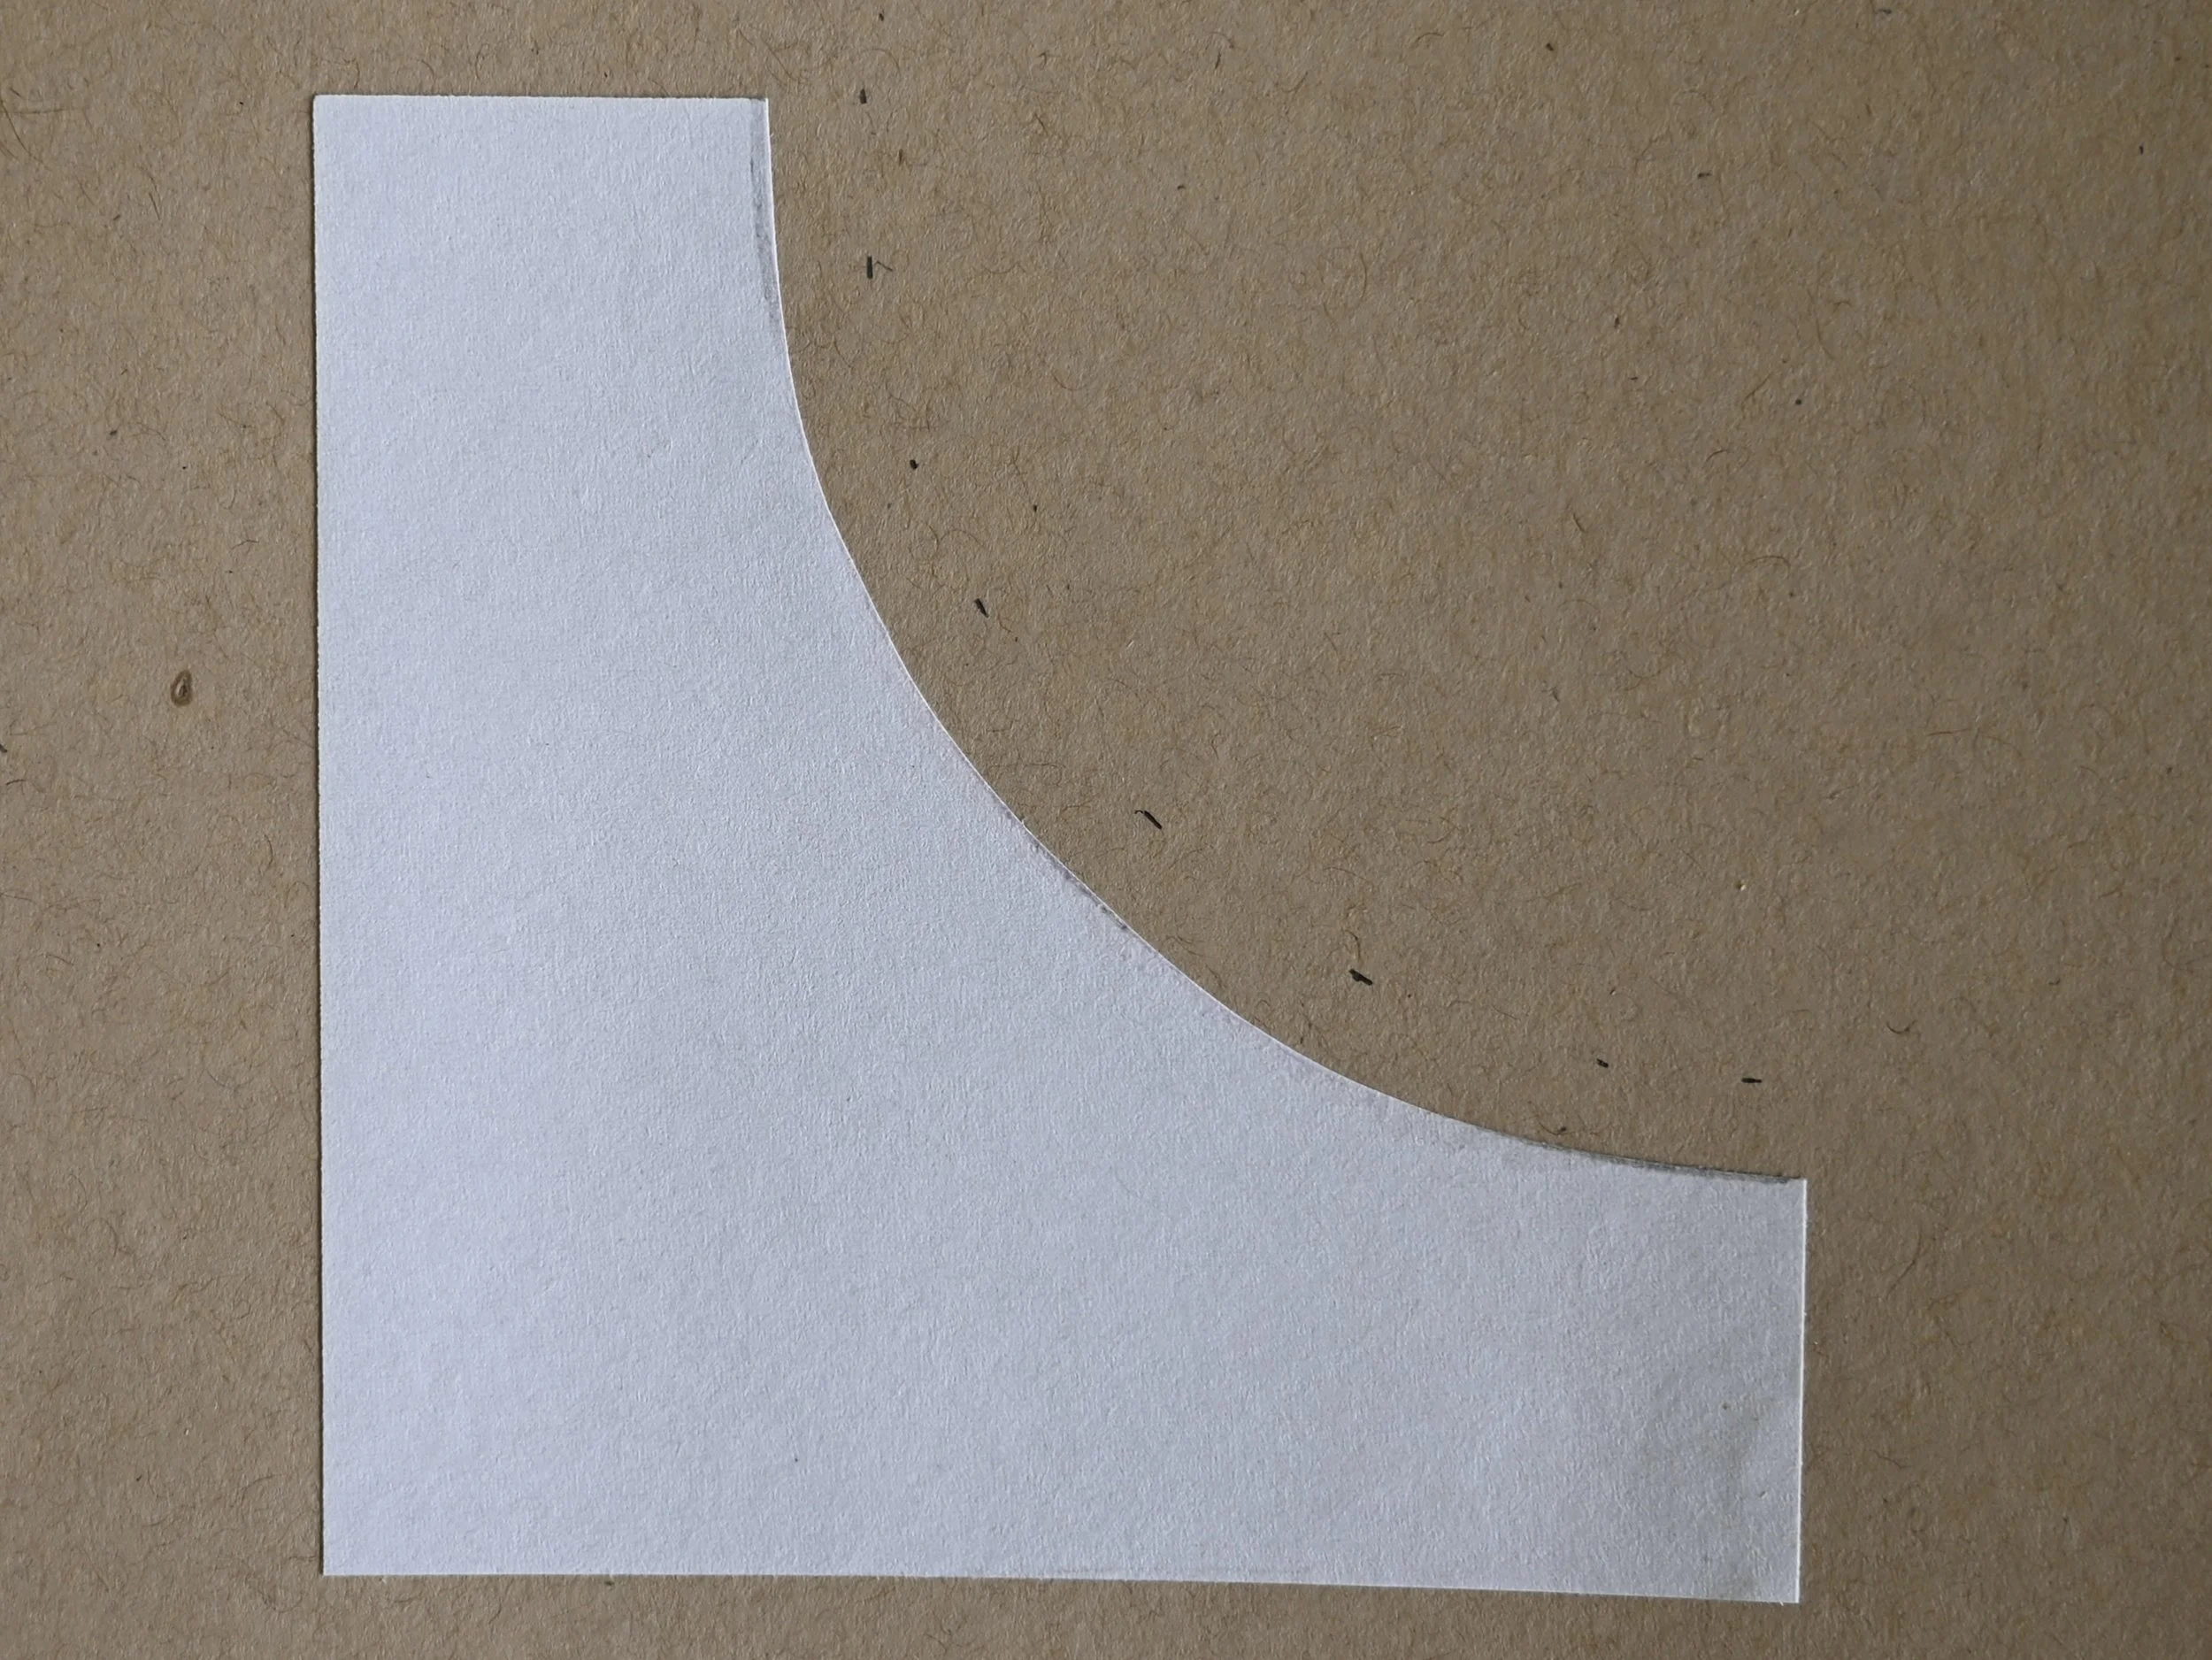
Use a small rotary cutter or scissors to cut along the marked line.

Use a glue stick to glue your paper pieces onto card stock as shown below.

Use a quilter’s ruler or other such measuring tool and a pencil to mark dots 1/4” along the curved edge as shown below.
Repeat the previous step to mark dots along the curved edge of the other pattern piece. Then draw solid lines by connecting the dots as shown below.

Use a quilter’s ruler and pencil to mark straight lines 1/4” from the straight edges as shown below.

Cut along the marked edges with scissors or with a rotary cutter and straight edge.

And there we have our Drunkard’s Path template. This template will make a 4” finished block so I marked it as such for future reference. As previously stated, you can make a template in any custom size you desire by beginning with a square cut to your desired finished block size.
Make a Drunkard’s Path Block
The finished size of this block is 12” (the unfinished size is 12 1/2”) because that’s what we’re working with in the Folk Sampler Sew Along. In the following instructions I will refer to the colors as the ones I chose for my block: olive, and white. As you plan your block swap my colors for your personal choices.
For the natural dyers, the dye recipe I used for my block is olive green.
Finished Block Size 12”
1/4” seam allowance
Cut List
Cut a double layer strip 4 1/2” wide by the width of your fabric: white
Cut a double layer strip 4 1/2” wide by the width of your fabric: olive

Use template 1 as shown above to cut 4 olive pieces. To save fabric you can rotate the template as shown below to cut the next pieces.

Use template 2 to cut 4 pieces from the white strip as shown below.

Repeat the above cutting instructions to cut 5 white pieces from template 1, and 5 olive pieces from template 2.

Piece the Blocks
Fold the pieces in half and press them to make a crease to mark the centers as shown below.

Nest the opposing colored pieces together at their creases as shown below.

Pin the pieces together at the crease.

Rotate the top (olive) piece to align the right corners of both pieces and pin them together as shown below.

Repeat the previous step to pin the left corner in place as shown below.

I prefer to use only 3 pins so I can ease around the curve as I sew, but some folks prefer to use more pins. Experiment with both options to see which works better for you. Sew the pieces together using a 1/4” seam allowance, easing your way along the curve and being sure that the under layer doesn’t bunch up. Take your time here and you will soon get a knack for working your way around the curve.

Use a sharp scissor to make a few snips above the seam along the curve as shown below. Just 2 or 3 snips is sufficient for this small block.

Press the seam open as shown below.

Alrighty! That’s 1 of 9 pieces.

Repeat the previous instructions to create 8 more opposing color blocks.

Usually I show you how to lay out the pieces to form the block but I’m going to leave that entirely up to you this week! Have fun playing around with your pieces arranging them in different ways. Once you decide on a layout sew the pieces together to make 3 horizontal rows as shown below. Press the seams open or to the side if you prefer.

Sew the rows together being sure to match the seams by pinning.

And there we have a Drunkard’s Path block. I hope you enjoyed this process and that piecing curves wasn’t a dreadful experience for you! I saved a video of some curve piecing I did many years ago to my Instagram story highlight titled “CURVES” so go check that out if it might help you see some curve piecing in action.

If you have any questions please ask in the comment section below for all to reference. Please continue to share your beautiful work on Instagram using the tag #folksamplersewalong. It’s been a real joy to see your gorgeous work and I can’t wait to see what kind of curvy magic you come up with this week! I’ll see you here next week!